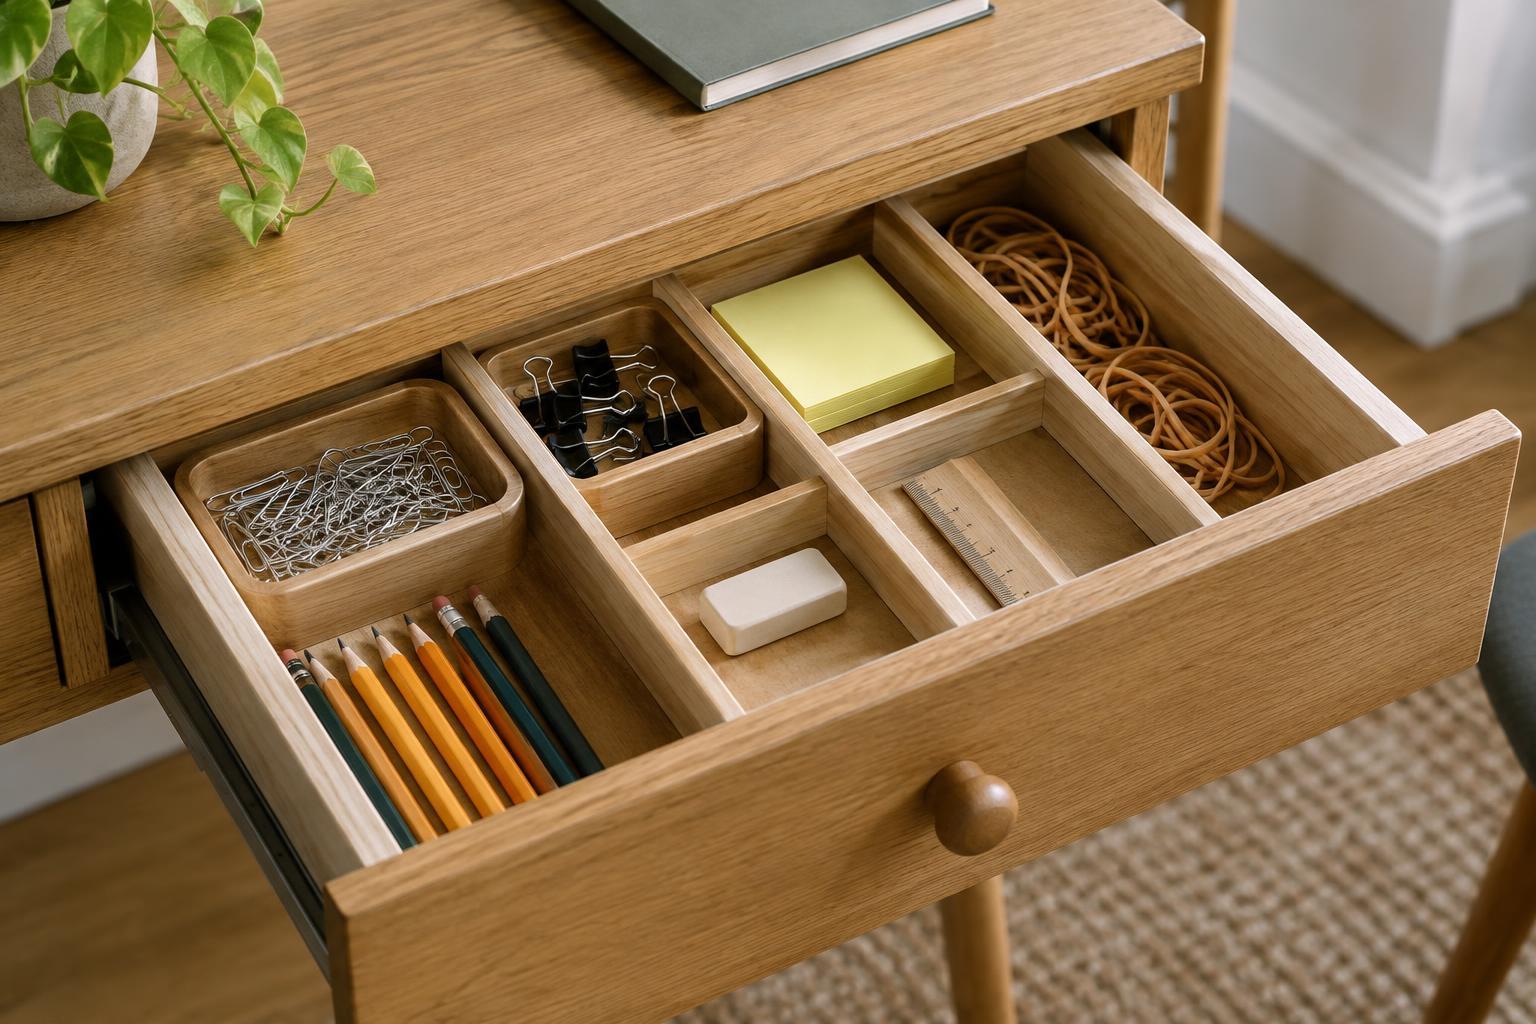
Start with the drawer, not the organizer
A tidy desk drawer is less about fitting every object into its own compartment and more about making the things you use easy to find. Before buying or making dividers, empty the drawer completely. Set aside anything that belongs elsewhere, then group what remains: writing tools, paper goods, fasteners, cables and other small supplies. This gives you a clearer picture of how much space each group needs.
Measure the drawer’s inside width, depth and usable height. Check whether its sides taper, a rail takes up space or the bottom has a lip. A divider that matches the outside dimensions of the drawer may not fit inside it. Leave a little clearance so an insert can be lifted out for cleaning, and remember that tall containers may catch on the desk above when the drawer closes.
Give each supply a sensible amount of space
Start with the supplies you reach for most often. Pens and pencils usually benefit from a long, shallow compartment where you can see several at once. Clips, erasers and spare leads need smaller spaces that keep them from spreading across the drawer. Sticky notes are easiest to grab from a compartment slightly larger than the pad, rather than one that holds it tightly.
Avoid making a separate compartment for every individual item. That can leave useful space stranded and make the layout frustrating when your supplies change. Instead, group items by how you use them. A small section for mailing supplies, for example, might hold stamps, labels and a tape refill together. Leave one flexible compartment for occasional objects rather than forcing them into the wrong place.
Choose a divider style that suits the drawer
Removable trays are a straightforward option for beginners. They create clear boundaries, can be rearranged and are easy to take out when the drawer needs cleaning. Several small trays may fit an irregular drawer better than one large organizer. Check their interior dimensions as well as their overall size: thick walls can take up more room than expected.
Adjustable dividers make sense when you want longer compartments or expect your supplies to change. Look for a way to keep them in place without putting too much pressure on the drawer sides. If the drawer is shallow, low-profile dividers are often more useful than deep bins. A thin nonslip liner beneath trays can help reduce sliding, but test it before cutting it to size; some liners grip more firmly than you need.
Try a simple layout before committing
You do not need a finished product to test an arrangement. Fold strips of sturdy paper or cut pieces of scrap cardboard to mark out compartments, then place your supplies inside. Open and close the drawer a few times. Notice whether frequently used items are within easy reach, whether a long pen fits comfortably and whether tiny objects can be picked up without digging into a narrow corner.
For a more durable do-it-yourself version, shallow boxes or cardboard strips can form a useful first set of dividers. Keep cut edges neat, and avoid adhesives that would make the drawer difficult to clean or rearrange. If you plan to store anything heavy, such as a stapler, give it a stable spot on the drawer bottom rather than relying on a light divider wall to hold it in place.
Make the system easy to maintain
Once you have a layout, return only the supplies that have a clear place. Keep extras together instead of mixing unopened refills with the tools you use daily. If a compartment overflows, first ask whether it holds more than you need at your desk; a larger divider is not always the answer.
Use the drawer for a week or two before treating the arrangement as final. If you consistently drop an item in the wrong compartment, that may be a sign the layout should change, not that you need to be more disciplined. The most useful dividers make putting things away nearly as easy as taking them out.


