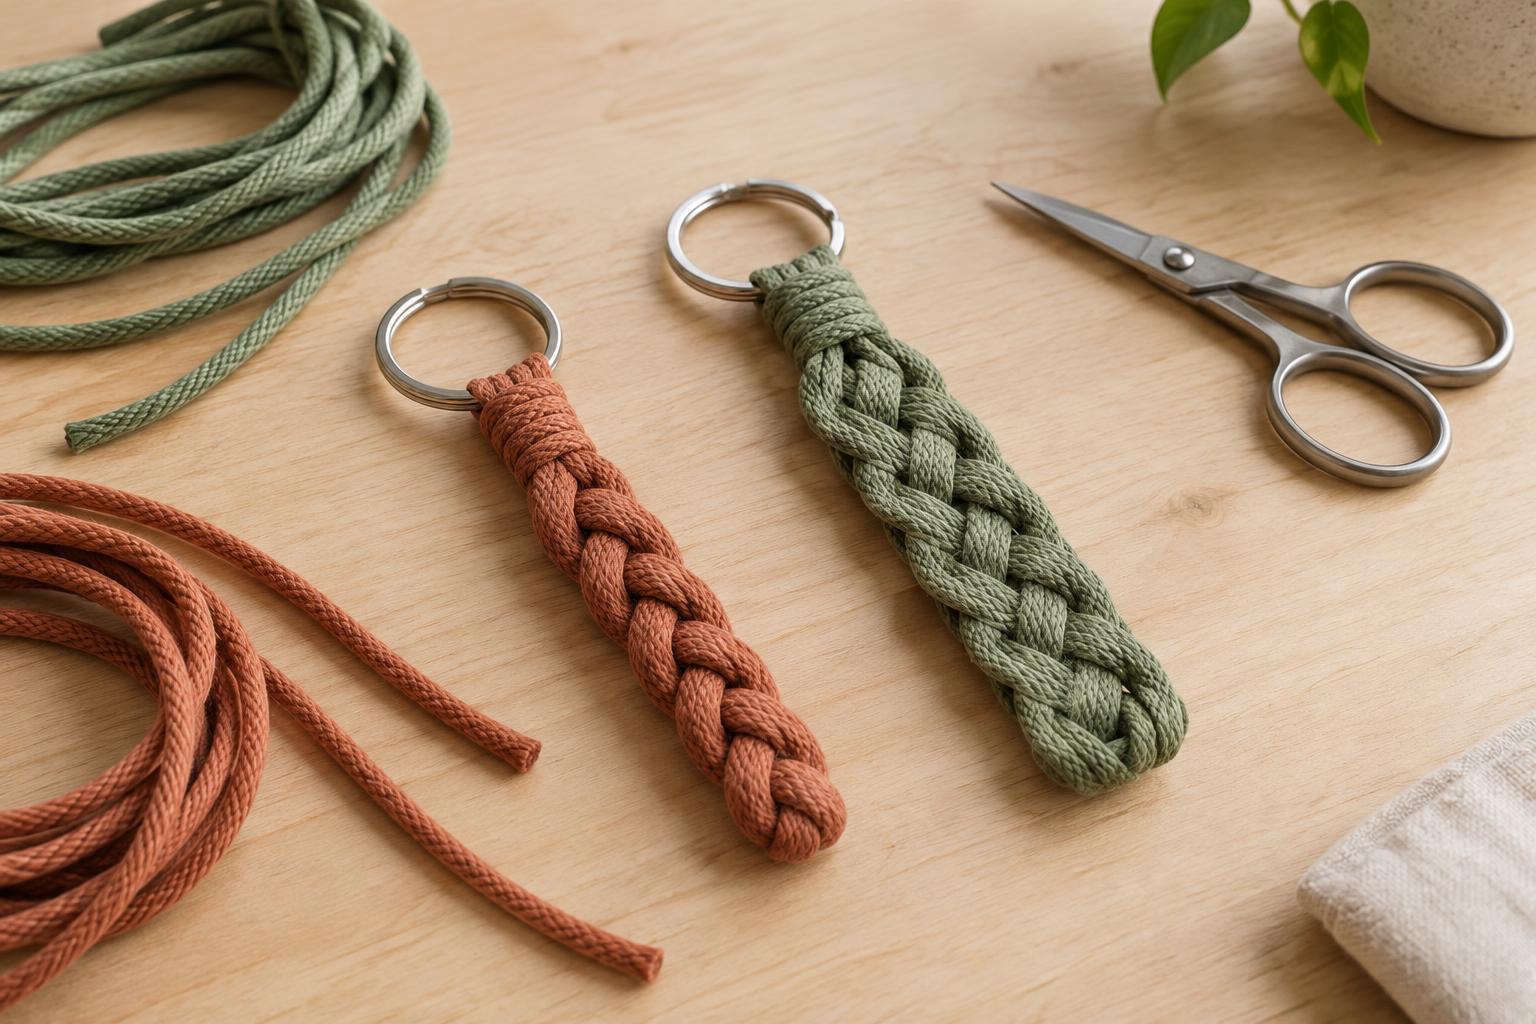
Choose your cord and set up the ring
A braided key fob gives a small object a more comfortable place to grip. It is also a manageable way to explore how different braid structures change the look and feel of the same material. A three-strand braid is familiar and slightly rounded; the four-strand method below makes a wider, flatter band. Try one first, then make the other with the same cord to compare them.
Gather a split key ring, scissors, tape and either three or four pieces of cord, each about 50 to 70 cm long. Cord around 2 to 3 mm thick is easy to handle. Soft cotton shows the crossings clearly, while smooth synthetic cord may resist dirt better. Choose cord that bends comfortably but does not shed fibers as you work. You can use one color or mix colors to make the path of each strand easier to follow.
Lay the pieces together and fold them at their midpoints. Push the folded loops through the key ring, then pass all the loose ends through those loops and pull snug. This attaches the cord to the ring without a separate fastener. You now have six loose ends for a three-strand fob or eight for a four-strand fob. Pair the two ends of each original cord: each pair will act as one working strand. Tape the ring to a table so you can keep gentle, steady tension while braiding.
Make the three-strand version
Separate the six loose ends into three pairs and spread them out as left, center and right strands. Bring the left pair over the center pair. The left pair is now in the center. Next, bring the right pair over the new center pair. Continue alternating left over center and right over center. After every few moves, slide the crossings toward the ring with your fingers so the braid stays even.
Keep each pair lying neatly together rather than allowing its two ends to twist around each other. Aim for consistent tension, not the tightest braid you can pull. If one crossing looks loose, adjust it before moving on; uneven spots are harder to correct once you have braided farther down. Stop when the braided part is a comfortable length to hold and you still have enough loose cord to tie a firm finishing knot.
Try a four-strand flat braid
For this version, separate the eight loose ends into four pairs. Arrange the pairs side by side and think of them as four positions, counted from left to right. Take the far-left pair over the pair next to it, then under the following pair. Stop there: the pair you moved is now in the third position, not all the way at the edge.
Next, take the far-right pair under its neighbor, then over the following pair. Stop when it reaches the second position. Repeat these two moves in order: far left over one and under one; far right under one and over one. Identify the outermost pair afresh before each move, since the cords change places. The braid may look loose for the first few passes, but its flat pattern becomes clearer as it grows.
Four paired strands make a wider band than three, so keep the pairs spread gently across the table as you work. If the braid starts to curl, check that you have not skipped a crossing and that you are pulling with similar force from both sides. You can undo a few moves and resume; there is no need to start again.
Finish for everyday use
Leave several centimeters of unbraided cord at the end. Hold the braid firmly and tie all the loose ends together in a single overhand knot, pushing the knot close to the last crossing before tightening it. Tug each end individually to help the knot settle, then trim the ends to an even, short fringe. Leave enough length beyond the knot that the ends cannot easily slip back through it. For cord that frays readily, an extra wrap of thread around the fringe just below the knot can help keep the ends together.
Before adding keys, pull gently on the ring and the finished end to check that the attachment and knot stay in place. If either loosens, retie it rather than relying on the braid alone. To personalize the next fob, change just one element at a time: cord thickness, color arrangement or braid style. Those small choices make it easier to see which design feels best in your hand and works best with your keys.


