Start with one simple motion
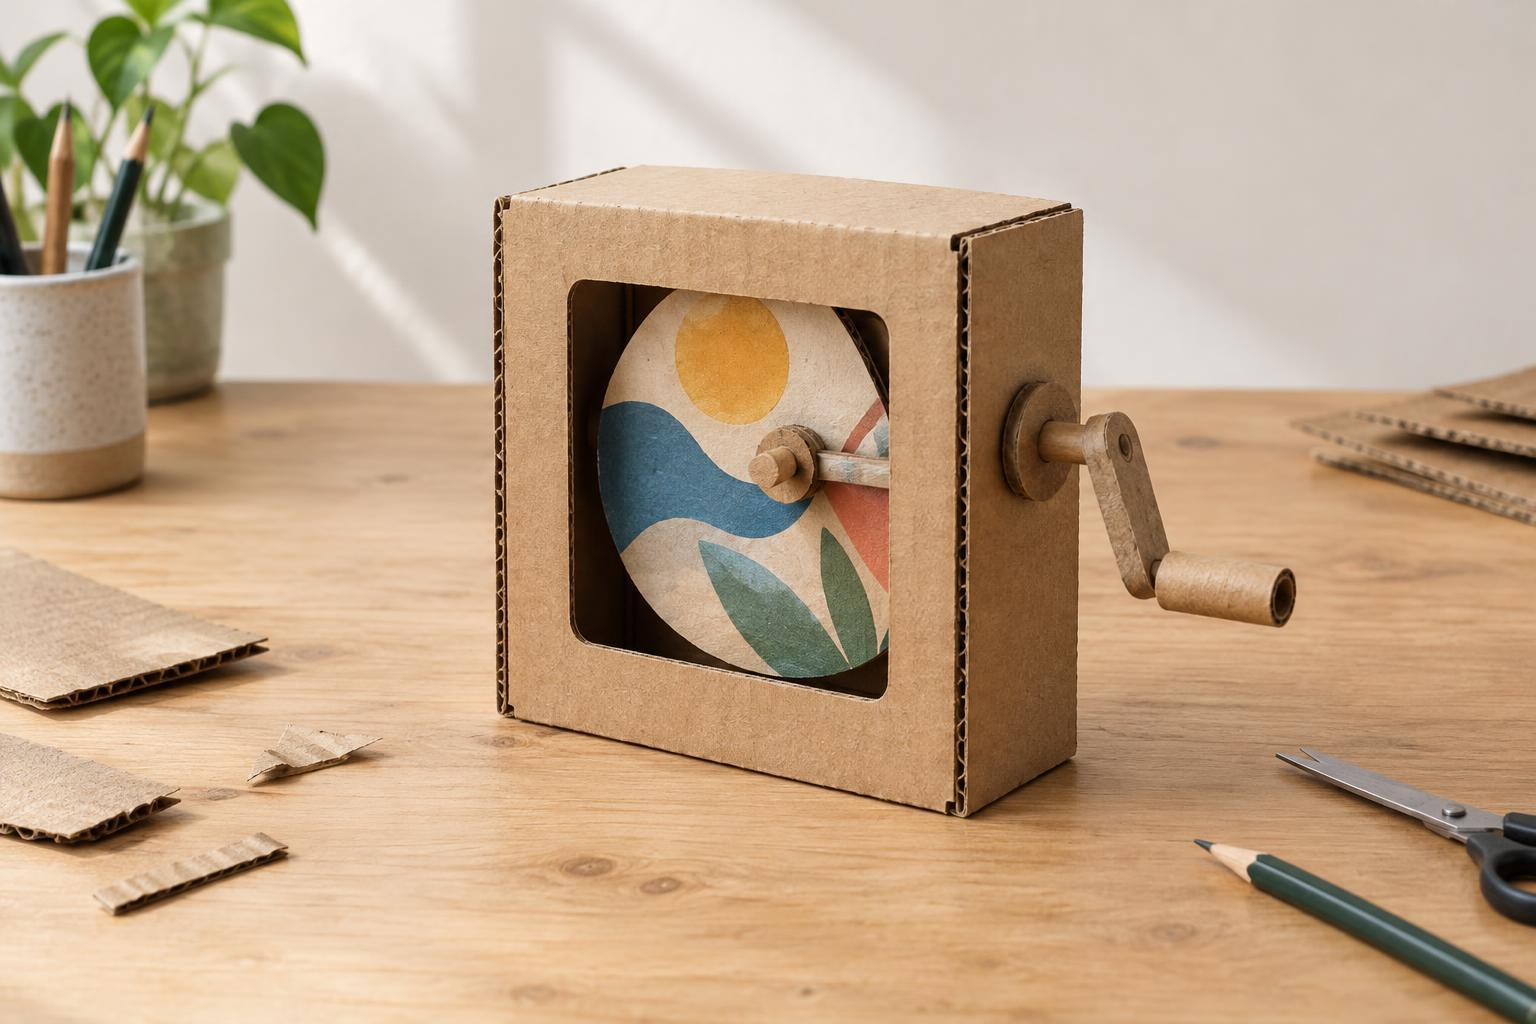
An automaton does not need a chain of gears to be engaging. For this project, a cardboard picture wheel turns behind a stationary front panel. A window in the panel reveals one portion of the wheel at a time. Turn the crank and a sequence of drawings passes through the opening: a seed becomes a sprout, a small cloud becomes a large one, or a moon moves across a night sky.
The wheel, axle and crank are glued together into one rigid rotating assembly. They are separate pieces of cardboard, but once assembled they move as a single part. The frame and window stay still. This keeps the mechanism easy to understand and gives you room to experiment with the artwork.
Gather materials and plan the picture
You will need corrugated cardboard for a base and upright frame, thin cardboard such as a cereal box for the picture wheel, paper for an axle, glue, tape, a ruler, a pencil and scissors. A round cup or small plate makes a useful circle template. If you use a craft knife to cut the window, work on a protective surface and ask an adult for help if needed.
A wheel about 12 cm across and a front panel about 16 cm square make a manageable desk-sized version. Cut a shallow window near the top of the panel, roughly 5 cm wide and 4 cm tall. Leave plenty of cardboard around it so the panel stays firm. Mark the wheel’s center, then divide its face lightly into four equal sections. Draw one stage of your chosen sequence in each section. Keep the important details near the outer half of the wheel, where they will be easiest to see through the window.
Before cutting any axle holes, hold the wheel behind the panel and rotate it by hand. Move the wheel until each drawing appears where you want it in the opening. Mark the center position on the back of the panel. This quick test is more reliable than assuming the window and wheel should have exactly the same center.
Make the frame and rotating assembly
Cut the marked axle hole in the panel. Roll a strip of paper tightly around a pencil to make a firm tube, then secure its outer edge with glue or tape and slide the pencil out. This tube is the axle. Widen the panel hole a little at a time until the axle turns without forcing it, but does not wobble excessively. Glue a second small square of cardboard around the hole on the back of the panel to reinforce it; keep glue out of the hole.
Cut the wheel from thin cardboard and make a snug hole at its center. Push the axle through the panel from the back, then attach the wheel to the axle on the front. A small cardboard washer glued to the axle can help hold the wheel, but leave a slight gap between the wheel and panel. On the back, glue one end of a short, sturdy cardboard strip to the axle. Add a folded cardboard tab at the other end as a place to push with your fingers. This is the crank. Glue all its pieces firmly so the crank, axle and wheel turn together.
Stand the panel upright on a cardboard base. Two triangular braces, glued between the back of the panel and the base, will help prevent tipping. Check that the wheel clears the base and braces throughout a full turn. Let the glue dry before testing; a joint that shifts while wet can leave the wheel off-center.
Tune the turn and finish the scene
Turn the crank slowly. If the wheel scrapes, increase the gap between it and the panel or flatten any bent edges. If the axle binds, gently enlarge the hole. If the pictures pass too high or low in the window, adjust the opening with a paper border rather than rebuilding the mechanism. A border also hides pencil marks and gives the display a deliberate frame.
Try turning the crank at a steady pace and notice how the artwork changes the effect. Four drawings with small differences can suggest continuous growth; four contrasting drawings create a more playful jump from scene to scene. Because the mechanism has just one rotating assembly, you can replace the wheel later without redesigning the frame. Keep the first wheel as a template and make another sequence whenever you have a new idea.


