Start with the light, not the shade
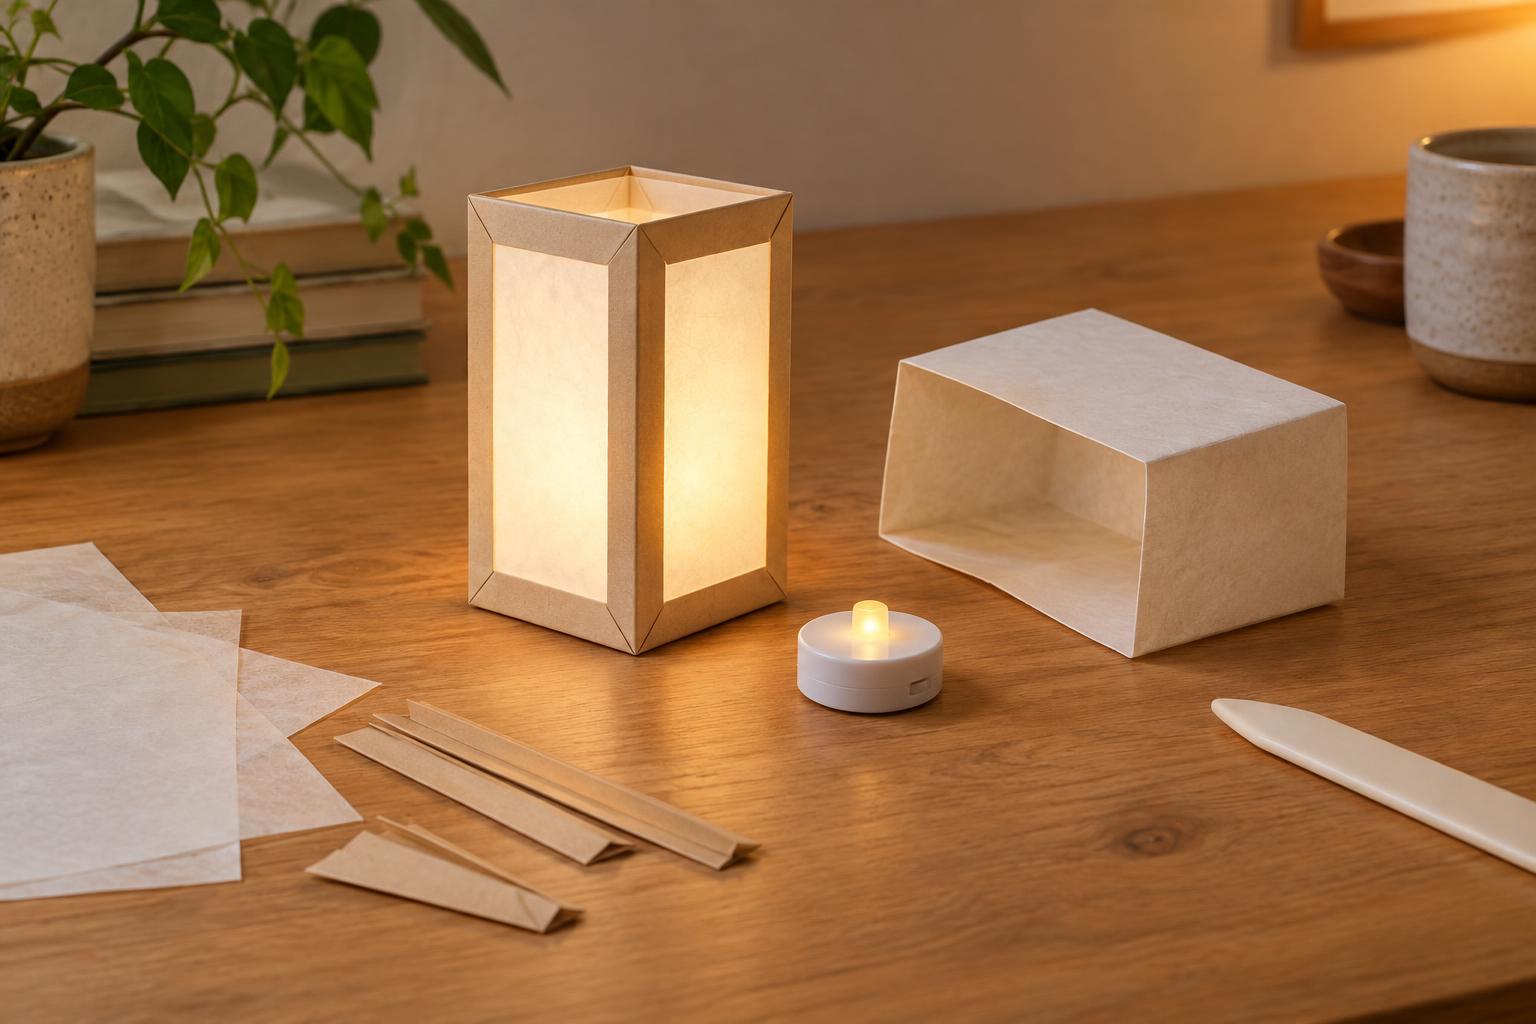
A paper lantern is a small exercise in shaping light. Translucent paper hides the bright point of an LED and spreads its glow across a larger surface. A few folds give that surface structure, turning simple materials into an object that looks intentional on a shelf or desk. This version is a tabletop lantern: it sits over a ready-made battery light, so there are no wires to connect.
Choose a compact LED puck or flameless LED tea light with its own switch and enclosed battery compartment. An AA- or AAA-powered model avoids the small, easily swallowed button cells found in some tea lights. Check that the light works before building around it. Use only an LED, never a flame, and follow the light maker’s instructions about covering or enclosing it. If its housing becomes noticeably warm, choose another light for this project.
Gather materials and size the frame
You will need translucent paper, such as tracing paper or vellum; a sheet of medium-weight cardstock; a ruler; a pencil; scissors; and double-sided tape or a glue stick. A cutting mat and craft knife can help with straight cuts but are optional. For the base, use a flat piece of stiff card or a small wooden coaster wider than the LED. Keep the light removable rather than gluing it down.
Plan a shade about 15 to 20 cm tall and wide enough to surround the light without touching it. A simple square frame is easy to make: mark four equal panels across the cardstock, plus a narrow tab for joining the ends. Each panel can be about 8 cm wide, though the exact measurement matters less than having room to reach the switch. Leave the top open. Before cutting, wrap your marked sheet loosely around the LED to check the proportions.
Make four windows and a removable sleeve
Cut out the outer shape of the cardstock, including the joining tab. On each panel, draw a window with a border of at least 1 cm on all sides. Cut out the windows, then lightly score the lines between panels with the back of a craft-knife blade or an empty ballpoint pen. Scoring helps the card fold neatly without cutting through it. Fold each line inward and check that the sleeve stands reasonably square.
Cut translucent paper panels slightly larger than the windows and attach them to the inside of the frame. Apply tape or glue to the cardstock borders rather than across the visible paper, where marks may show when the lantern is lit. Let any glue dry, then join the end tab behind the opposite panel. The finished sleeve should lift off the base in one piece. If it leans, adjust the folds or trim its bottom edge so all four corners meet the surface evenly.
Position the LED and tune the glow
Set the LED in the center of the base and lower the sleeve around it. Keep the paper clear of the light’s housing and leave any vents unobstructed. The LED should remain accessible: you can lift the shade to turn it on, change its batteries, or inspect it. If the base is slippery, a small piece of removable, non-marking adhesive under the LED may help hold it in place.
Turn on the lantern in a dim room and look at each panel. A bright spot near the bottom is normal, but you can soften it by choosing a more diffused LED or moving the sleeve slightly farther from the light. For more texture, layer a second piece of translucent paper over one window, or cut a simple shape from darker paper and attach it behind a panel as a silhouette. Test changes with the light on; the effect can be surprisingly different from how the unlit shade looks.
Make it useful beyond the first evening
Place the lantern where it will not be knocked over or exposed to water. Switch it off when you leave the room, and store spare batteries away from children and pets. If a panel wrinkles or tears, lift the sleeve and replace that piece rather than rebuilding the whole lantern. The removable design also lets you try a different paper color or window pattern while keeping the same base and light.
Resist the temptation to seal every seam or add a closed top. The open, lift-off shade is easier to maintain and keeps the project simple. What makes this lantern work is not elaborate construction but a clear relationship between its parts: a steady base, a controllable light, a frame that holds its shape, and paper that turns a small LED into a broad, gentle glow.


