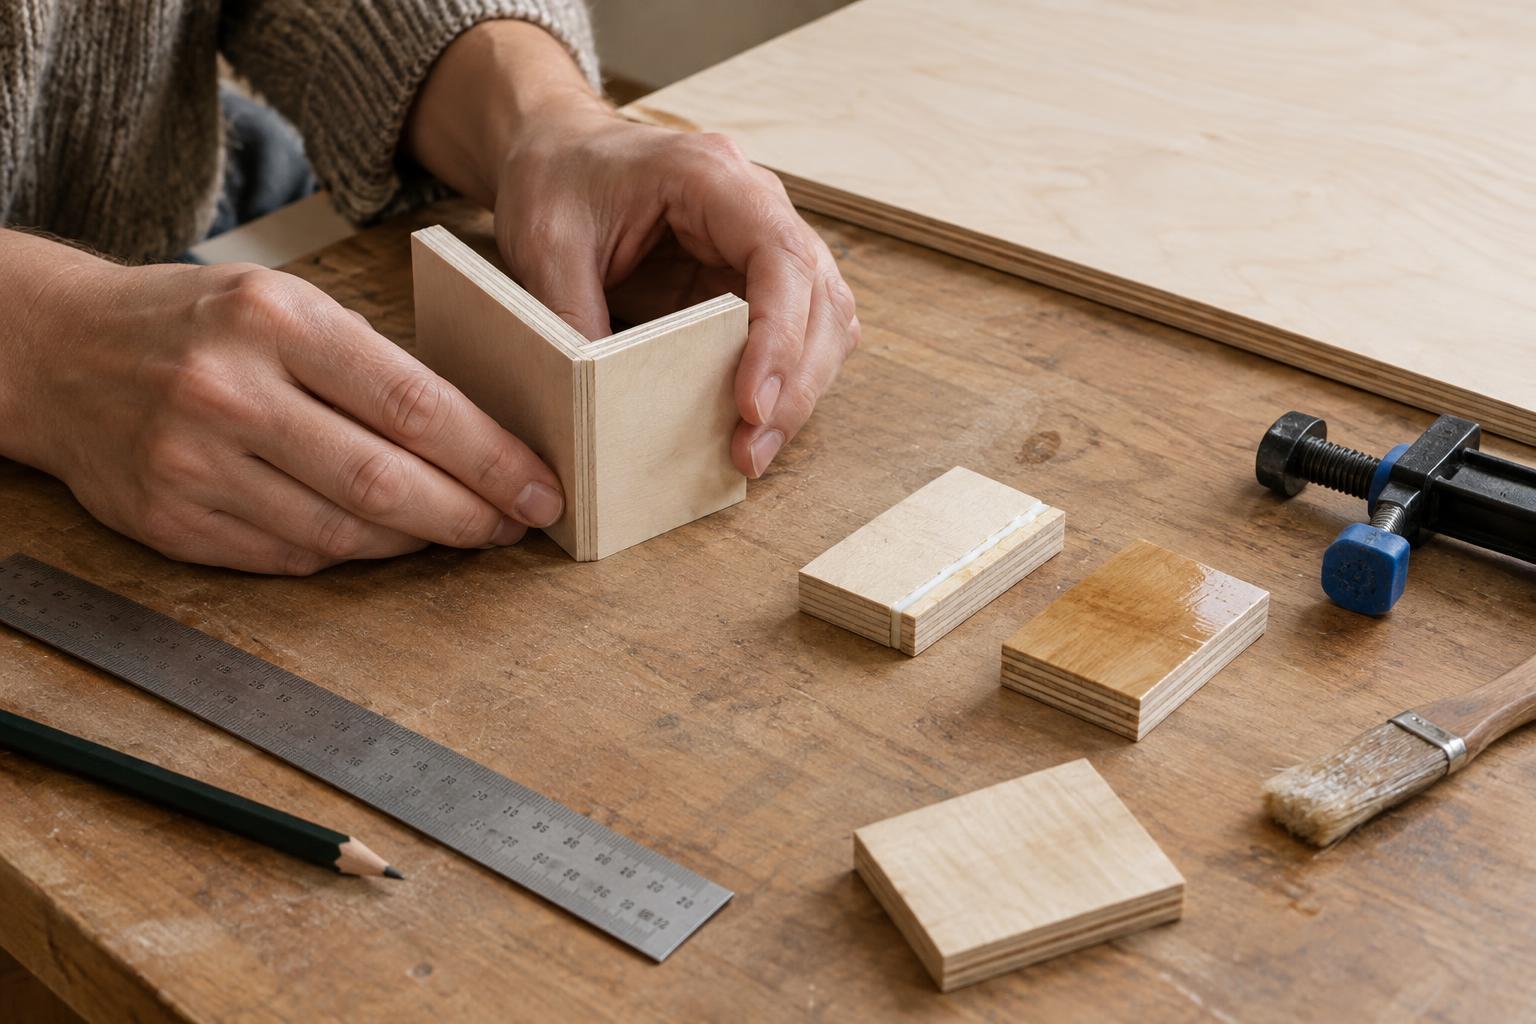
Make a trial before you commit
A test piece is a small version of a step you plan to use in a larger project. It might be two scraps of paper joined with glue, a few stitches in spare fabric, a painted offcut of wood or a single folded cardboard corner. The point is not to make a miniature masterpiece. It is to find out what your materials and tools actually do in your hands.
Beginners often run into trouble because an instruction seems clear until they try it. A fold lands slightly off-center, a brush leaves streaks or glue soaks through thin paper. Testing one decision at a time makes these problems easier to notice and cheaper to correct. Save a little of the same material for the trial; a different surface may behave differently.
Check measurements and fit first
Cutting everything at once feels efficient, but it can multiply a small measuring error. Before preparing all your parts, cut or fold one representative piece and place it where it belongs. Does a tab reach its slot? Is there room for a seam or overlap? If you are wrapping an object, can the material turn the corner without bunching? A dry fit, made without glue or other permanent attachments, lets you adjust the pattern while changes are still simple.
Mark a reference line on your test piece and measure from that line rather than from several different edges. If the result is wrong, check whether the issue came from the measurement, the thickness of the material or the way you held the tool. On projects with repeated parts, confirm that your first finished part matches the intended size before using it as a template for the rest.
Test joins, pressure and drying time
Too much glue can warp paper, leave a shiny rim or make pieces slide out of place. Too little may not hold. Join two scraps using the same amount, placement and pressure you expect to use on the project. After the adhesive has dried as directed on its packaging, gently handle the sample in the way the finished object will be handled. If it separates or looks messy, change one thing and try again.
The same approach works for stitches, tape, fasteners and creases. A short seam can show whether stitches pull the fabric into puckers. A taped cardboard joint can reveal whether the tape blocks a fold. With a crease, try a light pass before pressing harder; some surfaces show damage or cracking when forced. Make your test large enough to include an edge or corner if that is where the difficult part of the project lies.
See how the finish changes the material
Color and texture can change between application and drying. Paint may cover unevenly, ink may bleed along fibers, and a clear coating may deepen the appearance of a surface. Try the complete finishing sequence on a scrap: prepare it as you will the final piece, apply the finish with the same tool, then let it dry before judging it. A wet sample tells you only part of the story.
Watch for practical effects as well as appearance. Does a painted fold still move freely? Does a sealed paper edge curl? Does the finish make a surface too slippery to grip? Record what you used on the back of the sample or on a separate note. That small reminder is more reliable than trying to remember which of several similar-looking trials gave the result you liked.
Treat the test as a decision tool
A useful trial has a specific question: “Will this glue show through?” is easier to answer than “Will this project work?” Change only one variable between tests when you can. If you switch the paper, glue and brush at the same time, you may get a better result without knowing why. Keep failed samples long enough to compare them with improved ones; the difference often makes the next step obvious.
You do not need to test every action. Focus on steps that use unfamiliar materials, repeat many times or would be difficult to undo. Once a sample fits, holds together and looks the way you want after drying, move to the full project using the same method. A test piece will not prevent every mistake, but it turns a vague worry into a small, manageable experiment.


