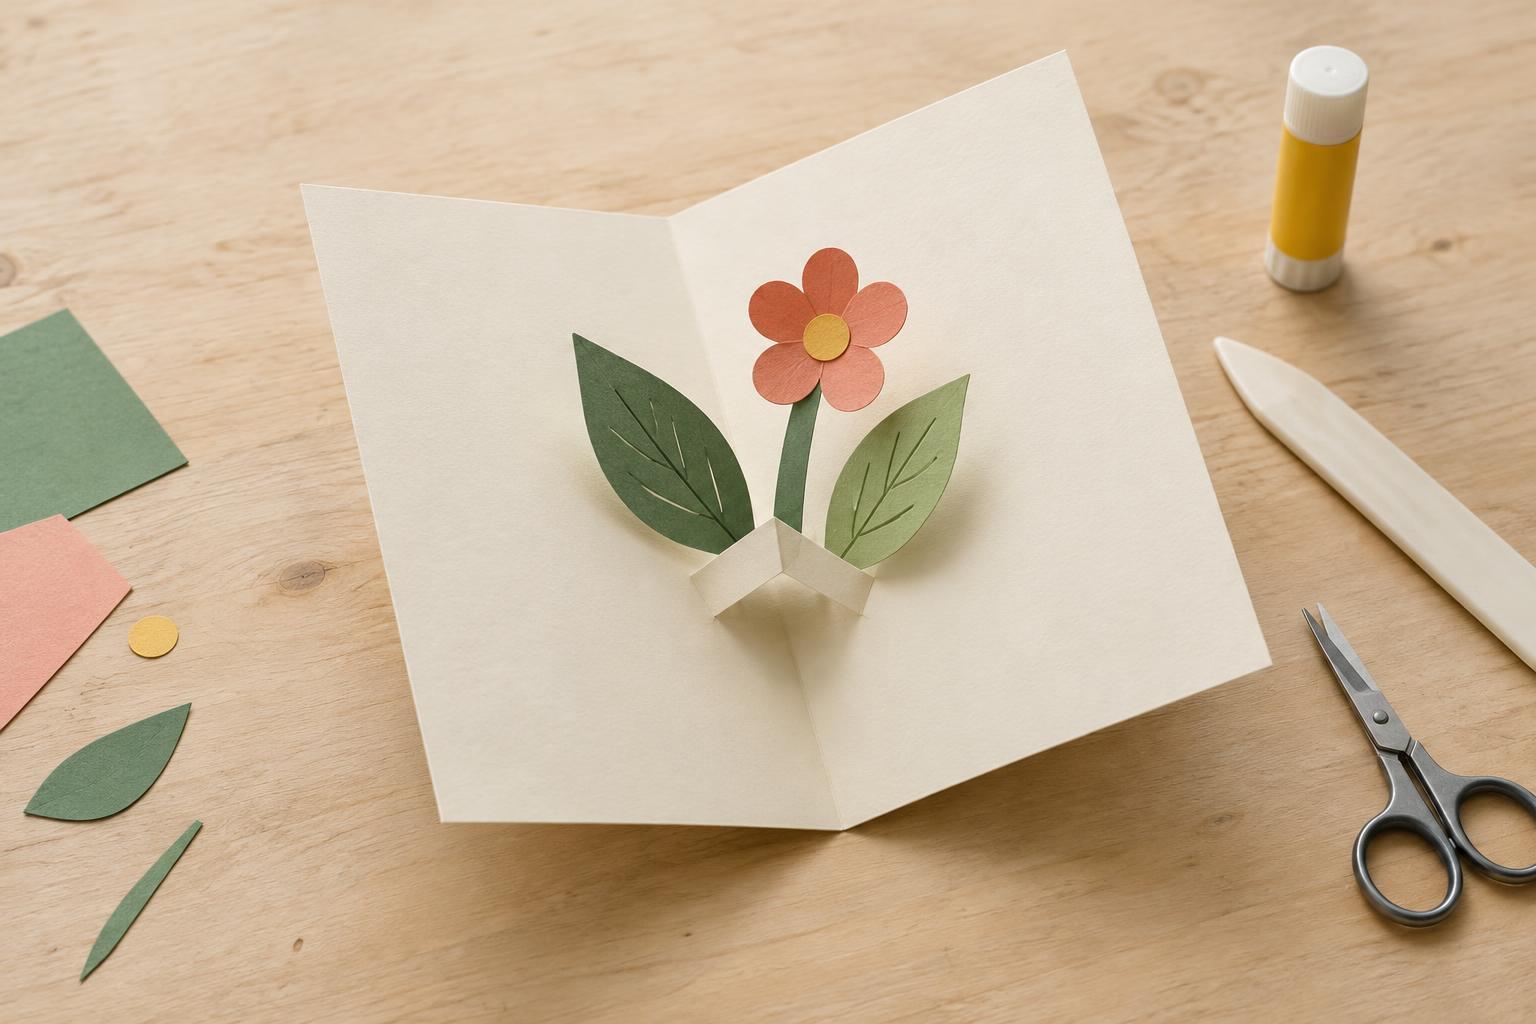
Start with a small scene
A pop-up card works best when its moving part has a clear purpose. Instead of trying to fill the whole interior, choose one lightweight shape to greet the reader as the card opens: a flower, a birthday candle, a paper house, or a cut-out word. A small shape is easier to support and less likely to catch when the card closes.
For a first version, gather a sheet of cardstock for the card, thinner paper for the hinge, scrap paper for the decoration, scissors, a ruler, a pencil, and a glue stick or small amount of craft glue. Fold the cardstock in half and press the crease firmly. That central fold is the reference line for everything that moves inside. Leave a margin around the card’s edges so the decoration has room to fold away.
Make a V-shaped paper hinge
Cut a narrow strip of paper about 1.5 centimetres wide and 7 centimetres long. Fold it in half across its length to make a sharp central crease. At each end, fold about 1 centimetre of the strip outward to form a small glue tab. Seen from the side, the unglued middle of the strip should be able to rise into a V, with a flat tab at either end.
Place the open card flat on your table. Set one tab on each panel, with the tabs the same distance from the card’s central fold. Keep the strip roughly perpendicular to that fold, like a short bridge crossing it. Try positioning the inner edges of the tabs about 2 centimetres from the fold. Before gluing, hold both tabs in place with your fingers and slowly close the card. The strip should fold inward without twisting or sticking out past the edges.
If the card resists closing, move the tabs slightly closer to the central fold or make a shorter hinge. If the strip lies almost flat when the card is open, move the tabs a little closer together so its middle can rise. Small changes in placement have a noticeable effect, so use pencil marks to record a position that works.
Attach the pop-up shape
Once the hinge moves freely, glue its tabs to the card and let them dry. Keep glue off the strip’s central crease and the portions that need to bend. Close and open the card once more before adding the decoration; this is much easier to fix while the hinge is still visible.
Cut your chosen shape from lightweight paper. Hold it against one sloping side of the raised hinge while the card is open, and check that it stays inside the card’s outline. Glue only a small area of the shape to that side of the hinge. Avoid bridging the hinge’s central crease with glue, or the mechanism may lose its movement. Close the card gently while the glue is still workable to see where the shape wants to fold. If a corner catches, trim it or shift the shape higher on the hinge.
A second hinge can support another small shape, but add it only after the first one works. Leave space between moving pieces so they do not hook onto each other. Two modest pop-ups often make a clearer scene than one oversized shape.
Finish the card around the movement
Use flat details to give the pop-up a setting. A drawn window behind a paper plant, a simple skyline beneath a sun, or a few lines suggesting a table can make one raised shape feel like part of a scene. Put most lettering on the card panels rather than on the hinge, where repeated bending can make it harder to read.
Before writing a long message, open and close the card several times. Look for rubbing, buckling, or an edge that escapes the closed card. A neat pop-up is not necessarily one that stands very tall; it is one that opens predictably and folds away without help. Once the movement feels reliable, add your message and any final color. The visible paper hinge can be part of the design, or you can cut it from paper that matches the card interior so the raised shape gets the attention.


