Decide what the mock-up needs to answer
A cardboard mock-up is not a finished version of an object. It is a way to answer questions that are difficult to settle on paper: Is the shelf deep enough? Can you reach the back of the organizer? Does the handle feel comfortable? Start by writing down one or two questions. They will guide where you spend your time and where a rough approximation is enough.
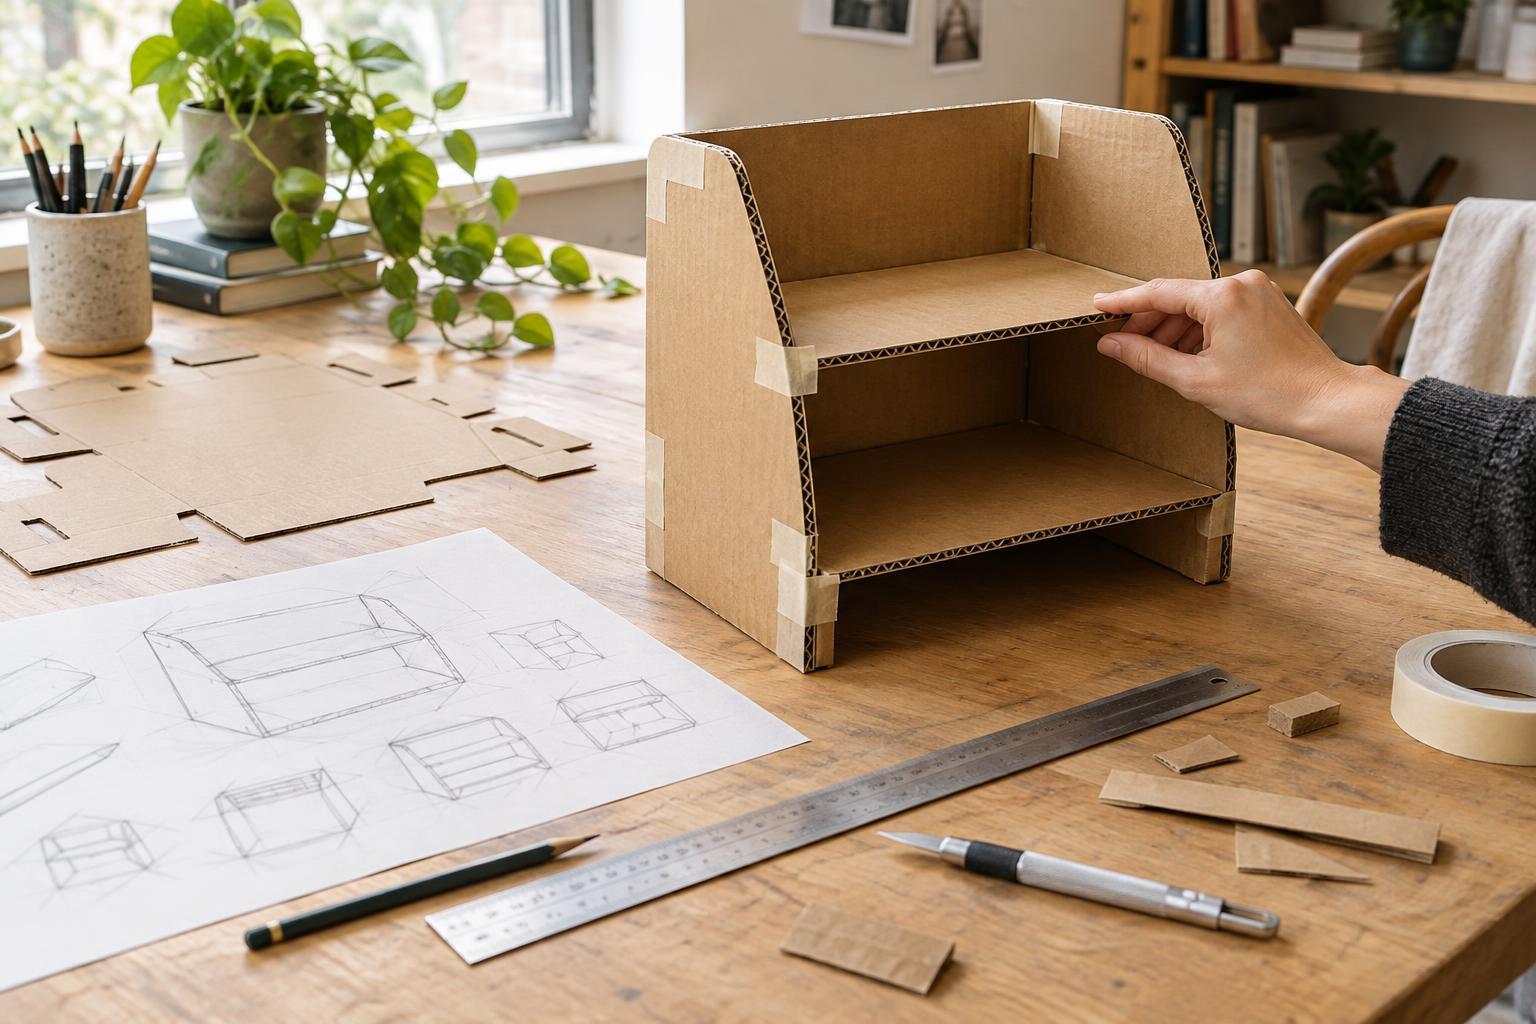
Look at your sketch and identify the views needed to build the object. A front view may show its outline, but a side view is often needed to establish depth. Add quick top and side sketches if they are missing. Mark features that affect use, such as openings, handles, dividers and the surfaces that must sit against a desk or wall. Leave decorative details for later unless they change how the object works.
Turn drawn proportions into dimensions
Choose one dimension that you can verify in the real setting. For a desk organizer, measure the space available on the desk and the items it must hold. For a wall-mounted idea, measure the intended location. Use that reference to set an overall width, height and depth, then give the major parts approximate dimensions. You do not need a complete technical drawing, but you do need enough information to cut pieces that fit together.
Make a simple parts list: base, sides, back, dividers and any extra pieces. Note which dimensions are outside measurements and which describe clear space inside. Cardboard has thickness, so two side walls reduce the room between them. If an object needs to fit closely, measure the cardboard itself and account for that thickness before cutting. Label dimensions on your sketches so you can revise them without relying on memory.
Make templates before committing to assembly
Gather corrugated cardboard, a ruler, pencil, cutting mat, craft knife or sturdy scissors, and tape. A square is helpful for drawing right angles. Reused boxes work well if the panels are large enough and not badly crushed. For a tall or load-bearing shape, use thicker board or layer pieces where they need support. Keep the direction of the corrugation in mind: a long, narrow piece may bend more easily in one direction than the other.
Draw the main panels directly on the cardboard or first make paper templates for repeated or curved shapes. Mark each piece with its name and orientation, including which edge meets the base. Cut on a protected surface, keep your other hand away from the blade path, and use several light passes rather than forcing a deep cut. For folds, score one face lightly without cutting all the way through. Test a small offcut first to learn how your cardboard folds.
Build just enough structure to test
Start with the base and the parts that establish the overall size. Use small pieces of tape to hold them temporarily, check the shape, then add more tape once the position looks right. This order makes corrections easier than permanently fixing every joint as you go. Tabs and slots can help locate pieces, but they do not need to be elegant: a reinforced taped joint is often enough for an early mock-up.
Check the assembly from the front, side and above. Set it where the finished object would go, if possible. A model that looks balanced on a worktable may block a drawer or crowd another object in its intended spot. If the mock-up must support weight, reinforce the relevant areas for the test, but remember that cardboard strength will not necessarily predict the strength of the final material.
Test, mark and make one useful revision
Use the mock-up as intended. Put actual pens into the organizer, reach through the opening, or move the model around the space it must occupy. Notice specific problems rather than deciding only whether you like the shape. Is the opening too narrow for your hand? Is a divider hiding what is behind it? Does the object tip when you use one side?
Write observations directly on the cardboard. Draw a new cut line, mark a part to move, or tape on an extension to compare two sizes. Photographing the model from several angles can help you remember what changed when you take it apart. Make one deliberate revision, then test again. Even if the final object uses another material, the mock-up has done its job when it gives you clearer dimensions and a better reason for the next design choice.


