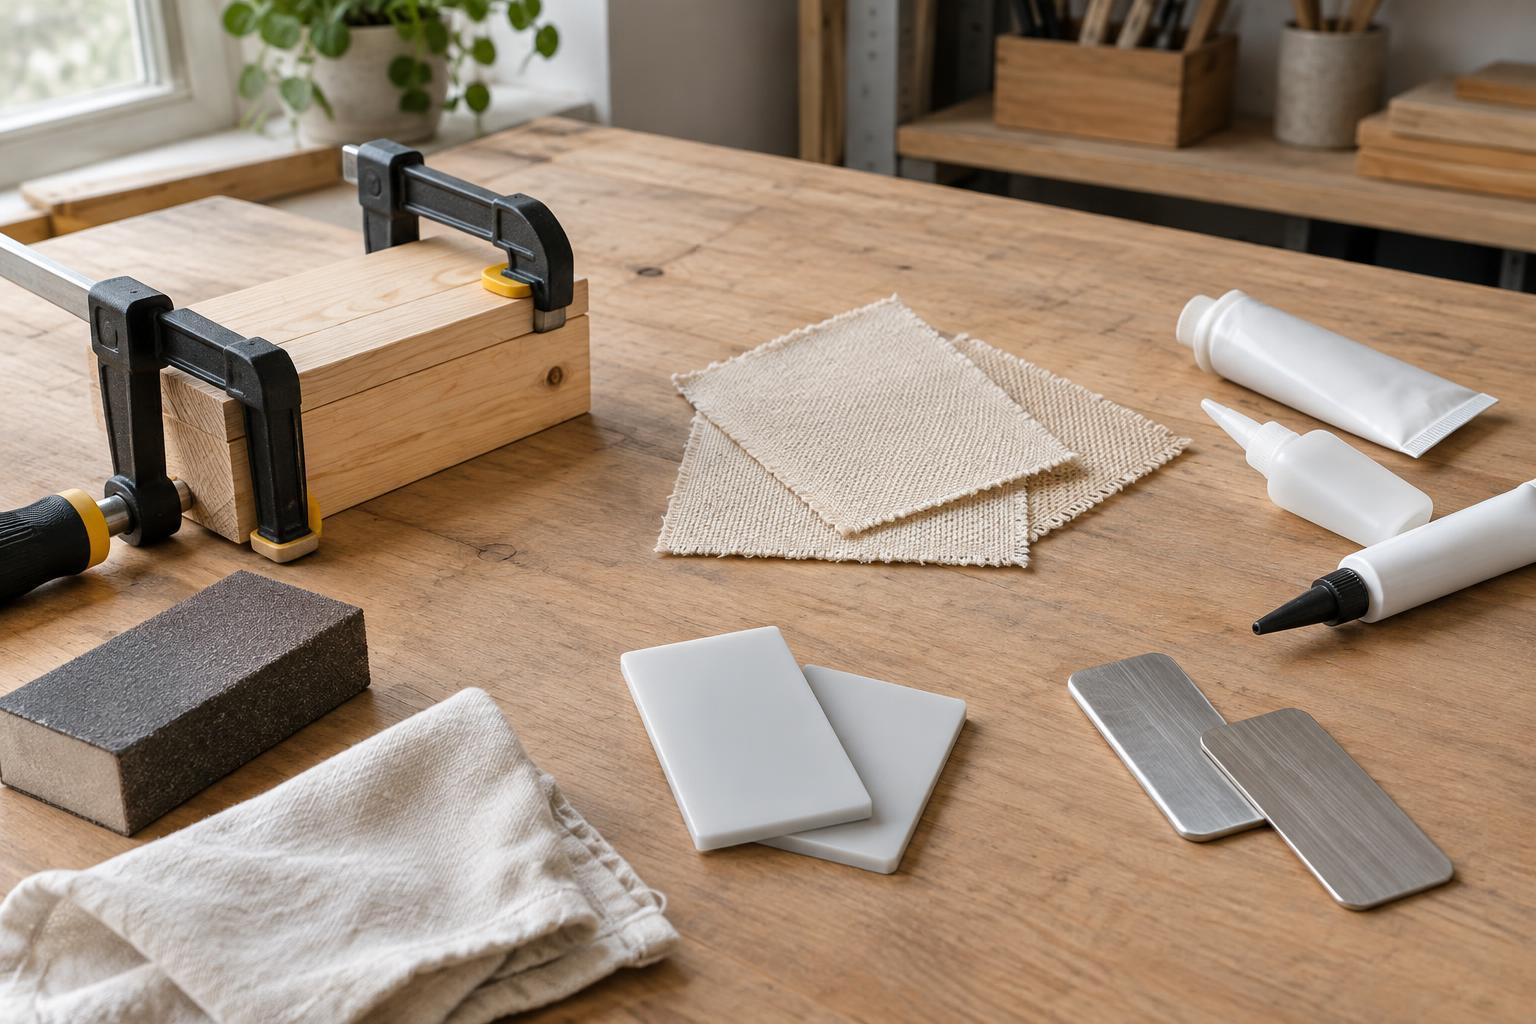
Start with the job, not the glue bottle
Two objects made from the same material can need different adhesives. A wooden tray joint must resist movement when lifted; a decorative strip on that tray may only need to stay in place. Before choosing a product, ask what the bond will experience: bending, pulling, vibration, water, heat, or repeated washing. Also consider whether the joined surfaces fit closely or leave a gap.
Adhesive labels usually identify suitable materials, application methods, and curing conditions. Treat those details as more useful than a broad claim such as “all-purpose.” A glue that sets quickly may make assembly convenient, but setting is not always the same as reaching full strength. If the object bears weight or its failure could cause harm, do not rely on an untested glue joint; consider a mechanical fastener or a different construction.
Wood: choose for fit and exposure
For close-fitting, unfinished wood joints in indoor projects, woodworking PVA glue is often a straightforward choice. It spreads easily and works well when the pieces can be held together while it dries. Apply it to clean wood rather than paint, dust, or an old glossy finish. A thin, even coat and good contact between the pieces generally matter more than adding a large amount of glue.
If a wooden object may get wet, check whether the particular product is rated for the expected exposure. Water-resistant and waterproof are not interchangeable descriptions. For gaps or mixed-material assemblies, an epoxy may be worth considering, but it does not turn a poorly fitted or weakly designed joint into a dependable one. Dry-fit pieces first, plan where clamps will go, and keep the assembly undisturbed for the time specified on the label.
Fabric: preserve the movement you need
Fabric bends and stretches, so a rigid adhesive can leave a stiff patch or crack as the material moves. A fabric adhesive intended for the textile and its likely use is a sensible starting point for patches, hems, or small craft details. Check the label for washability, drying time, and any heat-setting requirement. If the item will be laundered often or pulled at a seam, stitching may be a better primary join; adhesive can help position the layers before sewing.
Test on a scrap or hidden area first. Some adhesives soak through thin cloth, alter its color, or leave a visible edge. Use only enough to make contact, and keep the fabric flat while the bond cures. For fabric attached to a hard surface, consider both sides of the join: an adhesive suitable for cloth may not bond well to a coated metal or slick plastic.
Plastic and metal: identify the surface
“Plastic” describes many materials with different bonding behavior. Some rigid plastics accept a cyanoacrylate adhesive, often called super glue, for small, close-fitting repairs. Others, including polyethylene and polypropylene, are difficult to bond with common glues and may call for a product specifically labeled for them. If you can find a material mark on the object, use it when checking the adhesive label. Avoid assuming that a bond made on one plastic will work on another.
Metal is usually easier to identify but still needs preparation. Remove oil and loose coatings, and follow the product’s directions for cleaning or lightly roughening the surface. A two-part epoxy can suit some metal-to-metal or metal-to-other-material projects, particularly where there is a small gap to fill. Cyanoacrylate can be convenient for tiny, well-fitting parts, though it may be less suitable where the joint will flex or take repeated impacts. For either material, test a small area if a failed bond would damage the object.
Prepare, cure, and check the result
Whatever the material, a sound bond starts with surfaces the adhesive can reach. Remove dust, grease, and loose finish without damaging the object. Arrange the pieces before applying glue, especially if working time is short. Use clamps, weights, or tape only where they will hold the parts in position without squeezing all the adhesive out or distorting the assembly.
Work with ventilation and follow the label’s handling and cleanup instructions; some adhesives can irritate skin or give off strong fumes. Protect the work surface, and keep products away from children and pets while they are in use. Allow the full recommended cure before washing, loading, or flexing the object. Finally, check the joint gently under the conditions it is meant to face. If it peels apart, reconsider the surface preparation, adhesive, and joint design rather than simply applying a thicker layer.


