Start with the joint, not the clamp collection
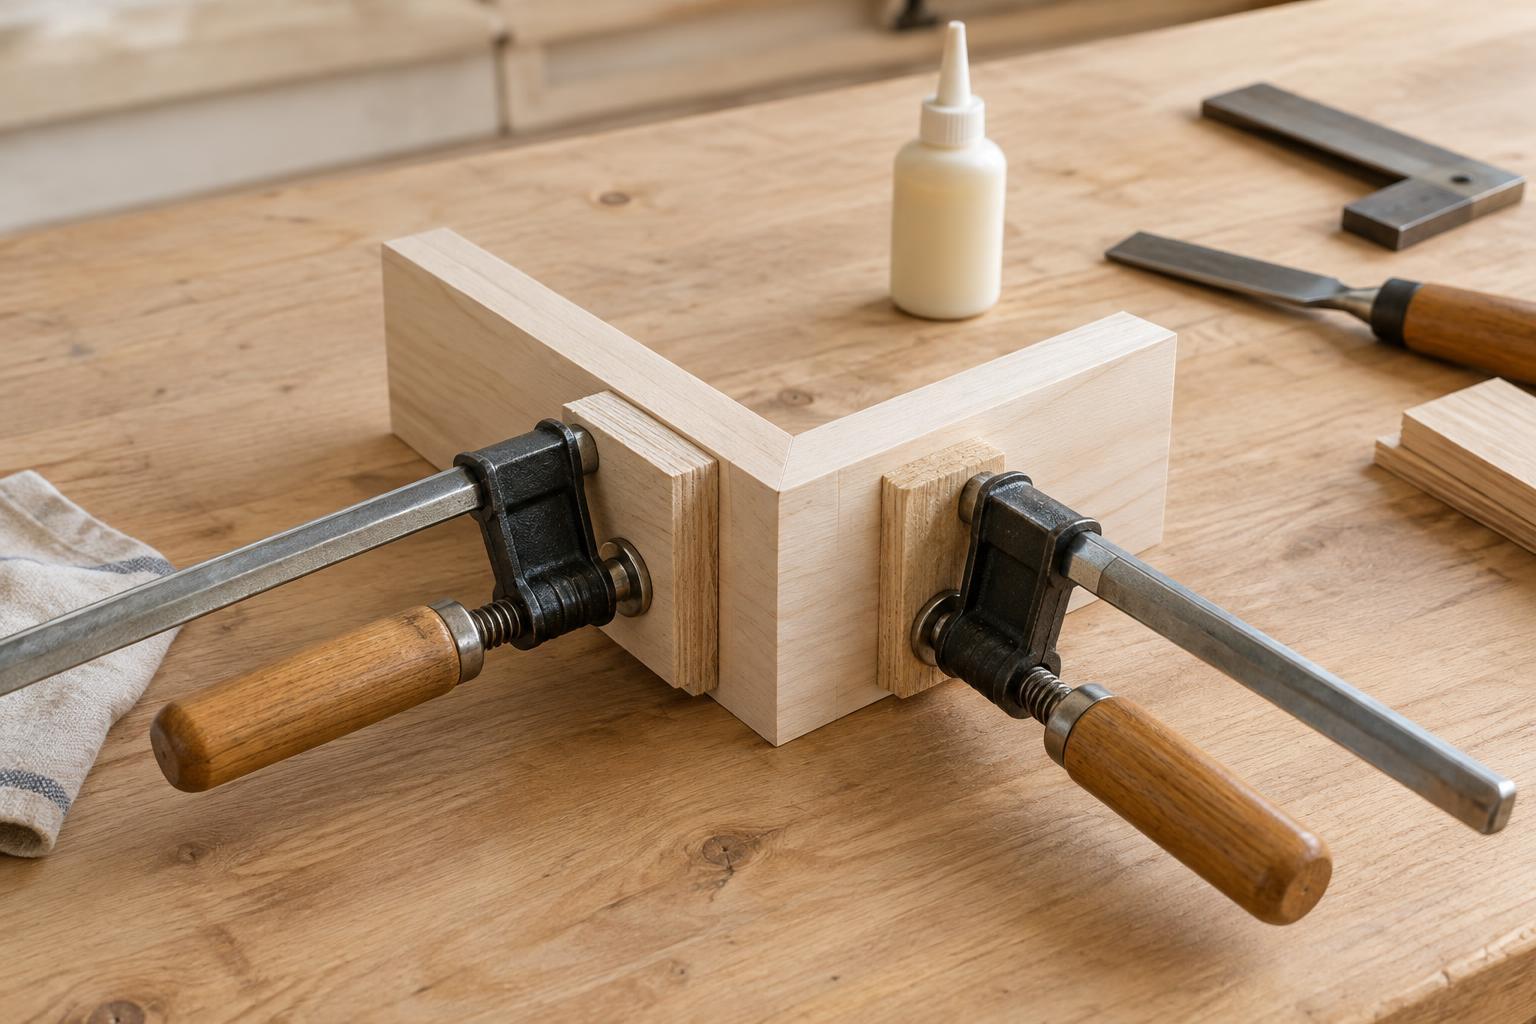
A clamp has one main job: hold parts in the intended position while you work or while an adhesive cures. Before choosing one, look at the joint. Which faces need to meet? In what direction could the pieces slide or rotate? Where can the clamp jaws reach without covering a surface you need to inspect? Thinking through those questions is more useful than reaching for the largest clamp on the shelf.
For a small assembly, sketching the parts or arranging them on the bench can reveal the direction of pressure you need. A simple edge-to-edge joint may need pressure across the seam. A box corner may need pressure in two directions and a way to keep the corner square. If the parts are thin, narrow, or easily marked, plan for gentler contact before tightening anything.
Match the clamp to the shape
Small bar clamps and F-style clamps are versatile when their jaws can reach both sides of a joint. They offer adjustable pressure, making them useful for many wood and craft assemblies. Spring clamps are quick to place and handy for holding a light part or a protective pad, but their fixed grip may be too weak for one joint and too strong for another. A small corner clamp can help locate two pieces, though you should still check the angle yourself.
For irregular or delicate shapes, a clamp may not be the best holder. Painter’s tape can act as a temporary hinge or keep a lightweight joint closed; a strap can distribute pressure around a frame or box. These methods work only when they keep the parts from moving in the direction that matters. If a clamp cannot reach the joint cleanly, change the setup rather than forcing its jaws into a poor position.
Put pressure where it closes the joint
Aim clamp pressure through the surfaces you want to bring together. If a clamp pulls at an angle, it can make one edge look tight while opening a gap elsewhere. Begin with light pressure, check the joint, and reposition the clamp if the parts shift. On a long narrow piece, two modestly tightened clamps may hold alignment better than one clamp tightened hard at the center.
Small wood offcuts used as cauls can spread pressure across a wider area. Put a thin protective layer between a caul and a glued joint if there is a chance they will stick together. Soft pads can also keep clamp jaws from denting a visible face. They do not fix uneven pressure, however: if a pad rocks or a caul bends, adjust the support or clamp position before tightening further.
Dry-fit and check alignment
Assemble the parts without adhesive first, using the clamps you expect to use later. A dry fit tells you whether the jaws have room to sit flat, whether you can reach the joint, and whether tightening makes the parts creep. Keep the clamps and pads nearby in the order you will use them. This short rehearsal is especially helpful when several small pieces need to be held at once.
Once the assembly is clamped, inspect it from more than one direction. Check that mating edges remain flush and that corners are square where the design calls for it. On a small box, comparing corner-to-corner diagonals can help reveal a skewed shape, though it is not a substitute for checking that the joints actually fit. Make small adjustments while the clamp pressure is still light.
Use only as much force as the job needs
The goal is firm contact, not maximum force. Excessive pressure can dent a surface, bow a thin panel, or squeeze so much adhesive from a joint that the fit becomes less reliable. Follow the adhesive’s instructions for application and holding time, and remember that clamping cannot compensate for parts that do not fit together well. If a visible gap remains, inspect the joint rather than simply turning the handle harder.
Keep fingers clear of closing jaws, and set the work on a stable surface so it cannot tip as you tighten. After the first clamp goes on, pause and look again: the best placement is the one that holds the assembly in its intended shape without fighting it. For many small projects, a careful dry fit, a few well-placed clamps, and a final alignment check are enough.


