Start with the sheet and the job
A small sheet-metal project becomes easier when you identify the material before cutting. Thin aluminum and copper are generally easier to cut with hand tools than steel of a similar thickness. A sheet that bends readily may still be sharp, while a sheet that barely flexes may be difficult to control with snips. If you do not know what the metal is or whether it has a coating, test a small offcut first and avoid methods that heat it or produce a lot of airborne dust.
Draw the finished shape on paper if the piece must fit somewhere specific. Then mark the cut line on the sheet with a fine marker or a scribe suited to the surface. Leave a little extra material where you can: it is easier to file a slightly oversized piece to its final shape than to correct one cut too small. Mark which side is the finished piece so you know where to keep the cleaner edge.
Set up for a controlled cut
Freshly cut sheet metal can slice skin, and small offcuts can spring away. Wear eye protection and cut-resistant work gloves when handling the sheet. Clear the bench so offcuts cannot disappear among other materials. For a straight cut, support the sheet on a stable work surface; for a small part, clamp it between pieces of scrap wood with the cut line just beyond the wood. Keep hands out of the tool’s path.
Choose a tool that suits both the material and the shape. Hand snips work well for many thin sheets and are useful for gentle curves. Straight-cut snips suit long, accessible lines; left- and right-cut snips help the waste curl away when following a curve. A fine-tooth hacksaw can be easier to control on a short cut in material that resists snips, provided the sheet is held firmly. Use the tool’s stated material and thickness limits rather than forcing it through a sheet it cannot cut comfortably.
Cut without distorting the piece
With snips, begin at an accessible edge and take steady bites along the marked line. Do not close the blades all the way at the end of every bite: the blade tips can leave small notches that take extra work to remove. Let the waste side bend away from the cut, rather than twisting the part you want to keep. For a tight corner, make a separate relief cut into the waste so the offcut has room to move. Avoid trying to turn the snips sharply in a single squeeze.
When using a hacksaw, clamp the metal close to the cut and use smooth strokes without heavy downward pressure. A scrap-wood backing can reduce vibration and help support a narrow piece. Stop and reposition the clamp if the sheet begins to chatter or bend. Keep both the useful piece and the offcut under control as the cut finishes; either one can have a razor-like edge.
Do not judge the cut by appearance alone. Run your eyes along the line before touching it. Points left at corners, raised lips and tiny teeth along the edge all need attention, even if the overall shape looks right.
Remove burrs and refine the shape
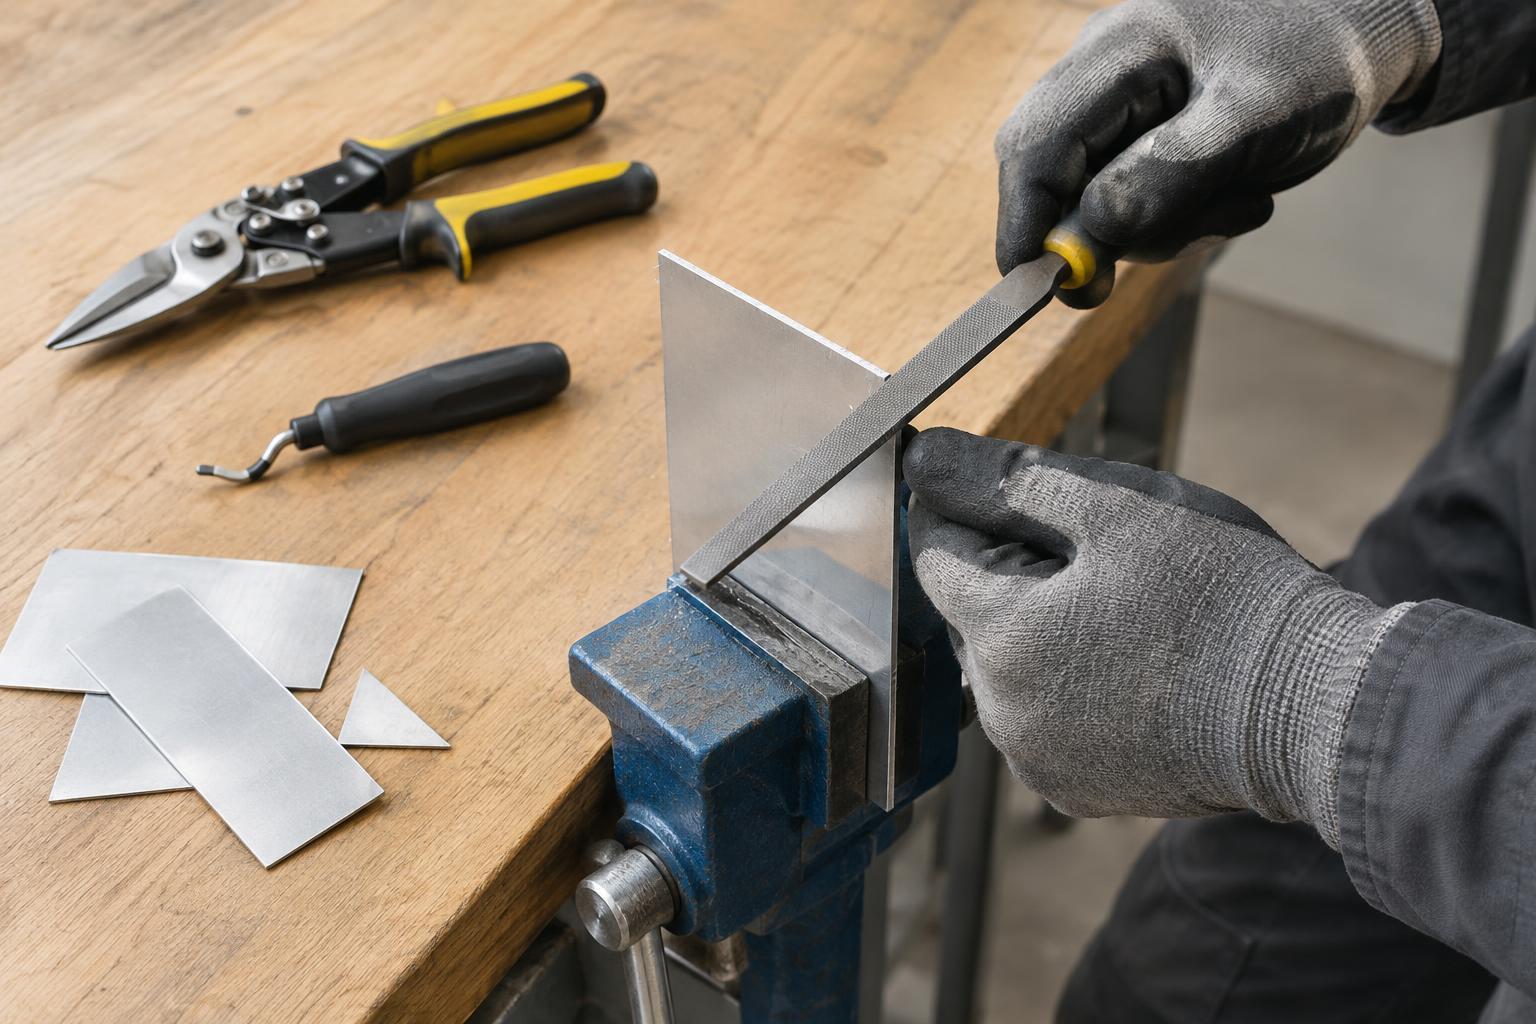
Secure the cut piece again before filing. Use a flat metal file on straight edges and a small round or half-round file for inside curves. Work with controlled strokes from the face toward the edge, following the file’s cutting direction. First bring the outline to shape, then make a few light passes along each side of the edge to remove the burr. Corners deserve special care: rounding a sharp point slightly can make a small object much more pleasant to handle.
For a smoother finish, wrap abrasive paper around a firm sanding block and work along the edge, progressing from a coarser grade to a finer one as needed. A block helps keep an edge even; loose paper tends to catch on burrs. Keep the piece clamped, wear eye protection and collect filings and used abrasive rather than brushing debris away with your bare hand. Avoid blowing metal dust across the work area.
Check the edge before using the part
Wipe the finished piece with a cloth, then inspect it in good light. To check for snags, move a scrap of cloth gently across the edge without wrapping your fingers around it. If the cloth catches, file or sand that spot again. Also check both faces near the cut: a burr can fold over and hide against the surface.
The right finish depends on how the object will be used. An edge on a piece that will be handled often should feel consistently smooth, while a concealed edge may need only thorough deburring. If the design calls for a particularly durable, comfortable rim, consider a folded edge or suitable edge trim rather than relying on sanding alone. Taking time at this final stage turns a roughly cut sheet into a more useful object.


