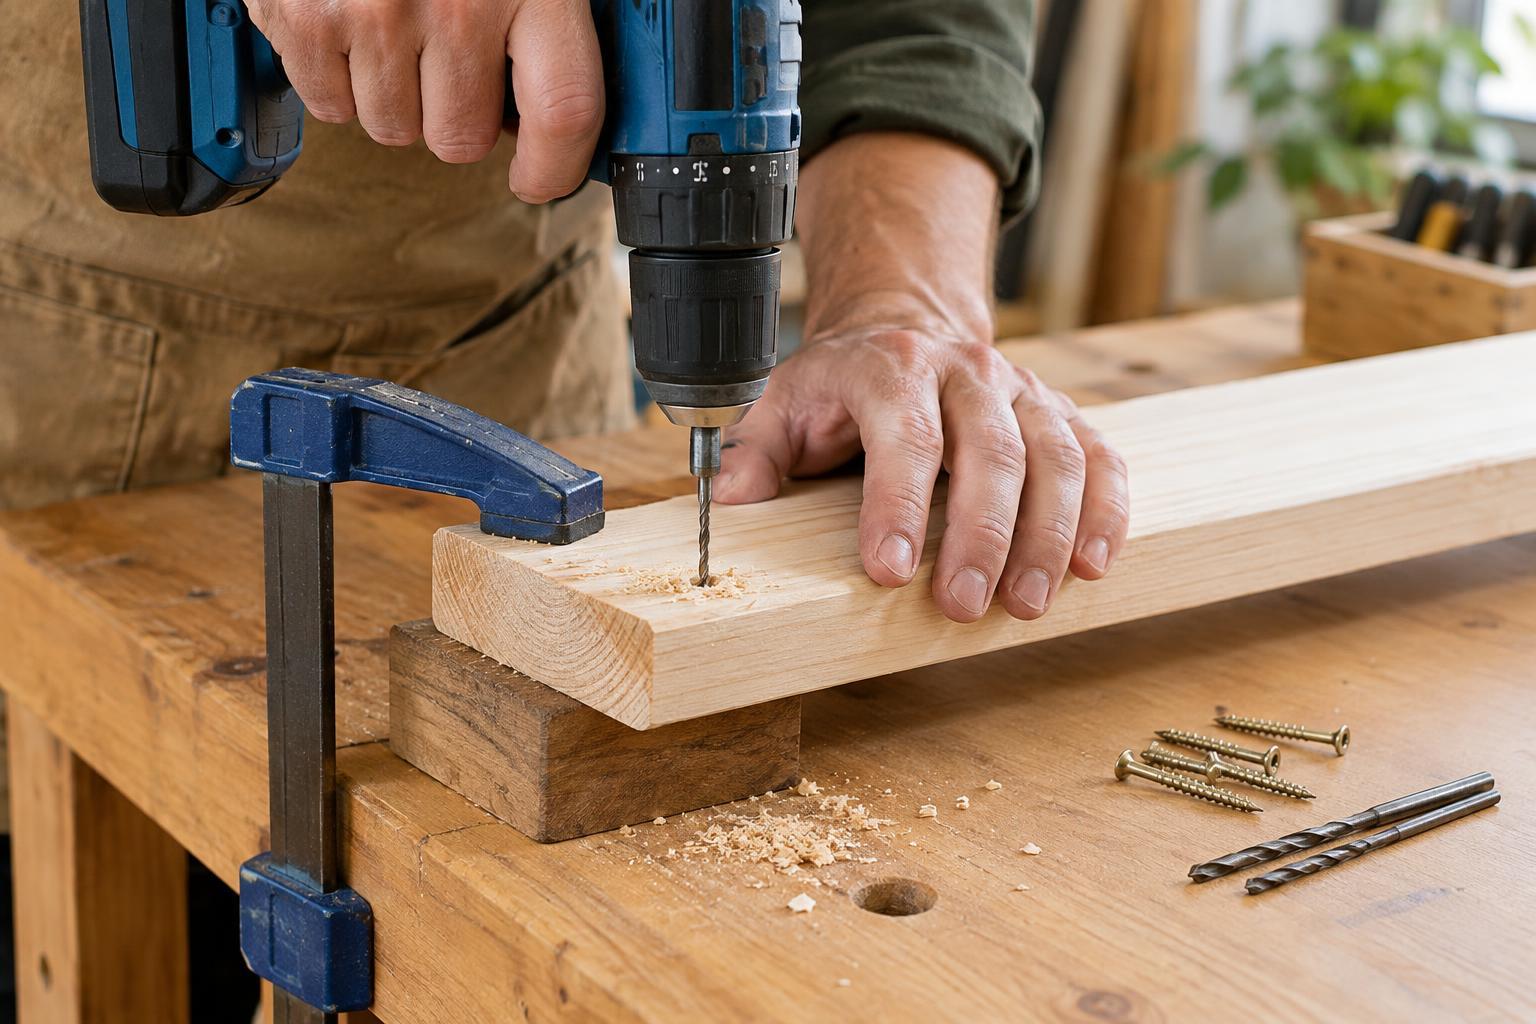
Why a pilot hole helps
Driving a screw into wood does more than cut a path. The screw’s center pushes material outward as its threads grip the surrounding fibers. If those fibers cannot move—especially near an edge or at the end of a board—they may separate into a visible split. A pilot hole removes some material before the screw goes in, reducing that outward pressure while leaving wood for the threads to hold.
Pilot holes are especially useful in hardwood, thin stock, narrow parts and places where a screw sits close to an edge. They also make it easier to keep a screw straight. A pilot hole cannot guarantee that wood will not split, but it gives you more control over a joint that might otherwise be risky.
Choose a bit that leaves room for the threads
For the piece that will receive the screw threads, start with a drill bit close to the diameter of the screw’s solid center, often called its root, not the full width across its threads. One way to check is to hold the bit in front of the screw: you should still be able to see the threads projecting on both sides. Softer wood may accept a slightly smaller pilot hole; dense or brittle wood may need one a little larger. Test on an offcut of the same material when the fit matters.
If a screw passes through one piece before fastening into another, consider drilling a clearance hole through the first piece. That hole should let the screw’s unthreaded shank—or the full threaded width, if there is no shank—pass without gripping. The screw can then pull the first piece snugly against the second rather than holding the pieces apart. Drill the smaller pilot hole into the receiving piece.
A pointed wood bit helps you place the hole accurately. A brad-point bit is useful for clean entry in wood, though an ordinary twist bit can work well too. Check the screw’s length before drilling: the pilot hole should reach through most of the portion that will enter the receiving piece, without breaking through a face you want to keep intact.
Mark, support and drill the hole
Mark the screw position with a pencil and check its distance from nearby edges. Moving a screw farther inward gives the surrounding wood more strength to resist splitting. If the layout allows, avoid placing a screw where it would run along an existing crack or very close to the end of a narrow strip. Mark the drilling depth on the bit with a small piece of tape, or use a depth stop.
Clamp the work so it cannot shift, and place scrap wood beneath it if the bit might emerge from the far side. Start the drill slowly at your mark, with the bit aligned to the direction the screw will travel. Once the tip is established, drill steadily without forcing it. Withdraw the bit occasionally from a deep hole to clear chips; packed chips can make the bit bind or heat up.
For a screw head that should sit flush, use a countersink bit or a larger bit turned gently by hand to create a shallow recess at the entrance. Do not make the recess deeper than needed. If you are drilling several matching holes, finish one complete test joint first so you can adjust the bit size or depth before repeating it.
Drive the screw without undoing the work
A pilot hole reduces pressure, but the way you drive the screw still matters. Keep the driver aligned with the hole and use a controlled speed. Stop when the joint is snug: continuing to drive can strip the wood or wedge the head into the surface. In hard wood, a little wax on the screw threads may make driving easier. If the screw suddenly becomes difficult to turn, back it out and check the hole rather than applying more force.
End grain and narrow edges deserve extra care because splits can follow the grain away from the hole. Use a test piece to find a pilot size that lets the screw turn smoothly without feeling loose. For plywood or other layered materials, support the exit side and pay attention to the outer layers, which can chip even when the core does not split.
The goal is not the smallest possible hole. It is a hole that lets the screw enter without acting like a wedge, while leaving enough material for its threads to grip. Matching the hole to the screw, the wood and the location is more reliable than using one bit size for every job.


