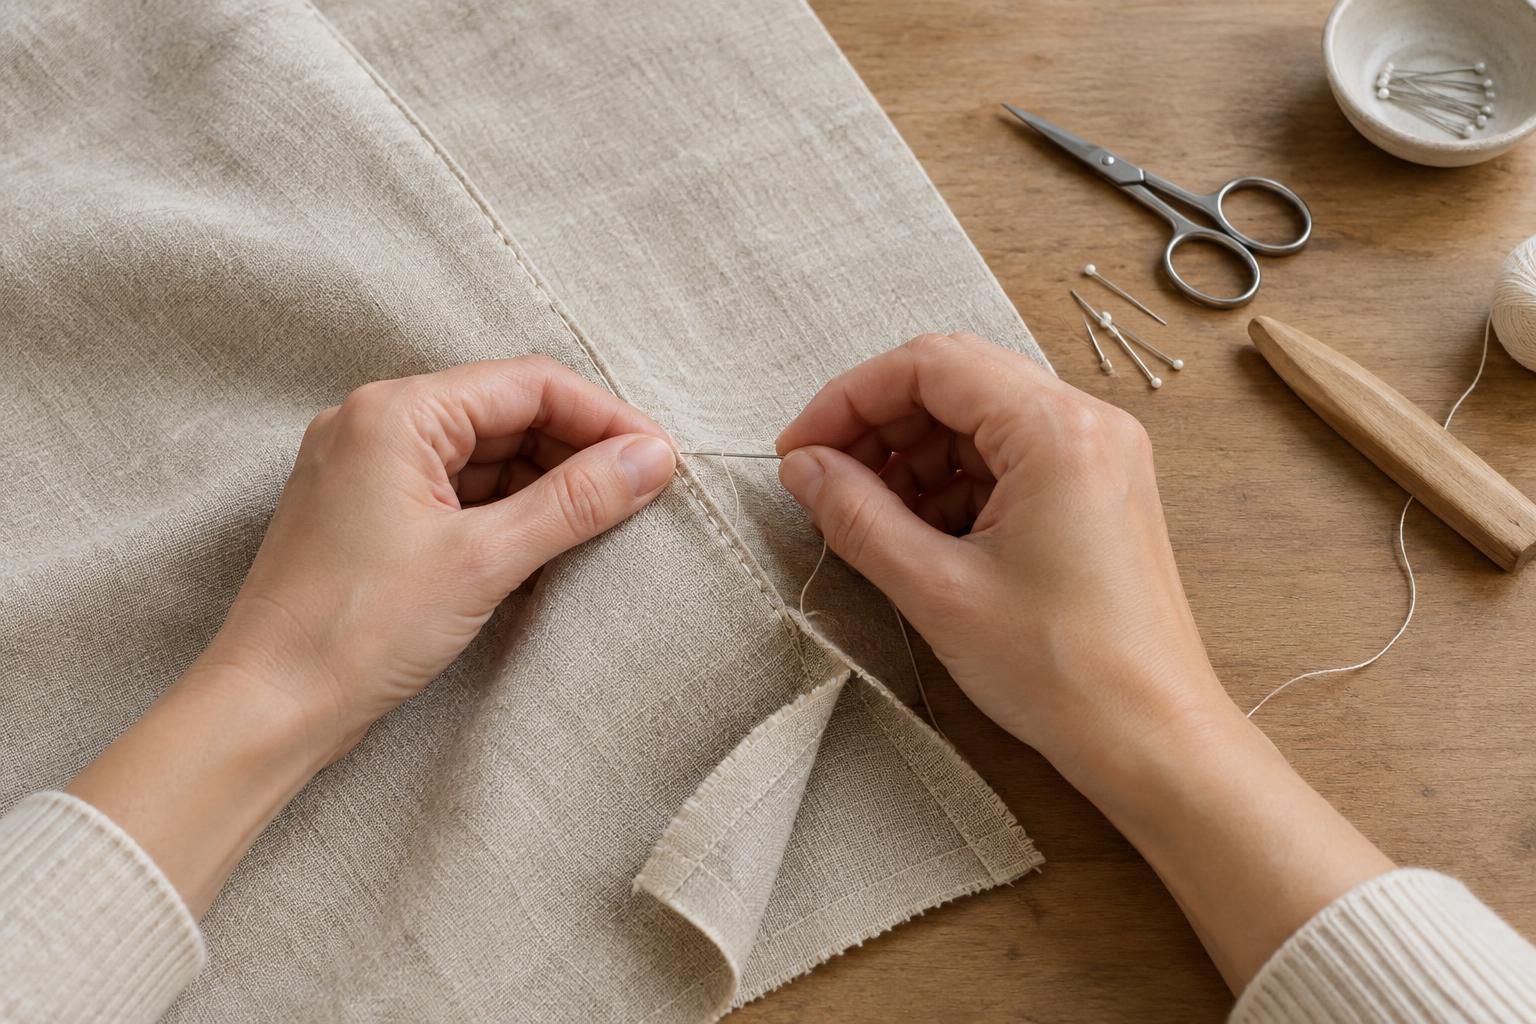
What makes a plain seam last
A plain seam joins two fabric pieces along a single line, usually with their right sides facing each other. When the pieces are opened, the stitching sits on the inside and the seam allowances—the strips of fabric between the stitching and the cut edges—remain hidden. It is a useful starting point for a fabric pouch, cushion cover or simple repair.
Durability depends on more than tight stitches. The fabric needs enough allowance beside the stitching that the edge will not pull free. The thread needs to suit the fabric, and the stitches should be even without puckering the cloth. Finishing the raw edges also helps keep a woven fabric from fraying during use and washing.
Prepare the fabric and tools
Gather a hand-sewing needle, all-purpose sewing thread, scissors, pins or clips, a ruler and a removable fabric marker or tailor’s chalk. Choose a needle that passes through the fabric without forcing a large hole. A fine woven cotton needs a finer needle than heavy canvas; for thick fabric, a thimble can make pushing the needle safer and easier. Test the thread and needle on a scrap if you have one.
Cut the fabric edges as neatly as you can. Put the right sides together and align the edges, then pin or clip the layers so they cannot shift. Mark a stitching line a consistent distance from the cut edge. About 1 cm (3/8 inch) is a manageable seam allowance for many small projects, but follow your pattern if it specifies something different. More allowance may be helpful if the fabric frays readily or you expect to adjust the fit later.
Cut a comfortable length of thread—roughly the distance from your fingertips to your elbow—so it is less likely to tangle. Thread the needle and knot one end. For a heavier seam, you can double the thread, but try it on a scrap first: doubled thread can be bulky on lightweight cloth.
Sew the seam with a backstitch
Start at one end of the marked line. Bring the needle up through both layers from the wrong side, leaving the knot against the fabric. Make one small stitch backward along the line, then bring the needle up a short distance ahead of that stitch. Insert it at the end of the previous stitch and bring it up ahead again. Repeat this backward-then-forward motion. On the visible side, the stitches should meet or nearly meet; on the other side, they will overlap.
Aim for small, reasonably even stitches, around 2–3 mm long on a medium-weight fabric. The exact size matters less than keeping the line steady and avoiding large gaps. Hold the layers together as you work, but do not pull the thread so hard that the fabric gathers. If the seam begins to pucker, ease the thread slightly before continuing.
At the far end, make two or three short backstitches over the last part of the seam to secure it. Pass the needle to the inside of the seam allowance, make a small knot through a nearby stitch or a few fabric threads, and trim the tail. Keep the knot off the outer face of the project.
Finish the allowances and press
A plain seam has raw edges that may need attention. If the fabric is woven and prone to fraying, work a simple overcast stitch along each cut edge: pass the needle over the edge and back through the seam allowance at regular intervals. Catch only the allowance, not the outer layer of the project. Do not draw these stitches tight enough to curl the edge. On a fabric that sheds threads easily, finish the edges before joining the pieces if that makes them easier to handle.
Open the joined pieces and check that the seam lies flat. Press the seam with an iron set appropriately for the fabric, first as sewn and then with the allowances pressed open or to one side. Pressing shapes the seam without pulling it out of line; test heat on a scrap when you are unsure how the material will respond.
Check the result
Gently open the fabric on either side of the seam and look for gaps, skipped areas or thread that feels loose. Check that both layers were caught along the full length and that the seam allowance has not narrowed unexpectedly. If a short section is weak, stitch over it with overlapping backstitches rather than relying on a knot alone.
A hand-sewn plain seam will look better with practice, but it does not need to look machine-made to work well. A consistent seam allowance, secure ends, stitches that meet and edges suited to the fabric will do more for its useful life than trying to make every stitch perfectly identical.


