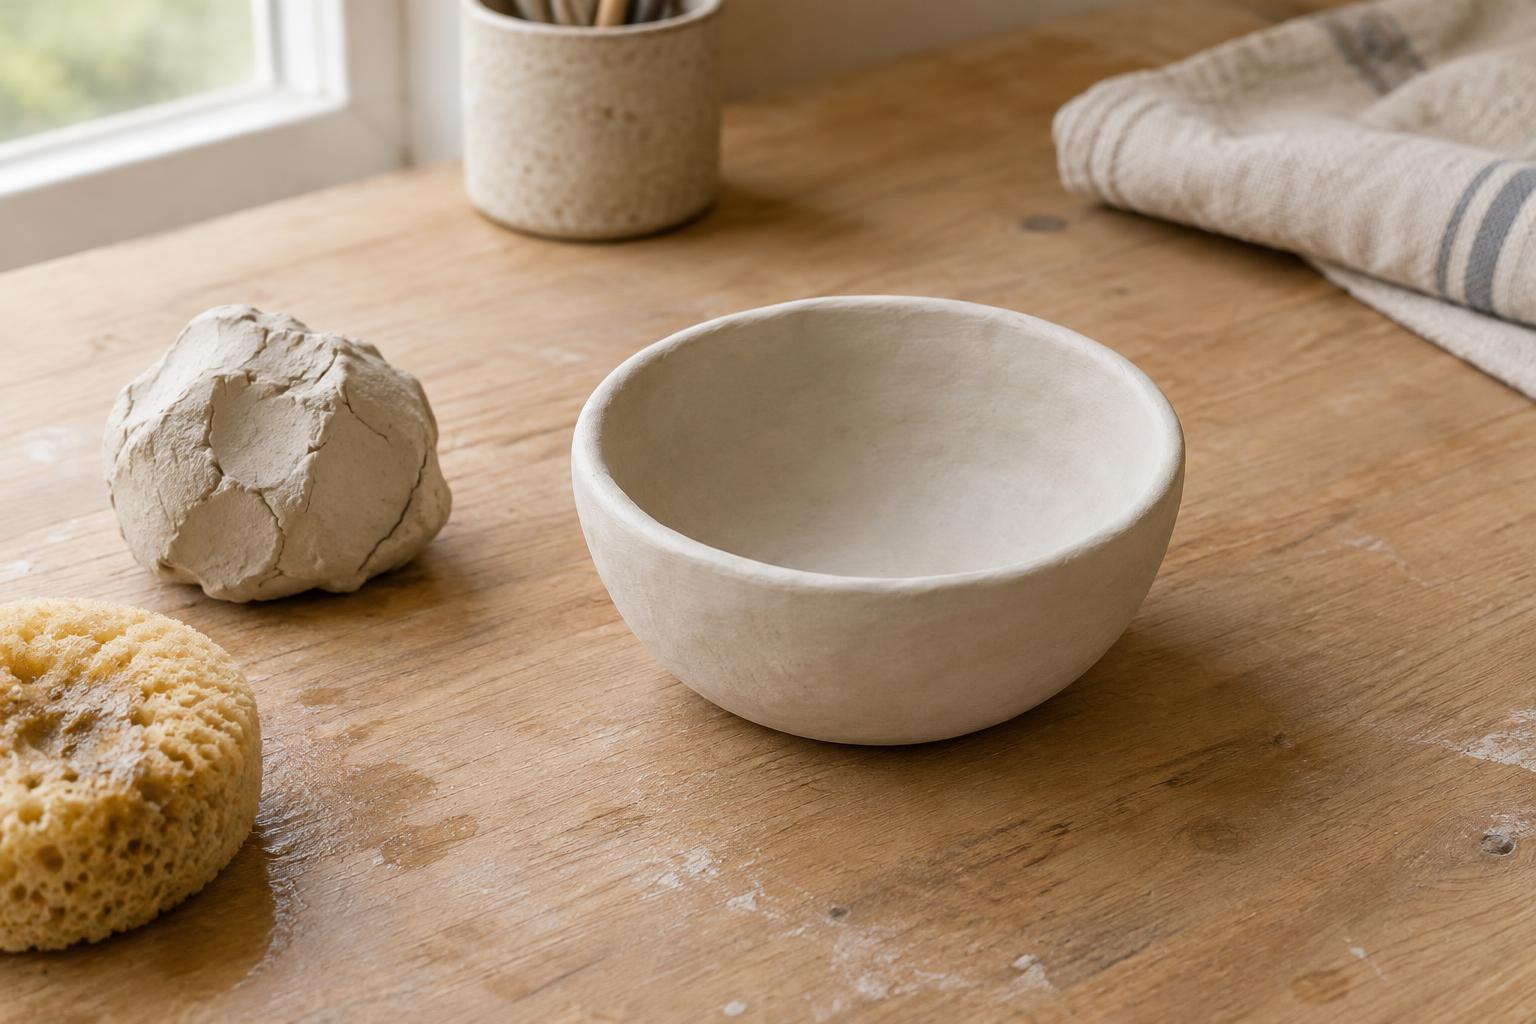
Plan a small bowl and prepare your surface
Air-dry clay is well suited to a pinch bowl because the shape can be made without a wheel or a mold. Start small: a bowl for paper clips, keys or other dry odds and ends is easier to shape and dry than a wide serving dish. Air-dry clay is generally not a good choice for food or standing water, even if you plan to paint or seal it.
Gather a piece of clay, a smooth work surface, a small dish of water, a soft brush or fingertip for smoothing, and a piece of cardboard or a board you can move without bending. A sheet of paper on the board can help keep the clay from sticking; choose one you can peel away gently if needed. Check the instructions for your particular clay before beginning, since drying times and finishing recommendations vary.
Open the bowl without leaving a thick base
Knead the clay until it feels workable, then roll it into a smooth ball. Press one thumb into the center, stopping before you reach the bottom. Rotate the ball a little at a time while pinching between your thumb and fingers. Work around the whole bowl rather than thinning one area completely before moving to the next. This gradual approach makes it easier to spot uneven patches.
The base is easy to overlook. As you open the bowl, feel its thickness between a finger inside and your other hand underneath. Aim for a base that feels similar in thickness to the walls, while leaving enough clay for the bowl to sit firmly. If the bottom forms a heavy lump, gently press and draw some of that clay outward into the lower walls. If a spot begins to feel thin or flexible, stop pinching there and work on the surrounding area instead.
Refine the rim and give the base a stable seat
Set the bowl on your board and view it from the side. A slightly irregular outline can look intentional, but a rim with one very tall section may be more vulnerable to bending as it dries. Pinch high areas down gently or smooth them into their neighbors. Avoid repeatedly pulling the rim upward; that can leave it much thinner than the rest of the bowl.
To make a stable seat, place the bowl on the board and press lightly inside its center while supporting the outside. Lift it to check the underside. Flatten any obvious bump with gentle fingertip pressure rather than pushing hard enough to spread the entire base. Smooth cracks at the rim or outside with a barely damp fingertip. Use water sparingly: soaking the surface can turn it slippery and make the shape harder to control.
Let moisture leave gradually
Drying evenly is less about finding the fastest spot in the room and more about avoiding sharp differences between the exposed rim and the sheltered base. Leave the bowl on its movable board in a place with gentle air circulation, away from direct sun, heaters and strong drafts. If the rim starts feeling firm while the lower walls remain noticeably soft, loosely cover the bowl with a sheet of plastic for a while. Leave space around it rather than pressing the cover onto the clay, and check it periodically.
Once the bowl can be handled without changing shape, lift it carefully so the underside can get some air. You can turn it over if it feels strong enough and rests safely on its rim; otherwise, leave it upright and move or remove the paper beneath it when possible. Do not force a bowl loose from a surface it is stuck to. Let it release as it firms, or gently work the paper away to avoid stressing the base. Follow the clay maker’s guidance for when it is fully dry.
Finish it for the job it will do
When the bowl is completely dry, feel around the rim and base for rough areas. Light sanding may tidy small imperfections; wear a dust mask and clean up the dust rather than blowing it across your workspace. If you want color, use a finish recommended for your clay and allow each coat to dry as directed. A coating can make the surface easier to wipe, but it does not turn an air-dry clay bowl into a waterproof or food-safe vessel.
Put the finished bowl somewhere its handmade shape will be useful: beside a desk for clips, near a door for small pocket items, or on a shelf as a display piece. If your first bowl develops a crack, use it as a clue for the next one. Compare the thickness near the crack with the rest of the piece, and consider whether that area dried faster. Small adjustments to shaping and drying often matter more than extra decoration.


