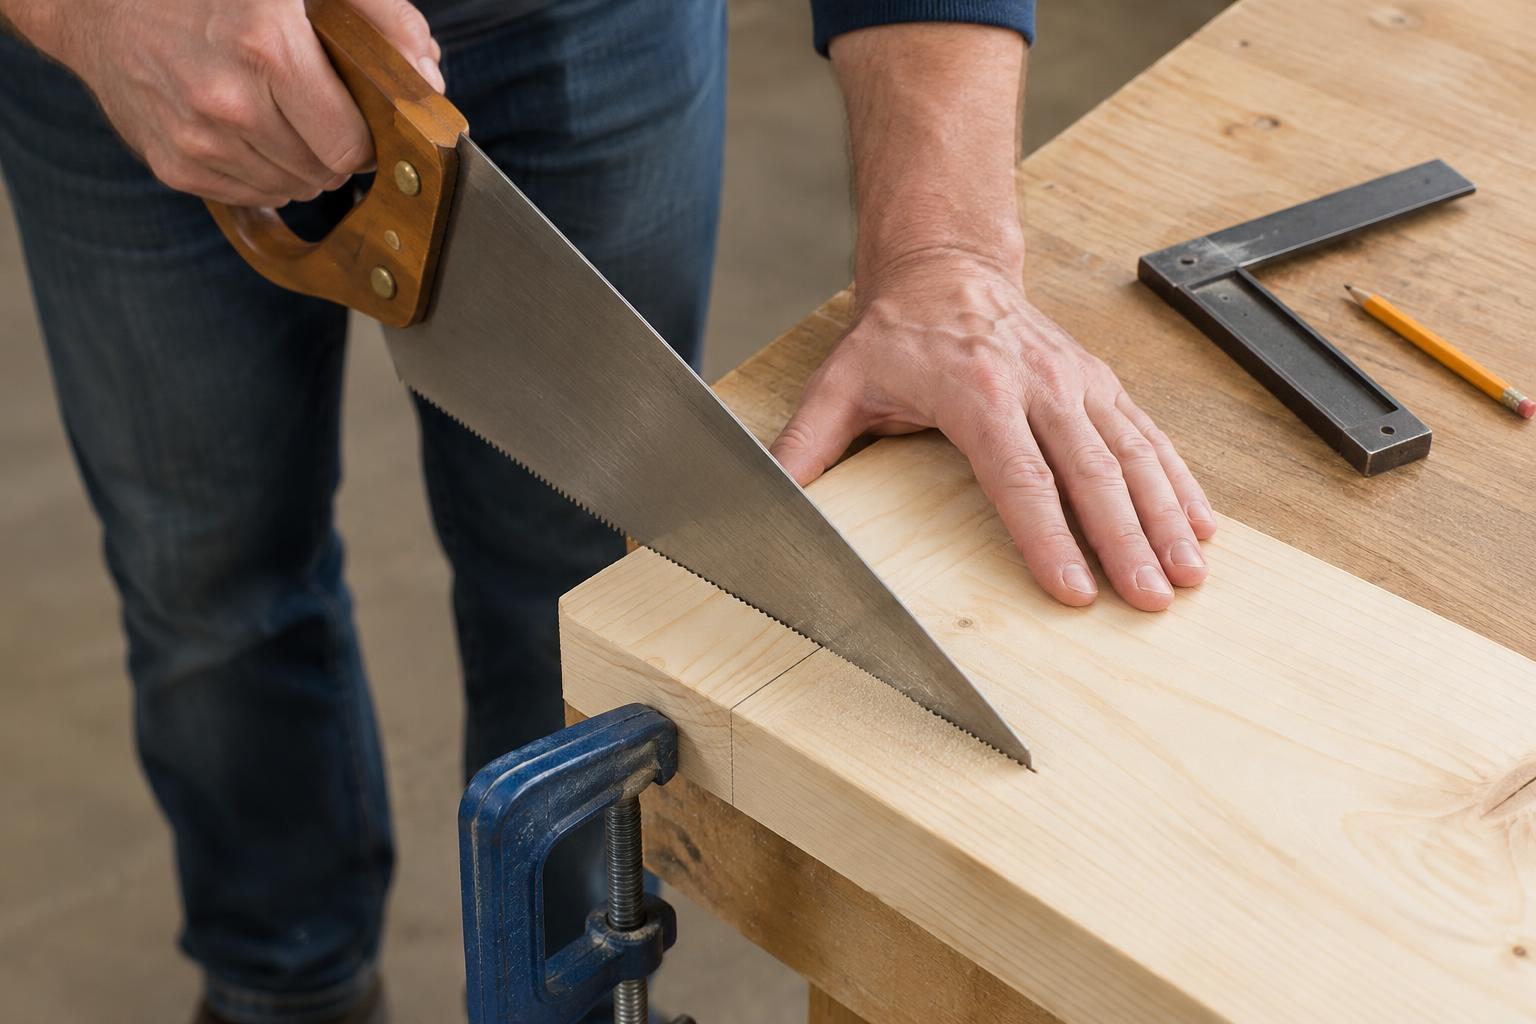
Decide which side of the line to keep
A handsaw removes a narrow strip of wood as it cuts. That strip, called the kerf, matters when a piece must finish at a particular length. Measure from the end you intend to keep, make a small pencil tick at the required length, and place your saw on the waste side of that mark. If you cut through the middle of the line, the finished piece may be slightly short.
Choose a saw suited to the job. A general-purpose handsaw is useful for many boards, while a fine-toothed backsaw can be easier to control for small, precise cuts. Check that the blade is clean and that its teeth are in reasonable condition. A saw that binds or skips can make a careful cut harder than it needs to be. For an important fit, leave a little extra length and trim or sand to the final dimension afterward.
Mark a line you can follow
Use a combination square or try square to extend your pencil tick across the face of the board. Hold the square’s fence firmly against a straight edge of the wood; if that edge is uneven, your line may not be square to the board. Keep the pencil point close to the square and draw a thin, visible line rather than a broad stripe.
Carry the mark down the near edge of the board, and across the opposite face if you can reach it. These connected lines give you more than one reference as the blade moves through the wood. They also help you notice when a cut that looks straight from above is leaning to one side. On dark or rough wood, a strip of painter’s tape can make the pencil line easier to see, but check the measurement before relying on the tape edge as your cutting guide.
Support the wood and start gently
Set the board on a stable bench or pair of supports and clamp the part you are keeping. Arrange the waste piece so it cannot drop suddenly and tear fibers from the underside near the end of the cut. If the offcut is long or heavy, support it separately without clamping it so tightly that the cut closes around the blade. Keep the cutting path clear of the bench, clamps, and your hands.
Stand comfortably with the marked line in view. Set the teeth just beside the line, on the waste side, and begin with a few short, light strokes to make a shallow groove. Depending on the saw, a gentle pull stroke may help establish the cut. Avoid pressing hard at this stage: the blade is most likely to wander before the groove begins to guide it. Keep your free hand well away from the teeth rather than using a finger against the blade as a guide.
Watch the line, not just the blade
Once the groove is established, lengthen your strokes and let the saw do the work. A relaxed grip and steady rhythm usually offer better control than forcing the blade downward. Keep the blade aligned with the mark across the top face, then glance at the line on the near edge. If the blade begins to lean, adjust your arm position gradually. Twisting the saw sideways inside the cut can widen the kerf or jam the blade.
A straight cut depends partly on how you see it. Shift your stance if your arm has to reach awkwardly or if the line disappears behind the saw. When possible, position your head so you can compare the blade with both the top and side marks. If the saw drifts a little into the waste, you can often correct your direction over several strokes. If it enters the finished piece, stop and assess whether the edge can be trimmed rather than trying to force the blade abruptly back to the line.
Finish without breaking the edge
As the blade approaches the underside of the board, shorten and lighten your strokes. Make sure the offcut remains supported; a falling piece can splinter the last fibers and pull against the saw. After the cut, brush away sawdust and check the edge against a square. A cut that is slightly rough can often be cleaned up with a sanding block or a plane, provided you left enough material for that step.
For practice, use a scrap board and draw lines across its top and both edges. Cut just outside each line, then inspect where the blade exited. This shows whether you tend to drift along the length of the cut or lean through its thickness. Adjust one thing at a time—your stance, the board’s support, or the pressure of your stroke—and the marks will become more useful with each attempt.


