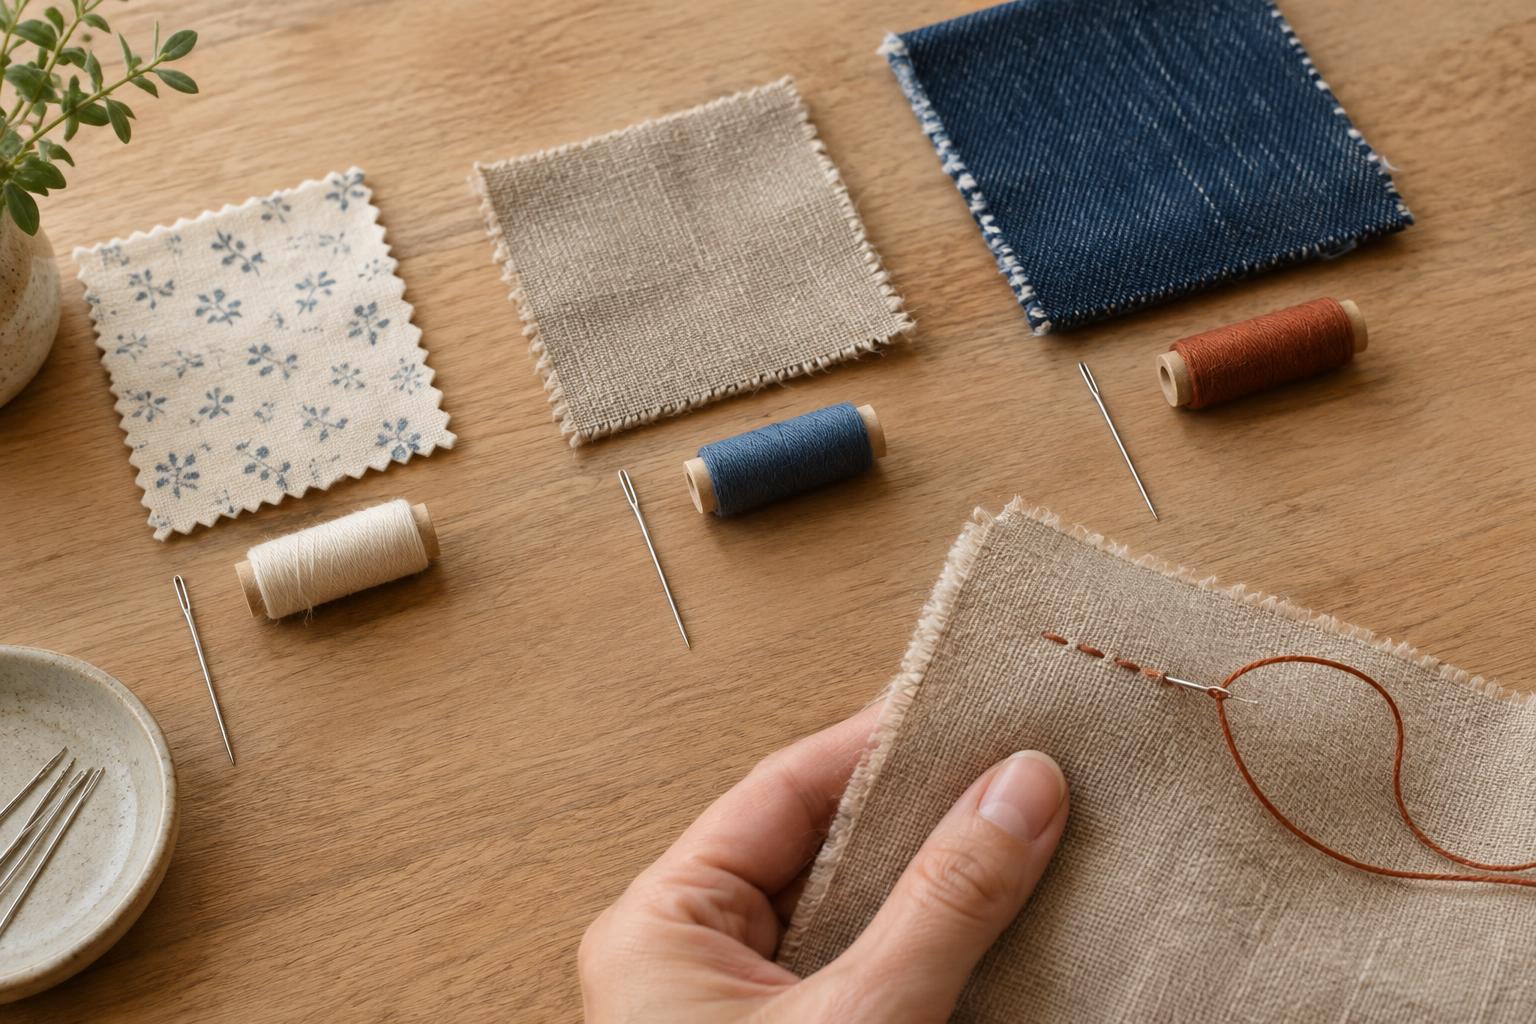
Start with the fabric, then the task
The best needle and thread are not necessarily the strongest ones in the box. They need to pass through your fabric cleanly, make a stitch suited to the job, and leave the fabric looking the way you want. Before choosing, handle a scrap or an inconspicuous edge. Is the fabric tightly woven or loose? Thin or thick? Smooth, stretchy, or easy to snag? Then consider whether you are closing a seam, attaching a button, making a visible repair, or adding decoration.
For most woven fabrics, a sharp hand-sewing needle is a useful starting point. Fine fabric generally calls for a finer needle and thread; heavier fabric can accommodate a sturdier pair. Knits often benefit from a rounded or ballpoint needle that can slip between loops rather than piercing them. These are starting points, not strict rules: a quick test tells you more than a label alone.
Choose a needle that passes cleanly
A needle has three parts worth checking: its point, shaft, and eye. The point should suit the fabric structure. A sharp point pierces woven cloth neatly, while a rounded point is less likely to split knit yarns. The shaft needs enough strength for the layers you are sewing but should not leave obvious holes. The eye must fit your thread without scraping it as you pull each stitch through.
Needle sizes can be confusing because numbering varies by needle type, and within many hand-sewing ranges a higher number means a finer needle. Rather than relying only on the number, compare the needle with your fabric. If you have to force it through, try a finer needle, a different point, or fewer layers at once. If it bends easily under normal pressure, try a sturdier one. A needle that is dull, bent, or rough around the eye is worth replacing; it can make even a sensible fabric-and-thread pairing difficult to use.
Needle shape also depends on the task. A short, sharp needle offers control for small stitches. A longer embroidery needle has an eye that can accommodate multiple strands of embroidery floss. For loosely woven canvas or other fabrics with visible spaces between yarns, a blunt tapestry needle may be appropriate when you want to work through those spaces rather than pierce new holes.
Match the thread to the job
For everyday repairs on woven clothing or household textiles, an all-purpose sewing thread is a practical place to begin. Polyester thread is commonly used for general sewing, while cotton thread is another option for cotton fabrics and projects where you prefer natural fibers. The key is proportion: very thick thread can pucker a fine fabric or stand out when you want an unobtrusive seam; very fine thread may be a poor choice for a button or another point that gets pulled repeatedly.
Match thread weight to fabric weight and intended appearance. Fine thread sits more quietly in lightweight cloth. A somewhat heavier thread may suit sturdy canvas, visible topstitching, or a button attachment, provided it passes through the fabric without strain. Embroidery floss is designed to be separated into strands, so you can adjust how bold a decorative stitch looks. Whatever thread you use, make sure it moves freely through the needle’s eye. If it frays there, choose a larger eye or a finer thread rather than pulling harder.
Make a small test before committing
Thread the needle with a manageable length, then sew several stitches through a scrap with the same number of layers as your project. Look at both sides. Are the holes noticeable after the thread is drawn through? Does the fabric pucker? Does the thread fuzz, snag, or break? Do the stitches look appropriate for the repair or detail you have in mind?
Change one thing at a time if the result is not right. A smaller needle may reduce visible holes; a larger eye may stop thread abrasion. A finer thread may reduce puckering, though shortening your stitches or easing your tension can help too. On stretchy fabric, gently extend the test piece after stitching to see whether the seam moves enough for its intended use. This small trial can save the trouble of removing stitches from the finished piece.
Keep a few reliable combinations at hand
You do not need a large collection to handle common sewing tasks. A few sharp needles in different thicknesses, a rounded needle for knits, and an embroidery needle cover many starting points. Pair them with general-purpose thread in useful colors and add specialty thread only when a project calls for it. Store needles so their points stay protected and you can identify the types later.
Think of the match as a balance, not a fixed chart. The fabric sets the limits, the task sets the demands, and your test stitches reveal whether the needle and thread work together. When the needle passes without a struggle and the thread lies neatly in the stitch, you have a good starting combination.


