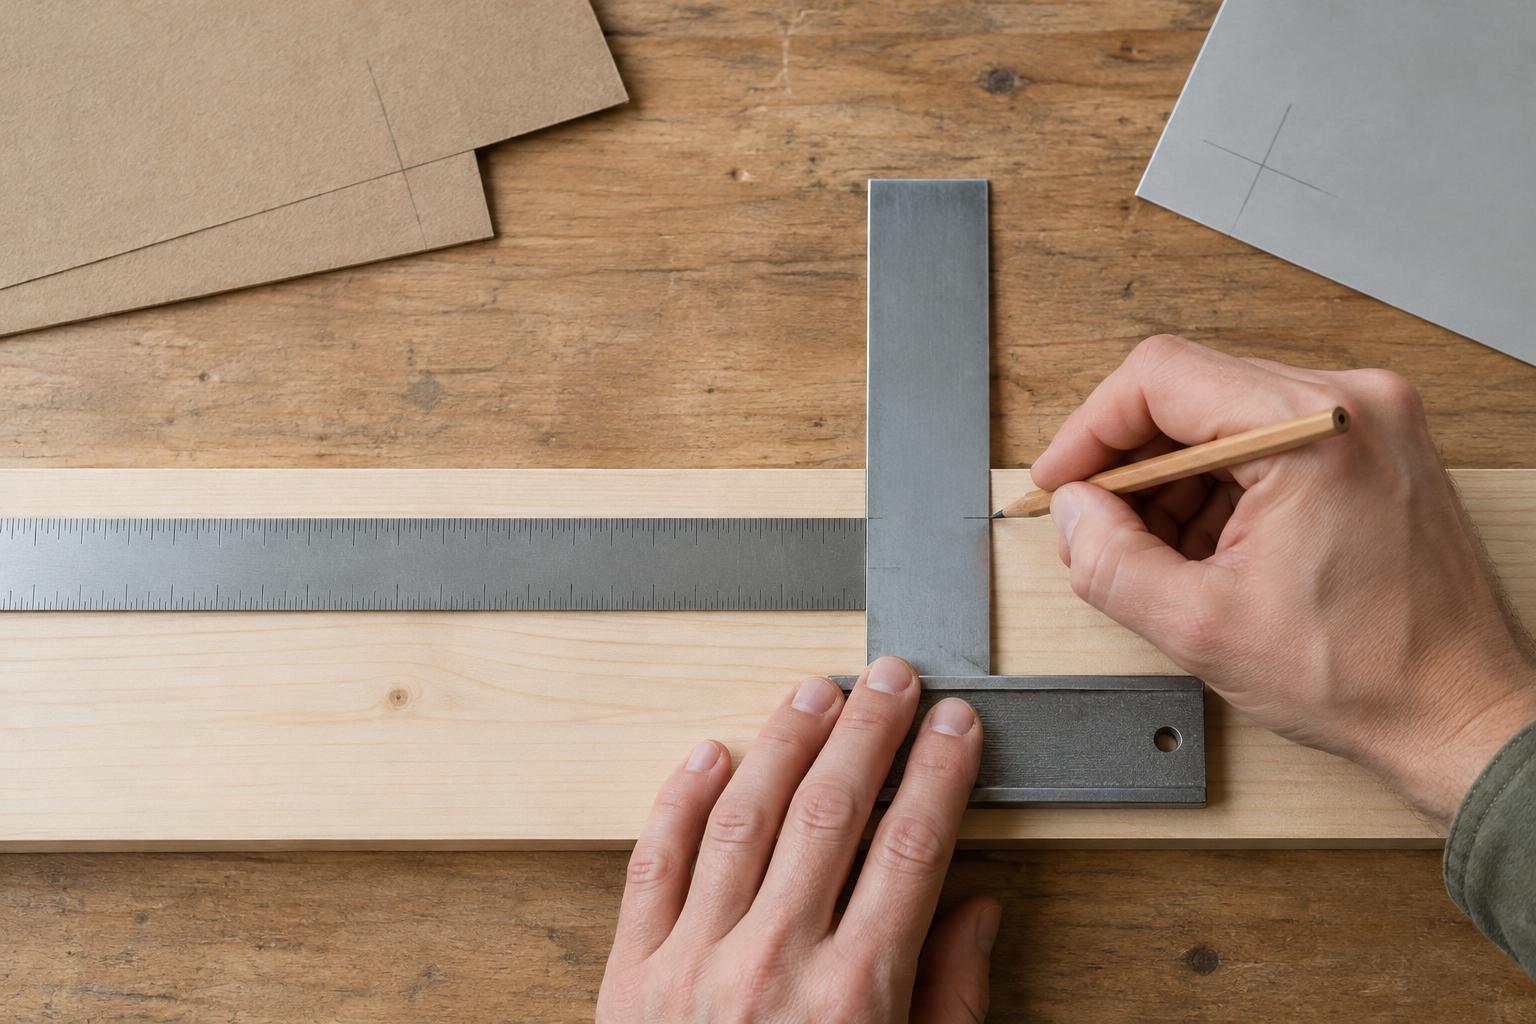
Start with a reliable edge
A ruler tells you how far; a square helps you establish a right angle. Neither can compensate for a poor starting edge. Before measuring, choose one reasonably straight edge of the material as your reference. If an end is uneven or out of square, do not assume that measuring from it will produce a square piece. Draw a fresh line from a reliable edge first, then use that line as your starting point.
Keep using the same reference edge as you lay out related marks. Switching between edges can carry small irregularities into the finished piece. On a board or sheet, a light pencil arrow can remind you which edge you chose. Check that the ruler sits flat and that the square’s stock, or thick guiding side, rests firmly against the reference edge. A raised splinter, curled corner or bit of debris can tilt a tool enough to affect the line.
Read the ruler before making a mark
First check where the ruler’s scale begins. On some rulers, zero is at the physical end; on others, the first graduation is set back. If the end is worn or difficult to see, place a clear graduation, such as the 10 mm mark, at your starting point and add that amount to the reading you need. This is especially helpful for short dimensions, where an uncertain starting point matters most.
Look straight down at the scale rather than from an angle, and make a small, fine mark at the intended graduation. A sharp pencil gives you a more definite position than a broad, soft tip. For a dimension that must fit another part, mark lightly at first and check it before drawing the full line. A ruler is good for locating a point; it does not need to become a straightedge for every line you draw.
Use the square to turn points into lines
To draw a line across a board, put the square’s stock snug against your reference edge and slide it until the blade reaches your measured mark. Hold the stock in place while drawing along the blade. Make the line just long enough for the next operation. A short, clear layout line is often easier to follow than a heavy line extending across the whole piece.
For a rectangle, mark both ends of a dimension from the same reference edge, then connect the marks with a straightedge. Use the square to draw the adjoining sides at right angles. If the workpiece is small enough, you can check the result by measuring its diagonals: equal diagonals are a useful sign that a rectangle is square, provided the opposite sides have also been laid out to matching lengths. If something looks wrong, recheck the reference edge and each measurement before changing a line.
Make marks that suit the material
Pencil is a versatile choice for wood and many types of cardboard. On dark surfaces, a light-colored pencil may be easier to see. A fine marker can show up on some plastics, but its line may be wider than you want for a close fit, and ink may not wipe away cleanly. Try your marking method on an offcut when appearance matters. For paper or thin card, use light pressure so the mark does not dent or tear the surface.
Decide which side of each line is the finished piece. If you will saw or cut the material, the tool removes some material, so cutting directly through the center of a layout line can change the final dimension. A small X on the waste side makes the choice visible. For a fold, score or drill location, a center mark may be more useful than a long line. Match the mark to the action that follows.
Build a simple checking habit
Before cutting, pause and read the layout as if someone else had made it. Are the dimensions taken from the intended edge? Is the square seated against that edge? Do the marks indicate the finished side and the waste side? Check the overall size as well as individual measurements, especially when several smaller dimensions must add up to one length.
If repeated square lines seem to lean the same way, test the square on a straight edge: draw a line, flip the square over against the same edge and draw alongside the first. A noticeable gap between the lines suggests that the tool, the edge or the way you are holding them needs attention. Measuring and marking need not be slow. A consistent starting edge, fine marks and one final check usually do more for accuracy than pressing harder or adding extra lines.


