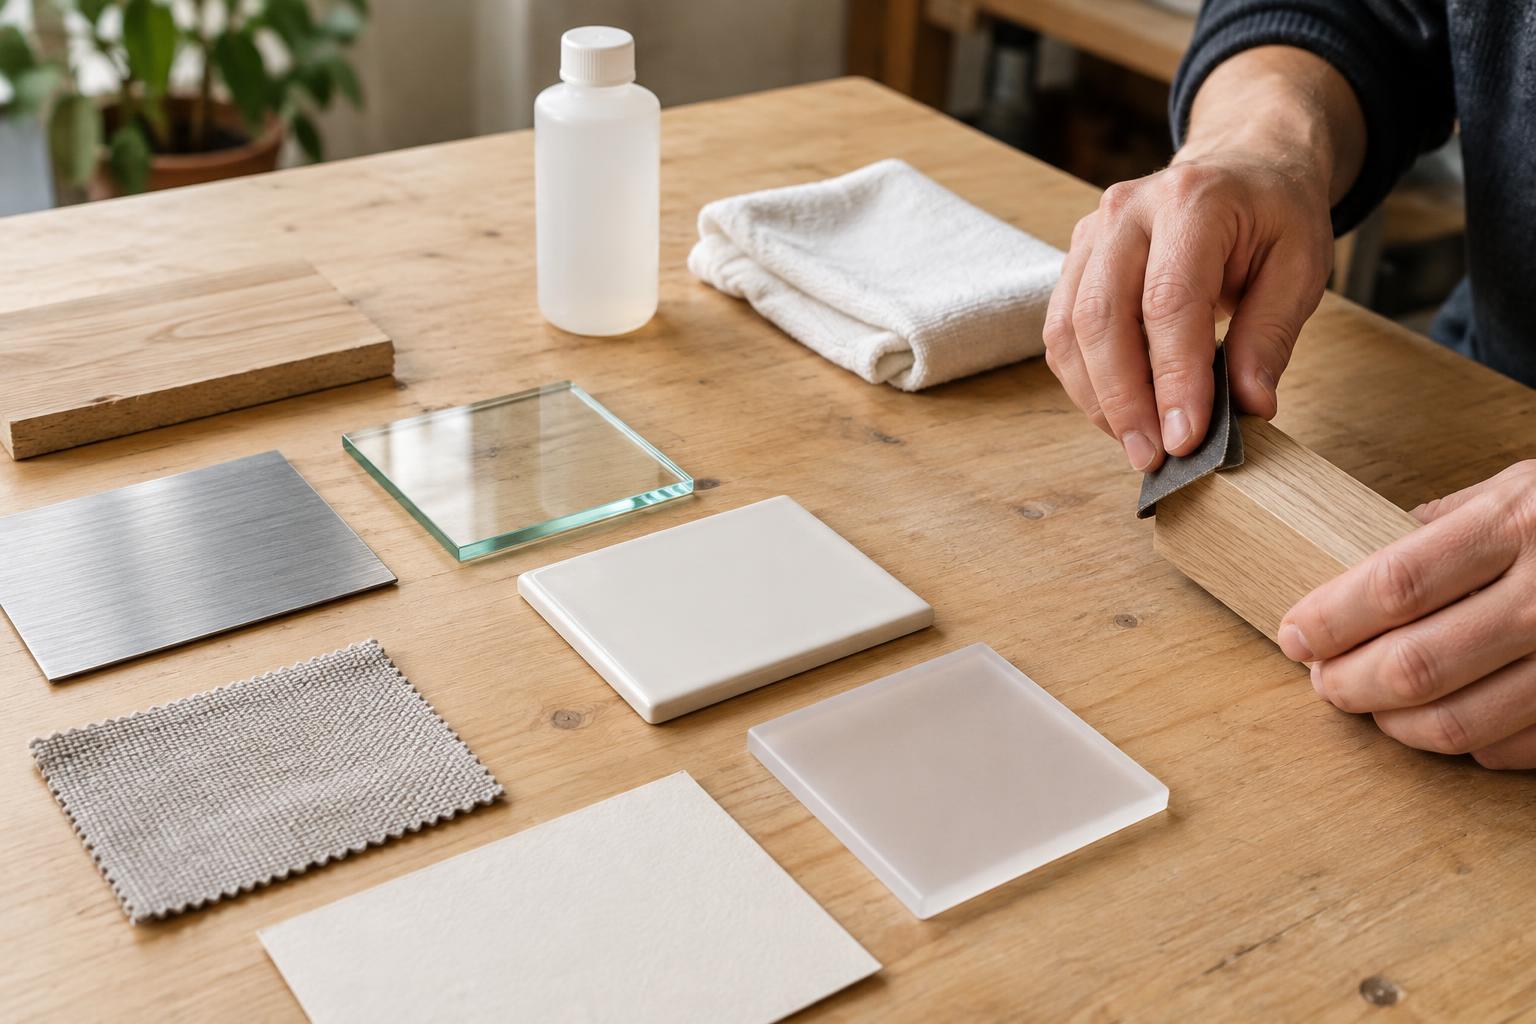
Start with the surfaces, not the adhesive
Glue works best when it can contact the material itself. Dust, grease, loose paint, moisture and old adhesive can form a weak layer between the parts you want to join. Before choosing a glue, look at both surfaces and ask what the adhesive will actually touch. A bond to peeling paint, for example, may fail even if the glue holds firmly to the paint.
Begin with a dry fit: put the pieces together without glue and check how closely they meet. Notice whether they slide, rock or leave gaps. This helps you plan where to apply adhesive and how to hold the parts still while it sets. If a joint will carry weight or be pulled repeatedly, consider whether a screw, stitch or other mechanical connection would make the project more reliable.
As a general sequence, remove loose material, clean away contamination, let the surfaces dry, and lightly roughen them if appropriate. Remove any sanding dust before applying glue. Keep your fingers off prepared areas when possible; skin oils can undo some of the cleaning.
Wood, paper and other absorbent materials
For bare wood, brush or vacuum away sawdust and check that the surface is sound. Freshly cut or lightly sanded wood often gives glue a better surface than wood covered in wax, finish or grime. If you are joining finished wood, the glue may be bonding to the finish rather than the wood beneath it. Where the design allows, remove finish from the contact area without changing the fit of the joint.
Wood joints usually benefit from broad, close contact. A thick layer of glue is not a substitute for parts that fit poorly. Follow the adhesive’s directions for application and clamping: enough pressure to keep the pieces together is useful, but excessive pressure can shift them out of alignment. Allow the joint to remain undisturbed for the stated curing period, which may be longer than the time it takes to feel dry.
Paper and cardboard need a gentler approach. Dust them off, flatten folds that prevent contact, and use a modest amount of adhesive to limit curling or soaked-through patches. Test on a scrap first, particularly with thin paper, printed surfaces or board with a glossy coating. That coating may need different treatment from the absorbent paper beneath it.
Metal, glass and ceramic: remove invisible barriers
Smooth, nonporous surfaces can look clean while carrying fingerprints, polish or manufacturing residue. Wash suitable metal, glass or ceramic pieces with mild soapy water, rinse and dry them thoroughly. If the adhesive maker recommends a particular cleaner, follow those instructions and check that it is safe for the material. Avoid touching the bonding areas after cleaning.
Light abrasion can help some metal or glazed-ceramic joints by giving the adhesive a more textured surface, but it may visibly scratch the object. Test in an inconspicuous spot first, and remove the resulting dust. Clear glass presents a different challenge: scratches and adhesive residue remain easy to see, so plan the joint’s location and cleanup before applying anything.
Not every ceramic repair needs the same preparation. A porous, unglazed edge and a glossy glazed face behave differently, even on the same object. Make sure broken edges are free of crumbs and fit together without forcing them. For items used with food, heat or water, check the adhesive’s stated suitability rather than assuming a repaired object can return to its original use.
Plastics and fabric need a closer look
“Plastic” describes many materials, not one gluing surface. Clean away dirt and oils, then identify the plastic if you can from a material mark or product information. Some plastics accept common adhesives more readily than others. Polyethylene, polypropylene and PTFE are often difficult to bond without a product or preparation method specifically intended for them. A small test joint is more useful than guessing from appearance.
For a plastic that can be lightly sanded, roughen only the hidden bonding area if the adhesive instructions call for it, then clear away dust. Avoid aggressive solvents or heat unless the material and adhesive instructions explicitly permit them; either can damage or distort a part. If the pieces flex during normal use, choose an adhesive whose stated properties suit that movement.
Fabric introduces another variable: the glue can soak through or stiffen the cloth. Washable fabric should be clean and fully dry, with any loose threads trimmed from the joint area. Test the adhesive on an offcut to see how it affects color, texture and flexibility. For a seam that will be washed or pulled, stitching may be a better primary connection, with glue used only where it adds a useful finishing detail.
Make a small test and give the joint time
When joining unlike materials, prepare each side according to what it is. A wooden handle attached to metal, for instance, may need dust removed from one side and grease removed from the other. Check that the adhesive is intended for both materials and for the joint’s likely conditions, such as flexing, moisture or temperature changes.
If the project matters, make a test with scraps prepared the same way as the final pieces. Apply the adhesive as directed, hold the parts in position, and wait for the full stated cure time before gently testing the bond. A test can reveal problems with surface coatings, fit or adhesive choice without risking the finished object.
Work in the ventilation and protective gear specified on the product label, and keep adhesives away from children and food-preparation areas. Preparation may feel like the slow part of a quick repair, but it is also the part you control most: clean, sound surfaces and an undisturbed cure give the joint its best chance.


