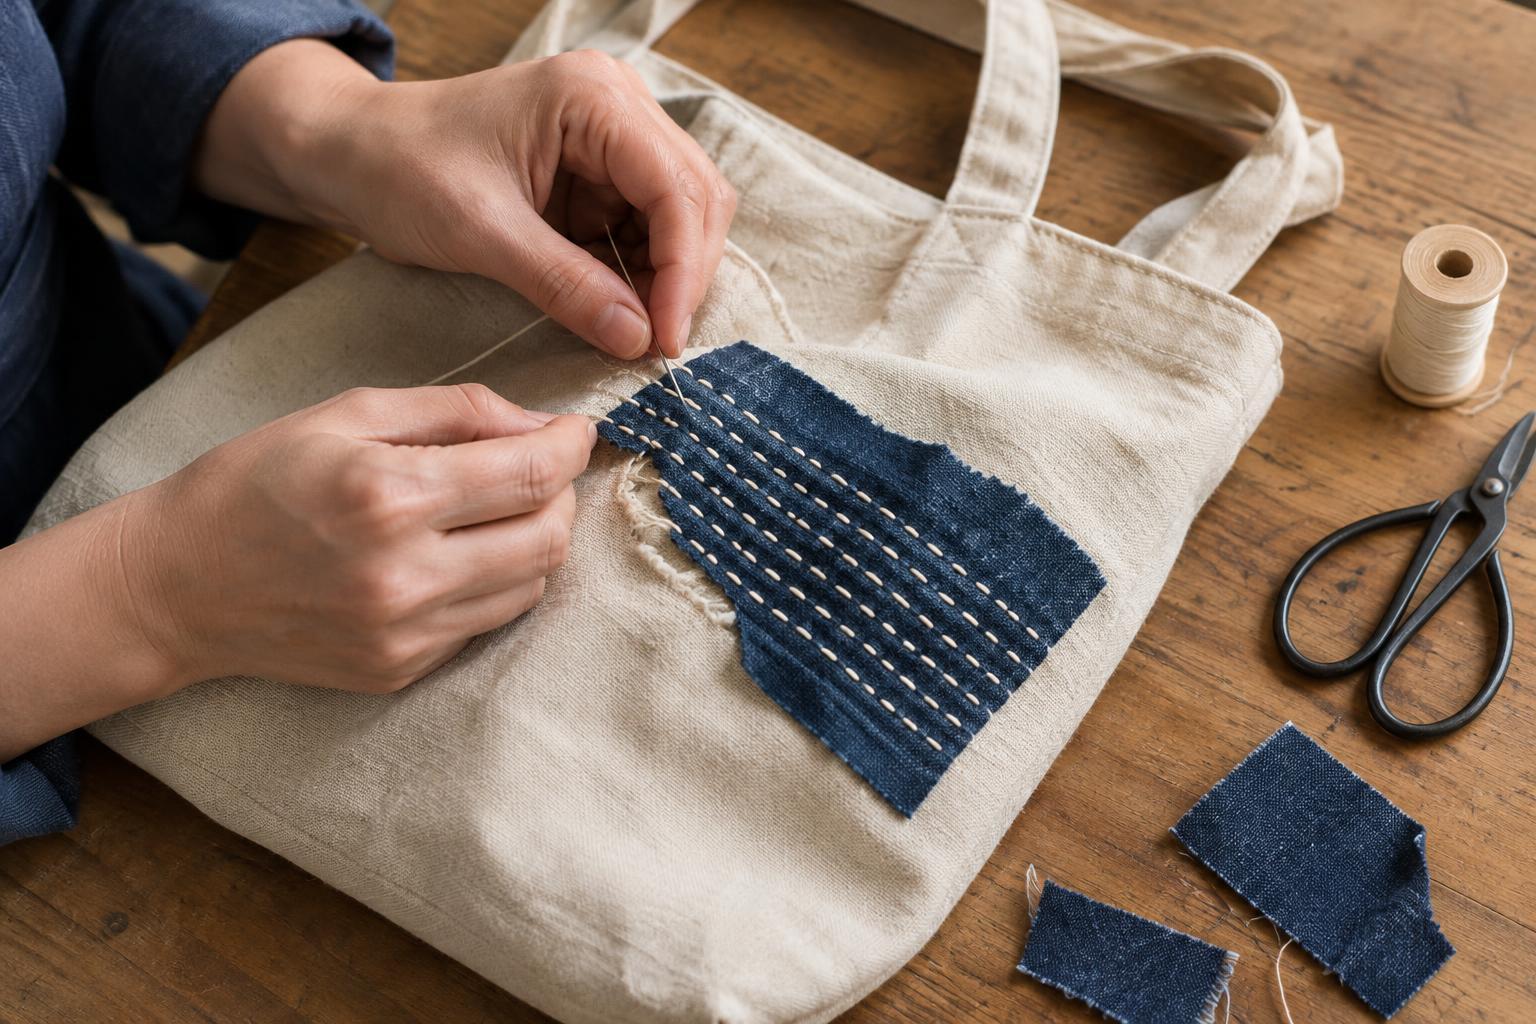
Look at the tear before choosing a stitch
A visible mend works best when it solves the structural problem first and adds decoration second. Empty the tote and spread it flat. Look for frayed edges, thin fabric around the tear, and nearby seams that may also be pulling apart. A short cut through otherwise sound fabric needs less support than a ragged hole or a tear beside a handle.
If the damage is in a load-bearing spot, such as the base or handle attachment, plan to use a patch that extends beyond the weak area. Stitches placed only across the opening may pull through the cloth when the bag is full. If a handle is coming loose, reattach and reinforce it separately; a decorative patch over the surface is not a substitute for a secure handle seam.
Gather materials that suit the bag
You will need a needle, thread, scissors, pins or clips, and a piece of patch fabric. An embroidery needle is useful for thicker decorative thread, while a sturdy hand-sewing needle works well with ordinary sewing thread. Choose a patch fabric similar in weight to the tote or slightly sturdier. Very stiff fabric can make the bag awkward to fold, while a delicate scrap may wear through quickly.
Cut the patch large enough to cover the tear and the weakened fabric around it, with room for stitches on all sides. A rounded rectangle or oval has no sharp corners to catch and curl. For a bold repair, choose thread that contrasts with the bag. For a quieter one, use a similar color and let the stitch texture provide the detail. You can test a few stitches on an inconspicuous area to see how the thread sits in the fabric.
Prepare and secure the patch
If the tote is washable, clean it according to its care instructions and let it dry before sewing. Trim only loose, dangling fibers; avoid cutting away sound fabric just to make the tear look tidy. Lay the bag flat and check that you are working through one layer, not accidentally stitching the front to the back.
For a straightforward repair, place the patch on the inside of the tote so its fabric shows through any gap. Smooth the torn edges into their natural position, then pin or clip the patch in place. Sew around the patch perimeter with small running stitches or a backstitch, keeping the line inside the patch edge. Remove pins as you go. This first line holds the reinforcement steady before you add the more visible stitches on the outside.
Make the mending stitches visible
Turn the tote right side out. Sew rows of running stitch across the damaged area, extending each row into healthy fabric and through the patch beneath. A running stitch moves in and out of the cloth at roughly even intervals. Keep the thread snug but not tight enough to gather the fabric. Rows can be straight, staggered, or gently curved; consistency matters more than perfect spacing.
If the tear has edges that want to separate, add a few stitches across it before filling the wider patch area. For a fraying hole, work rows in one direction, then add a few perpendicular rows to hold loose fibers down. To start or finish a length of thread, make a small knot on the inside of the bag and weave the tail through several stitches. Shorter lengths of thread are easier to manage and less likely to tangle.
Check the repair and put the tote back to work
Remove any remaining pins, turn the bag inside out, and inspect the back of your work. The patch should lie reasonably flat, with no large loops of thread that could snag on its contents. Tug gently around the mend to find gaps or loose stitches, then add reinforcement where needed. Pay particular attention to the ends of the tear, where movement can cause it to spread.
A mended tote is ready for ordinary use once the stitches feel secure, but it is worth checking the repair after the first few outings. If the fabric continues to thin around the patch, extend the stitched area or replace the patch with a larger one. Visible mending makes those adjustments easy to see and easy to add: the finished bag can show the work that keeps it useful.


