Why edges round over so easily
Sanding removes a little wood with every pass. On a broad face, that removal is spread across the surface. At an edge, a loose sheet of sandpaper can fold over the corner, concentrating its cutting action on a narrow strip. Repeated passes gradually turn a straight meeting of two faces into a curve. The change can be hard to notice until light catches the edge or two pieces no longer meet cleanly.
A crisp edge does not have to be dangerously sharp. The aim is to keep the shape you intended, whether that is a square corner, a small bevel or a gentle radius. Decide which one you want before sanding. It is much easier to add a controlled bevel at the end than to restore an edge that has been rounded by accident.
Give the sandpaper a firm, flat backing
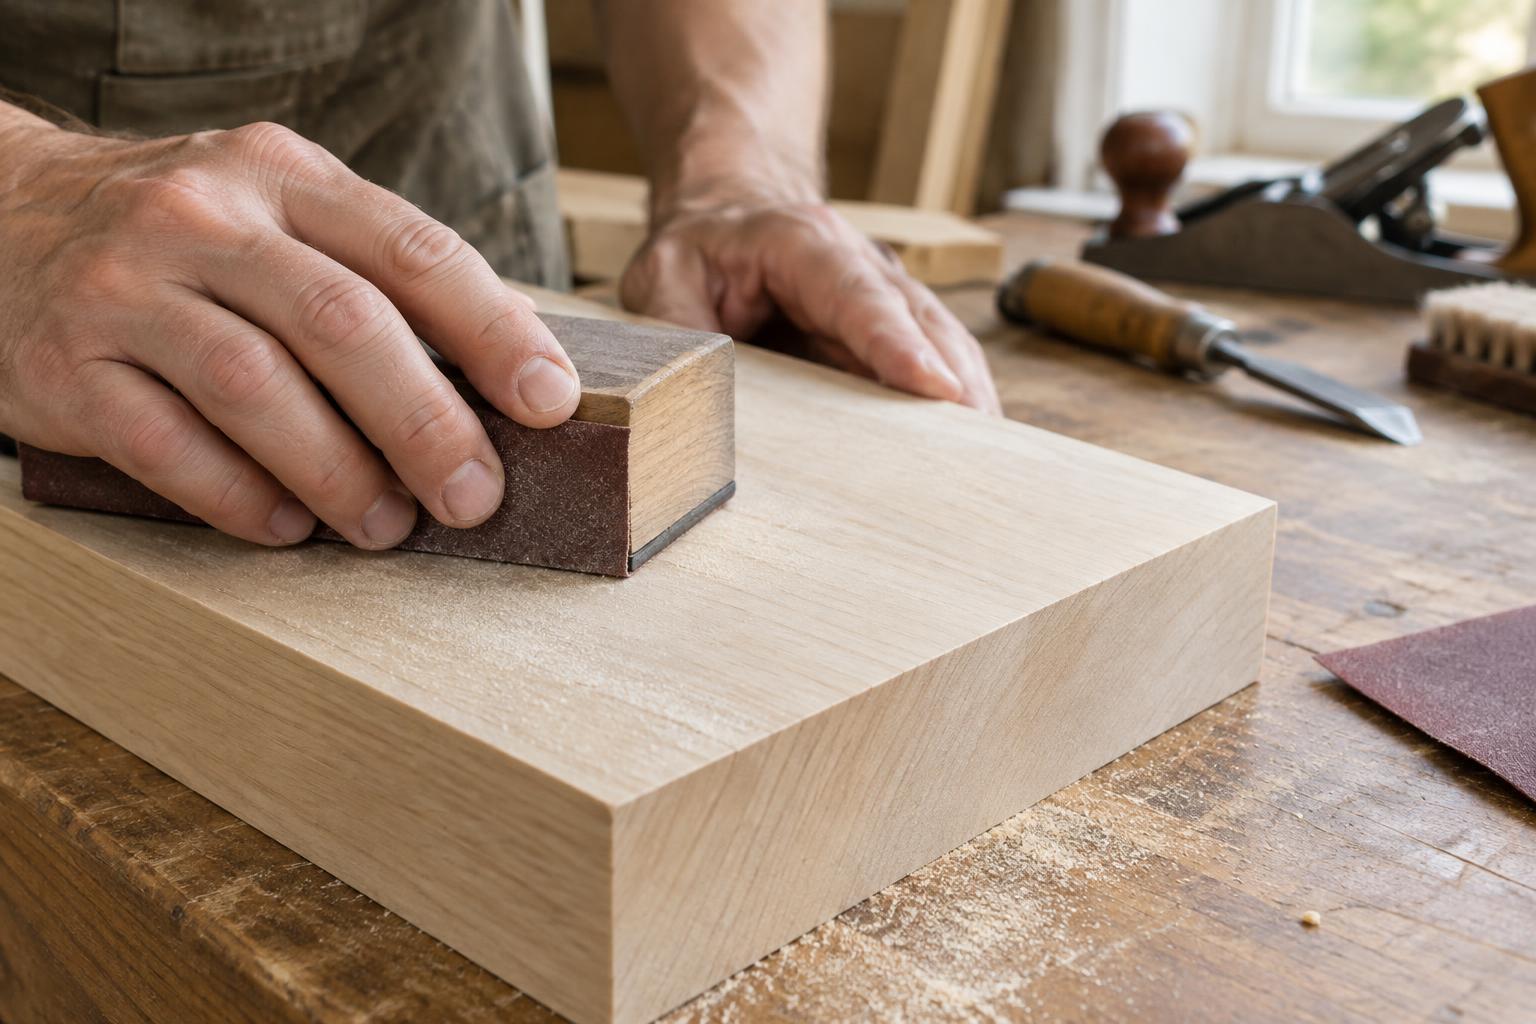
For flat boards and small objects, wrap sandpaper around a flat sanding block rather than holding it in your fingers. A purpose-made block works, but a straight offcut of wood can work too. Keep the abrasive smooth and taut on the working face. The block spreads pressure and makes it less likely that your fingers will push the paper around a corner.
Choose a block that is easy to hold level and narrow enough to reach the area you are working on. Before starting, check that its face is flat and free of trapped grit. A stray particle under the paper can leave a scratch. If you are sanding a thin or small piece, secure it on a stable surface so you can guide the block without also trying to hold the work steady.
Soft sanding sponges are useful on curves, but they conform to edges. Save them for shapes you mean to soften. A powered sander can remove material quickly, so a hand block offers more control when the edges need to remain precise.
Work across the face, not over the corner
Set the block flat on the wood before moving it. Sand with the grain on the broad face, using light, even strokes. As you approach an edge, keep the block level and avoid letting your wrist tip downward. Stop the stroke before the block rolls over the corner, or lift it straight off the surface. Do not try to get extra coverage by dragging the paper around the edge.
Use the least aggressive grit that will do the job. A rough surface may need a coarser starting grit, but a relatively smooth board may only need a moderate one. Move through finer grits without skipping so far that the next grit struggles to remove the previous scratches. The exact sequence depends on the wood and the intended finish; the important habit is to inspect after each step rather than sanding longer out of routine.
For a narrow edge or an end, turn the work so that surface faces up and sand it as its own flat plane. Support the piece firmly. Light pressure near its corners helps prevent the abrasive from catching and wearing them away.
Check your shape as you go
Brush or vacuum away dust and look along the edge under light from the side. A newly rounded area may appear as a brighter strip between the two flat faces. You can also place a straightedge against a face to see whether it remains flat close to the corner. Check often, particularly when using coarse paper: it is easier to stop early than to correct excess removal.
If a surface needs more work near an edge, resist pressing harder on that spot. Instead, make controlled passes with the block flat against the face and reassess. On thin veneer or a piece with a carefully fitted joint, use extra caution because there may be little material available for correction.
Soften a sharp edge deliberately
Once the faces are smooth, you may want to remove the fragile, sharp point of a corner. Make this a separate step so you can control the result. For a tiny edge break, hold a fine-grit block at a consistent angle and make one or two light passes along the edge. Inspect it, then repeat only if needed. Treat matching edges the same way so the object looks and feels consistent.
If you want a visibly rounded edge, shape that radius intentionally before the final fine sanding rather than relying on a loose sheet of paper to create it. The distinction is simple: keep the block flat while preparing each face, then change its angle only when you are ready to shape the edge. That small change in workflow makes crisp corners much easier to preserve.


