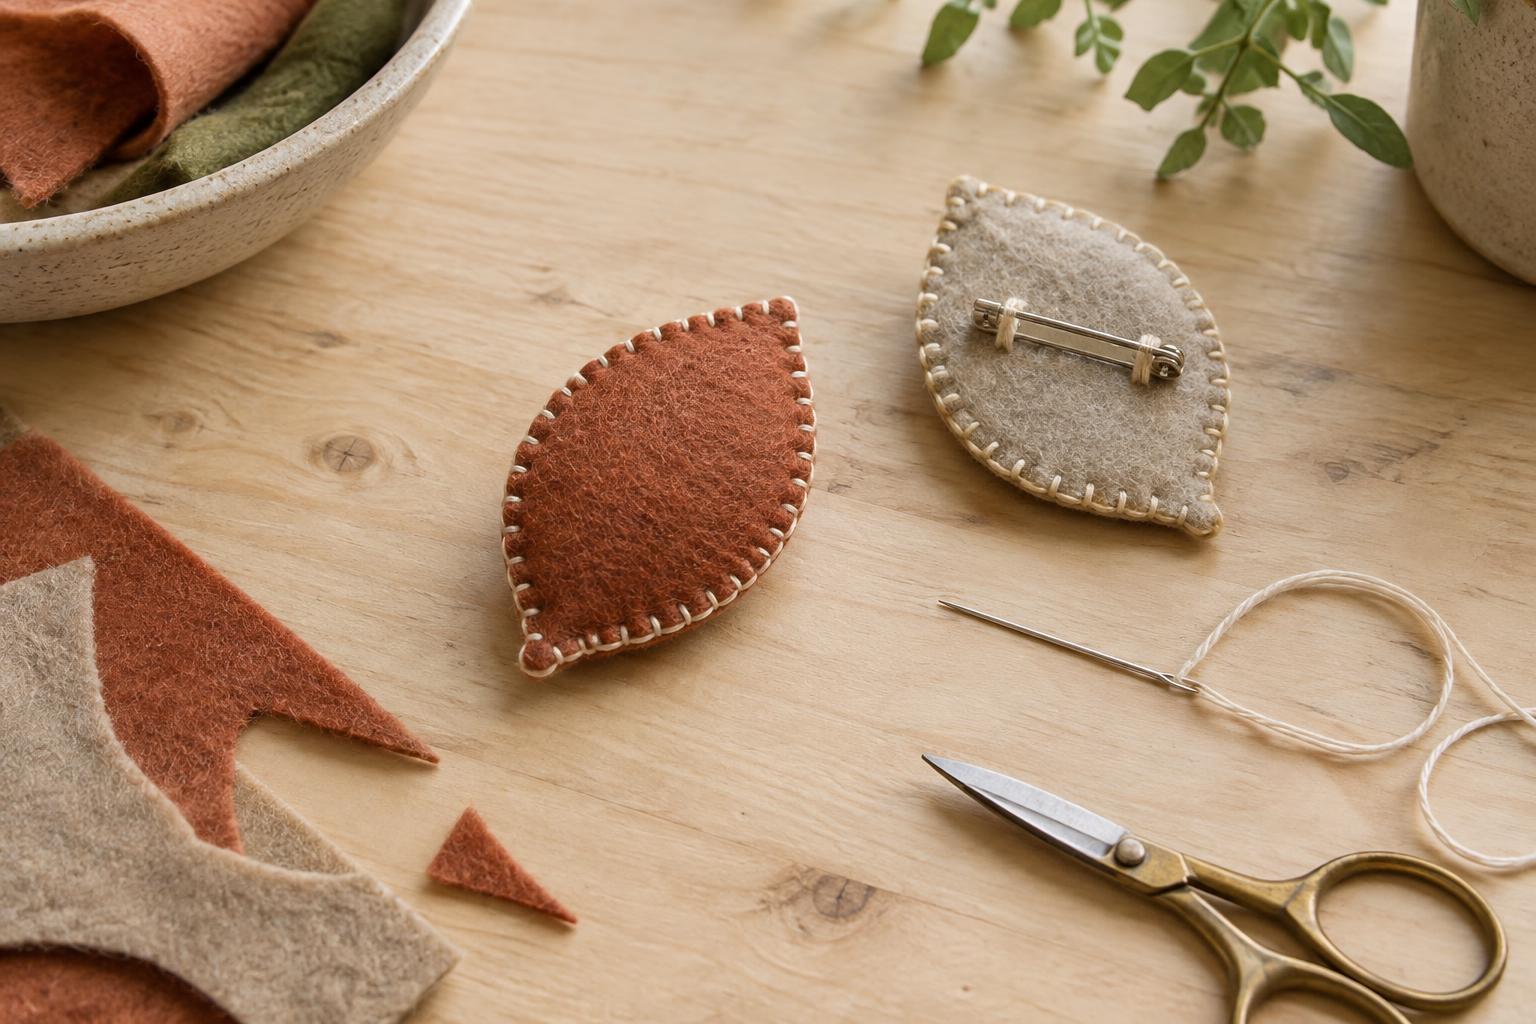
Choose a shape that works at a small scale
A felt brooch is a useful first project for practicing blanket stitch: the pieces are small, the felt does not fray, and the stitching becomes part of the design. Start with a simple outline such as a leaf, cloud or rounded flower. Broad curves are easier to stitch evenly than sharp corners or narrow points. Aim for a shape roughly the width of two or three fingers, large enough to hold a pin on the back but not so large that it droops when worn.
You will need craft felt, a needle, embroidery thread, scissors, a paper template, a pencil or removable fabric marker, a brooch pin back and a small amount of stuffing if you want a raised finish. Two or three strands of embroidery thread give a visible edge without making the stitches too bulky. Choose contrasting thread to emphasize the outline, or a close match for a quieter look. If you plan to wear the brooch often, choose felt that feels firm rather than thin and stretchy.
Cut and plan the layers
Draw your shape on paper, cut it out and use it as a template for two matching felt pieces. Keep the scissors upright as you cut so the edges stay neat. Before sewing, place the pieces together and trim any obvious mismatch. The blanket stitch will join their edges, but it will not hide a large difference between the two outlines.
Decide which piece will face outward. If you want a simple detail, such as a smaller felt circle or a few embroidered lines, add it to the front now. Keep decoration away from the outer edge so there is room for the border stitches. Lay the pin back on the rear piece and check its position: near the upper half of the shape usually helps the brooch hang upright. You can mark its ends lightly, then set it aside until the stitching is finished.
Build an even blanket-stitched edge
Place the two felt pieces together with their edges aligned. Thread the needle, knot the end and bring it up from between the layers near the edge. This hides the knot inside the brooch. For each blanket stitch, pass the needle from front to back a short distance in from the edge, then guide it through the loop of thread before pulling gently. The loop should settle along the outside edge, forming a small bar that holds the two layers together.
Try to keep both the distance between stitches and the distance from each stitch to the edge consistent. On a small brooch, stitches spaced a few millimeters apart are usually easier to control than widely spaced ones. Pull the thread snug, not tight: too much tension can pucker the felt. As you turn a curve, follow the outline with slightly closer stitches if needed. At a pointed tip, place a stitch at the point before continuing around the other side.
Sew most of the way around, leaving an opening wide enough to insert a little stuffing. Push in small amounts at a time with your fingers or the blunt end of a pencil. The aim is gentle dimension, not a tightly packed cushion. Align the opening and continue the blanket stitch until you reach your starting point. Pass the needle under a nearby stitch, take it between the felt layers and bring it out a short distance away. Trim the thread close to the surface.
Attach the pin and check the finish
Place the pin back against the rear of the brooch, using your earlier marks as a guide. With fresh thread, sew through the pin’s attachment holes and the rear layer of felt several times. Take care not to push the needle through to the decorated front. Secure the thread with a small knot beneath the pin, then hide its tail between the felt layers. Close the pin while handling the brooch so the point is less likely to catch your fingers.
Before wearing it, give the pin a gentle tug and look around the stitched edge for gaps or loose loops. If the brooch tips forward, moving the pin slightly higher on a future version may help. Felt can snag on rough surfaces, so store the finished piece flat or pin it to a scrap of sturdy card. Once you have made one, try changing a single element at a time—shape, thread color or surface detail—to see how much character a simple stitched outline can carry.


