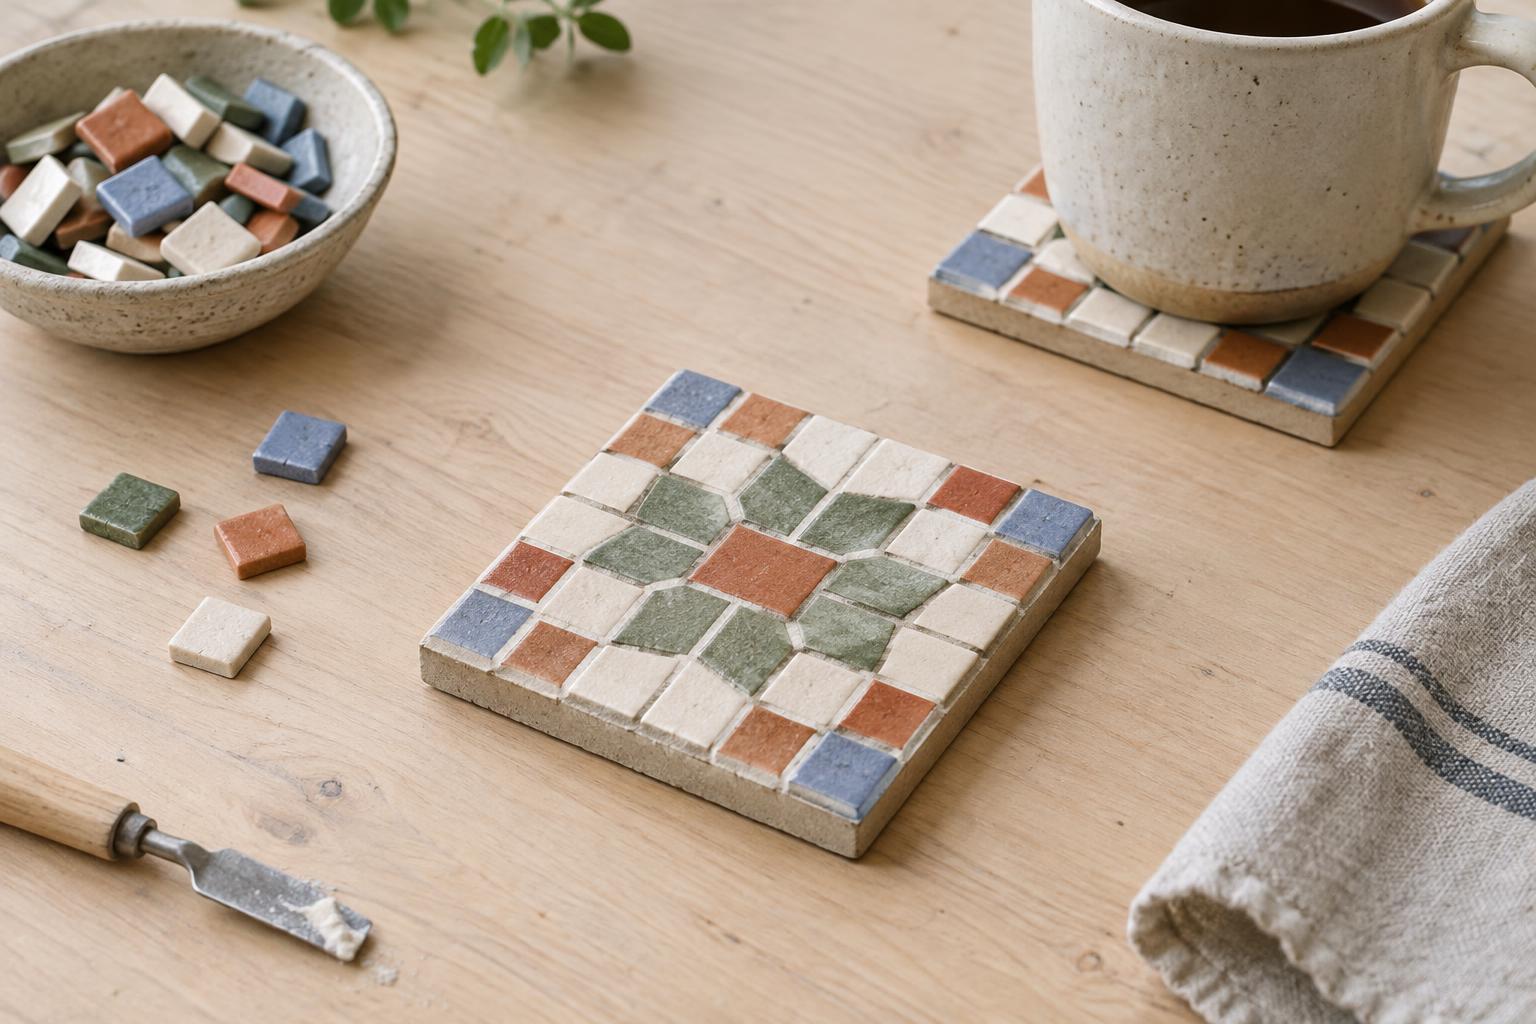
Plan for a cup, not just a pattern
A coaster is a tiny design project with a clear job: it needs to support a cup, catch occasional drips and sit comfortably on a table. Premade mosaic tiles let you concentrate on those details without cutting your own pieces. Choose tiles with relatively flat tops and similar thicknesses. A dramatic raised pattern may look appealing, but an uneven surface can make a narrow mug feel unsteady.
Gather a small rigid base, premade mosaic tiles, adhesive suitable for both the tiles and the base, grout if you want filled joints, and felt or cork for the underside. A tile shop or craft supplier may offer loose pieces or tiles mounted on mesh. If using a mesh sheet, check whether its spacing and overall shape suit your base before you begin. Follow the adhesive and grout makers’ directions for compatible surfaces, drying times and cleanup.
Choose a base and test the layout
The base should stay flat and firm when picked up at one edge. A premade coaster blank is convenient; a small piece of sealed wood or another suitably rigid craft base can also work. Avoid thin card, which can bend as adhesive or moisture is added. If the base is absorbent, prepare or seal it according to the products you plan to use. Make the base large enough to leave a modest border or to bring the outer tiles close to its edge without letting them overhang.
Arrange the dry tiles before opening the adhesive. Try a simple grid, alternating colors or a single contrasting stripe. Leave consistent gaps if you plan to grout: grout needs space between the pieces, not merely a line drawn by their edges. Place a mug on the loose arrangement to check that its bottom rests on several tiles. Step back and look at the perimeter, too. Small shifts in spacing are often more noticeable along the outside than in the middle.
Attach the tiles without losing the pattern
Once the arrangement feels settled, take a quick photo or move the tiles aside in order. Protect the work surface, then spread a thin, even layer of compatible adhesive over a manageable portion of the base. Press each tile into place with gentle, level pressure. Aim for enough adhesive to hold the pieces securely, without pushing so much into the gaps that there is no room for grout. Wipe away excess while it is still easy to remove, using the cleanup method specified for the adhesive.
Work from a straight edge or the center, whichever helps you preserve your chosen pattern. Check the surface from the side as you go, and adjust any tile that sits noticeably high. If you are using a mesh-mounted group, press across the whole group rather than only at the corners. Leave the coaster undisturbed until the adhesive has cured as directed. Moving on too soon can loosen tiles or disturb the spacing.
Fill the gaps and finish the edges
If the tiles and adhesive are suitable for grouting, apply grout as its packaging directs, working it into the joints while keeping the tile tops visible. Clean the surface gently and avoid washing grout out of the gaps. Grout can leave a light haze as it dries; remove it using the recommended method rather than scrubbing hard at newly filled joints. Let the finished surface cure for the specified time before putting it to work.
Look closely at the sides and corners. A coaster that feels smooth when viewed from above may have an exposed tile edge that catches a finger or scratches another object in a drawer. If your design leaves a rough perimeter, consider an appropriate edge finish or choose a base with a raised rim for a future version. Attach felt or cork underneath only after the base is clean and dry. Keep the backing clear of the outermost edge so it does not show from above or peel when the coaster is moved.
Test it in everyday use
Set the completed coaster on a flat table and press lightly at several points. It should not rock. Try a mug with a broad base, then one with a narrower base, to see whether both sit securely. If the tile surface feels uneven, reserve the coaster for wider cups rather than relying on it under delicate glassware.
Wipe up spills and let the coaster dry between uses. Depending on the base, adhesive and grout, prolonged soaking may weaken the assembly, so treat it as a tabletop accessory rather than something to leave in the sink. The next time you make one, you can adjust a single choice—tile spacing, color, border or backing—and see how much that small change improves the object.


