Start with one sheet and a small idea
A miniature zine is a useful way to turn an idea into an object you can hold and share. The one-sheet version needs no staples or binding: a grid of folds and a short slit allow the paper to collapse into a booklet. Its small pages suit subjects that can be explored in brief pieces, such as a sequence of drawings, a guide to a favorite object, a recipe or a short comic.
Gather a rectangular sheet of ordinary printer paper, a pencil and scissors. Thinner paper is easier to fold neatly than heavy card. A ruler can help you sharpen the creases, but it is not essential. Before adding artwork, make a blank practice zine. It will show you how the pages turn and give you a reliable guide for the finished version.
Fold a grid of eight panels
Place the sheet in landscape orientation, with its long edges at the top and bottom. Bring the top edge down to meet the bottom edge, press the fold, then open the sheet. This leaves a horizontal crease across its middle.
Next, bring the left edge over to meet the right edge, crease and open. Fold the left and right edges inward so each meets the vertical crease in the center, then open the sheet again. You should now see eight panels arranged in two rows of four. Run a fingertip or the side of a ruler along any faint creases; clear folds will make the assembly easier.
Make one cut and form the booklet
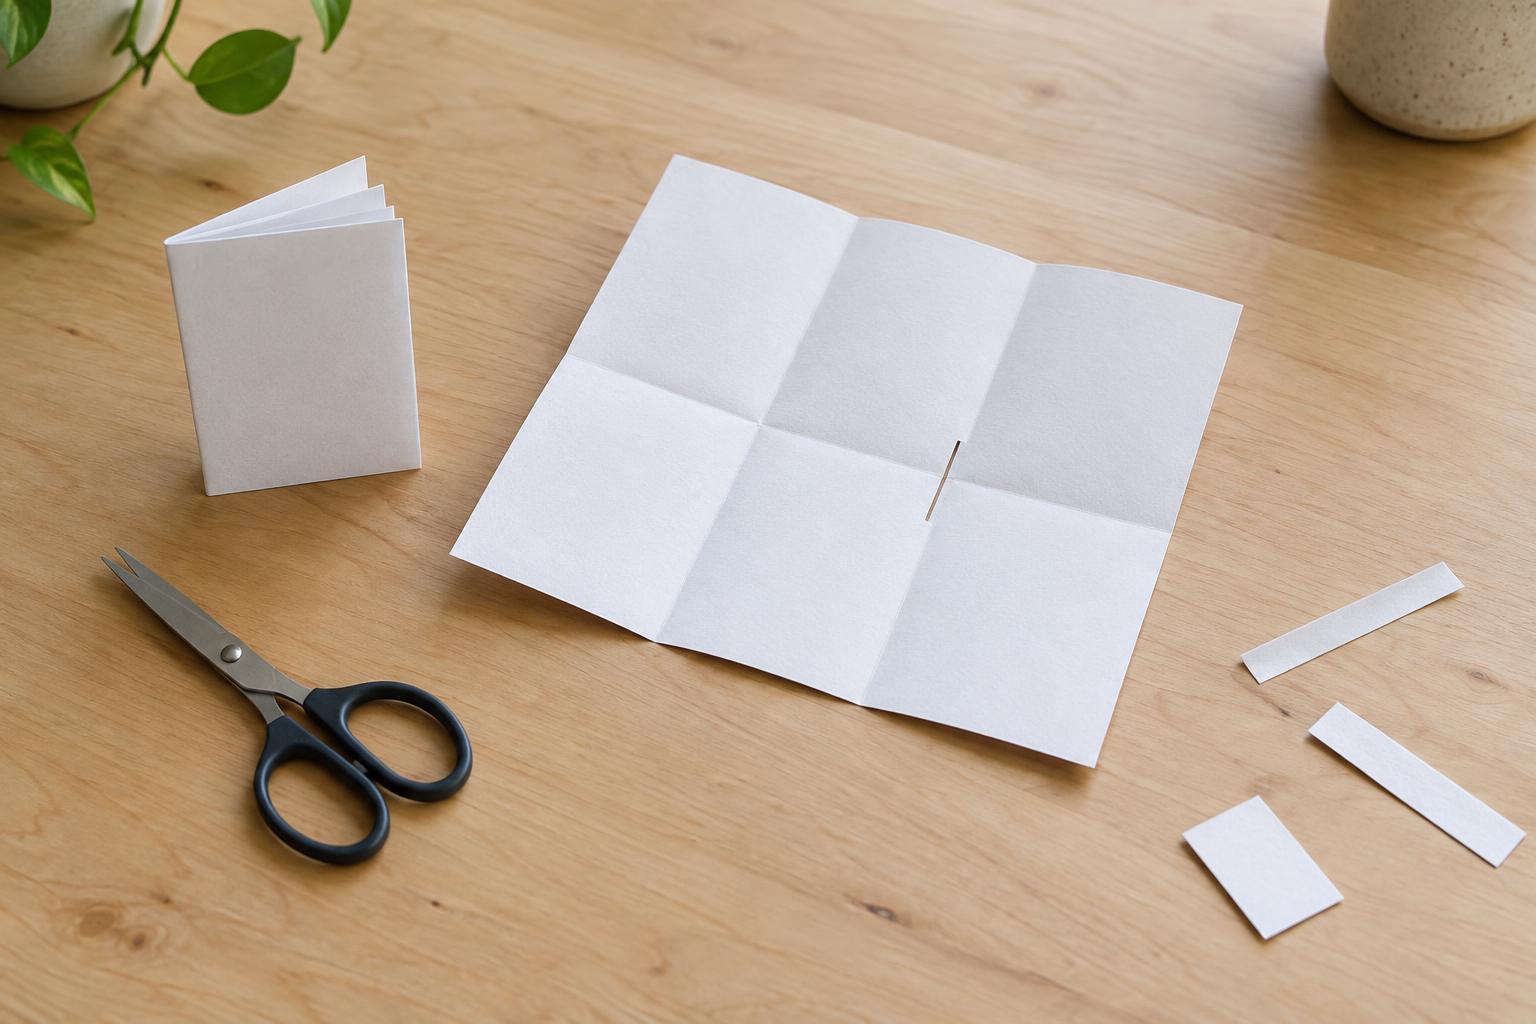
The cut follows the horizontal center crease, but only through the two middle columns. To make it with scissors, fold the sheet in half from left to right along its central vertical crease. Find the horizontal crease on the folded sheet. Starting at the folded edge, cut along that crease until you reach the next vertical crease. Because you are cutting through both layers, opening the sheet reveals a slit across the middle two panels. Stop at the crease rather than cutting all the way to an outside edge.
Open the sheet, then fold the top edge down to meet the bottom edge again. The slit should sit along the folded edge. Hold the left and right ends of the folded strip and gently push them toward each other. The slit will open into a diamond shape. Keep pushing until the panels begin to form a cross, then flatten them together into a small booklet. If a fold resists, open it and reinforce its crease instead of pulling on the slit.
Turn through the blank pages. You should have a front cover, six interior pages and a back cover. The paper may spring open slightly at first; pressing the closed booklet under a book for a little while can help it lie flatter.
Use the blank zine as your page map
The trickiest part of a one-sheet zine is not the cutting but the page layout. On your blank booklet, write small page numbers from 1 to 8 in reading order. Mark the top of each page with a tiny arrow. Then unfold it and look at the flat sheet: some panels will appear upside down or out of sequence. That is normal. Keep this numbered sheet beside you as a template while you draw or write on a fresh one.
Give the zine one clear subject rather than trying to fill every panel with detail. For a tiny guide to a household object, the cover might show its name and silhouette, the middle pages might explain how it is used or made, and the back might hold a final observation. Leave room around words and drawings, particularly near folds, where details can become hard to see. Pencil the content in first, fold the sheet to check the reading order, and only then add ink or color.
Finish and share it
Once the pages read in the right order, flatten the finished artwork and fold the zine along the same creases as the practice version. If you want several copies, make one complete flat original and copy it before cutting and folding each sheet. Check a test copy first: a printer’s margins may crop artwork placed close to the paper’s edges.
A miniature zine does not need to look polished to work. Its limited space encourages you to choose what matters, while its simple construction makes revisions easy. Keep the numbered prototype for your next project; a new subject and a fresh sheet are enough to begin again.


