A useful print from a temporary surface
Shaving-cream marbling is a simple way to give plain paper a pattern that feels lively without needing to draw or paint each mark. Drops of color sit on a shallow layer of foam. When you swirl them and press paper onto the surface, the paper picks up the pattern. Scraping away the foam reveals the print beneath.
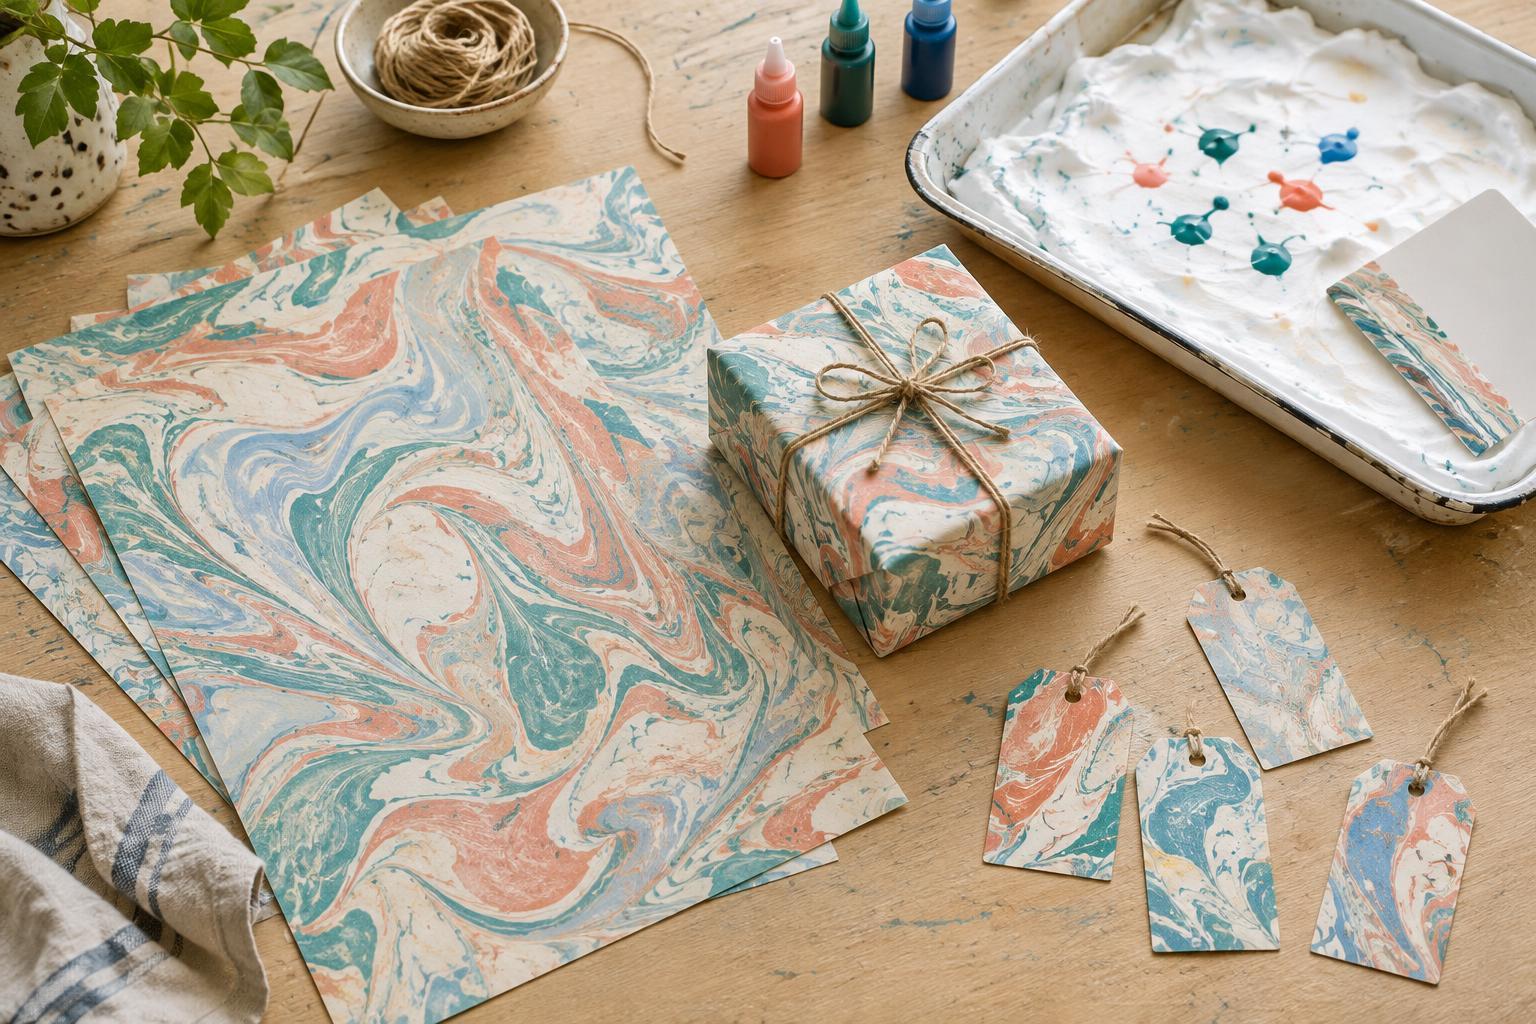
The method suits gift wrap because variation is part of its appeal. Each sheet can share the same palette while having a different arrangement of lines and soft-edged patches. Start with a small present rather than a large box: letter-size sheets are easier to print, dry, and handle, and you can use offcuts for gift tags.
Gather materials and set up the work area
You will need plain paper, a shallow tray or baking dish, foam-style shaving cream rather than gel, liquid watercolor or food coloring, a skewer or toothpick, and a straight-edged tool such as an old plastic card or bench scraper. Keep scrap paper, paper towels, and a flat place for drying nearby. A washable surface or protective covering makes cleanup easier; colorants may stain some materials.
Choose paper with enough body to withstand brief contact with moisture. Lightweight copy paper can work for a test, but it may wrinkle or tear when scraped. Medium-weight drawing or craft paper is often easier to handle. If the finished paper will be folded around a box, test a corner first: a very stiff sheet may crease rather than wrap neatly. Cut the paper to fit inside your tray before you begin.
A few colors are usually enough. Two related shades can make a quiet pattern; a contrasting third color adds sharper accents. Put on an apron if you like, and keep the materials away from food preparation. The finished paper is for the outside of a gift, not for direct contact with food.
Make the marbled sheets
Spread a shallow, even layer of shaving cream across the tray. It only needs to cover an area slightly larger than your paper. Add small, spaced-out drops of color on top. Drag the skewer through the drops in loose curves, loops, or parallel strokes. Stop while you can still see distinct light and dark areas; too much stirring can blend the colors into one muted field.
Lay one sheet gently on the surface and pat across the back so it makes contact without being pushed deep into the foam. Lift it from one edge and place it, printed side up, on a protected surface. Pull the scraper steadily across the sheet to remove the cream. Wipe the scraper between passes so you do not drag a buildup of foam back over the print.
Let the sheet dry flat. Drying time depends on the paper and how much moisture it picked up. Before making another print, you can add a few fresh drops and swirl again, or smooth the foam to create a cleaner surface. The pattern will change with each pull, so make more sheets than you think you need and select the best ones after they dry.
Adjust the pattern when it is not working
If the print looks pale, try a little more color or press the paper more evenly. If large areas turn muddy, use fewer drops and make fewer passes with the skewer. A print with blank patches may mean the foam was uneven or the paper did not touch it throughout. These tests are useful: a small sheet lets you change one thing at a time without using much material.
Wrinkles usually come from moisture or rough handling. Lift the paper slowly, scrape with light pressure, and leave it undisturbed until fully dry. If a dried sheet has a slight curl, place it between clean sheets of scrap paper under a flat, light weight. Check that no dampness remains before stacking finished prints, or color may transfer.
Turn the prints into gift wrap
For a small box, wrap with a whole sheet and secure the overlap with tape on the underside. To cover a larger gift, join sheets at the back where the seam will be less noticeable. You can also use one marbled sheet as a wide band around plain wrapping paper. That approach makes a small batch of prints go further and gives the busy pattern some visual breathing room.
Cut leftover pieces into tags, envelope liners, or narrow strips for simple paper bows. A solid-color ribbon or plain twine lets the marbling remain the focus. Before wrapping anything delicate, make sure the paper is completely dry and check that its color does not rub off on your hands. The result is gift wrap shaped by a brief, hands-on process: repeatable enough to plan a palette, but varied enough that every package looks distinct.


