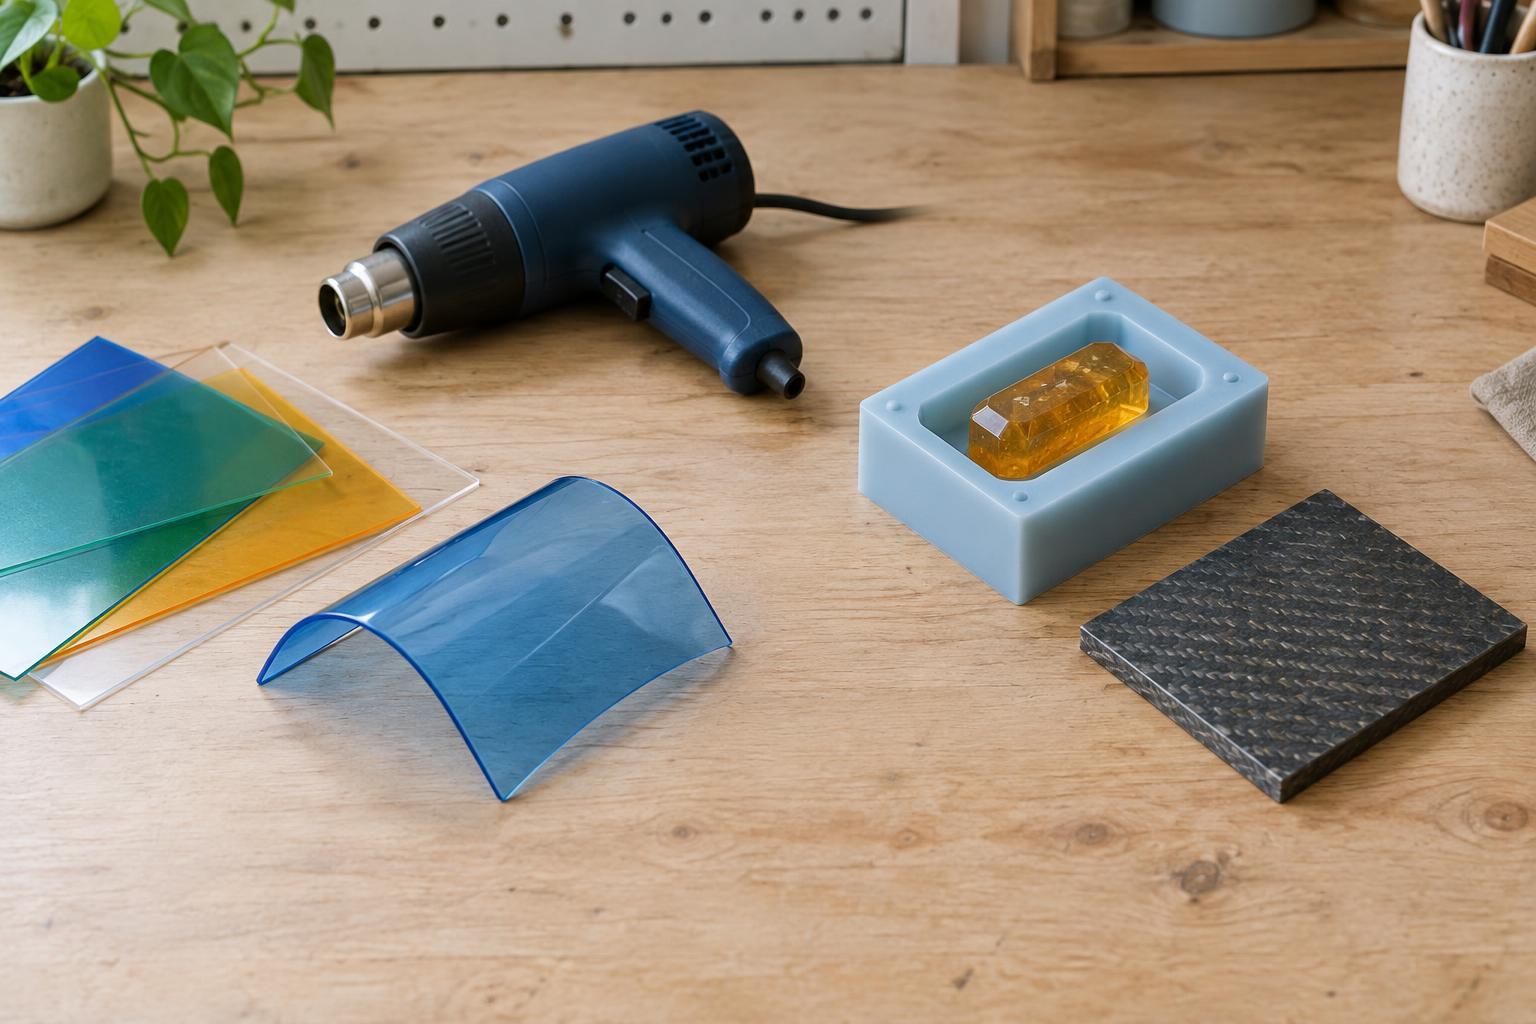
The difference is what happens after heating
A plastic sheet, a bottle cap and a cured epoxy casting may all feel similar in your hand, but they do not respond to heat in the same way. The useful distinction for a maker is between thermoplastics, which can soften when heated and firm up as they cool, and thermosets, which form a lasting network during curing. Once a thermoset has cured, heating it will not return it to a pourable or moldable state.
That difference affects how you choose a material, make a part and fix it later. It is not a simple ranking of good and bad plastics. Both groups contain many materials with different stiffness, clarity, durability and working requirements.
Thermoplastics: shape, cool and sometimes reshape
Thermoplastics are made of polymer chains that can move more freely relative to one another as the material heats. This lets a manufacturer form a sheet, mold a part or extrude a filament, then let it cool into a usable shape. Familiar examples include acrylic sheet, polyethylene containers, polypropylene hinges and PLA or PETG 3D-printing filament.
For a small project, this behavior can be convenient. A suitable thermoplastic sheet might be cut and bent into a desk tray, while a printed bracket can be redesigned and printed again without changing the basic fabrication method. Some thermoplastic parts can also be welded or reshaped with the right equipment. But reheating is not an unlimited reset button: excessive heat can distort, discolor or degrade a material, and coatings or mixed components may complicate reuse.
Different thermoplastics soften at different temperatures and behave differently while being cut or heated. Acrylic, for example, can crack if handled carelessly, while a thin sheet of another plastic may sag before it holds a crisp bend. Identify the specific material and follow its processing guidance rather than assuming that a technique shown for one plastic will work for another.
Thermosets: form the part during curing
Thermosets begin as ingredients that react to form a more permanently connected structure. Epoxy casting resin and many two-part adhesives are common examples. Some silicone rubbers are thermosets too: they remain flexible after curing, which is a reminder that “thermoset” does not mean “hard.” The term describes how the material forms and responds to reheating, not how it feels.
Curing gives makers a way to produce shapes that would be difficult to bend from a sheet. A liquid resin can fill a mold or bond surfaces before it sets. In return, the work demands preparation: the mold, proportions, mixing method and working time all matter. Once a casting has cured, you may be able to cut, drill or sand it if the particular product permits, but you cannot melt it back down to correct a misplaced feature.
Heat resistance also needs context. A cured thermoset may hold its form where a particular thermoplastic would soften, yet it can still weaken, char or degrade if overheated. Neither category guarantees that a finished part is suitable near a stove, inside a hot car or in contact with food.
Choose for the job, not just the label
Start with the part’s purpose. Does it need to flex, stay clear, take an impact, hold a precise shape or survive occasional warmth? Then consider the process available to you. A simple bent organizer may favor a known thermoplastic sheet; a small custom-shaped insert may be easier to cast. For a repair, the best choice depends on both the existing object and the bond or fit you need.
Think about mistakes and the part’s eventual disposal as well. A thermoplastic may offer more options for reshaping or processing, but an item made from several plastics, adhesives and finishes can be difficult to separate. A cured thermoset generally cannot be remelted into a new part by a home maker, although that does not mean every thermoset is impossible to recover through specialized processes. Making a durable, repairable object and avoiding unnecessary offcuts are useful goals with either type.
A sensible first step for any project
If you are unsure what an existing object is made of, do not identify it by applying a flame or heating it until it smells. Look for a material marking, packaging information or a manufacturer’s specification. For a new project, buy a clearly identified material and test a small sample using the maker’s recommended method before committing to the final part.
Follow the product’s instructions for temperature, ventilation and protective equipment, especially when cutting, heating, sanding or mixing uncured ingredients. The most useful question is not simply “Can this plastic take heat?” It is “How does this particular material behave during the process I plan to use, and how will the finished object be used?” That question turns a broad materials distinction into a practical design decision.


