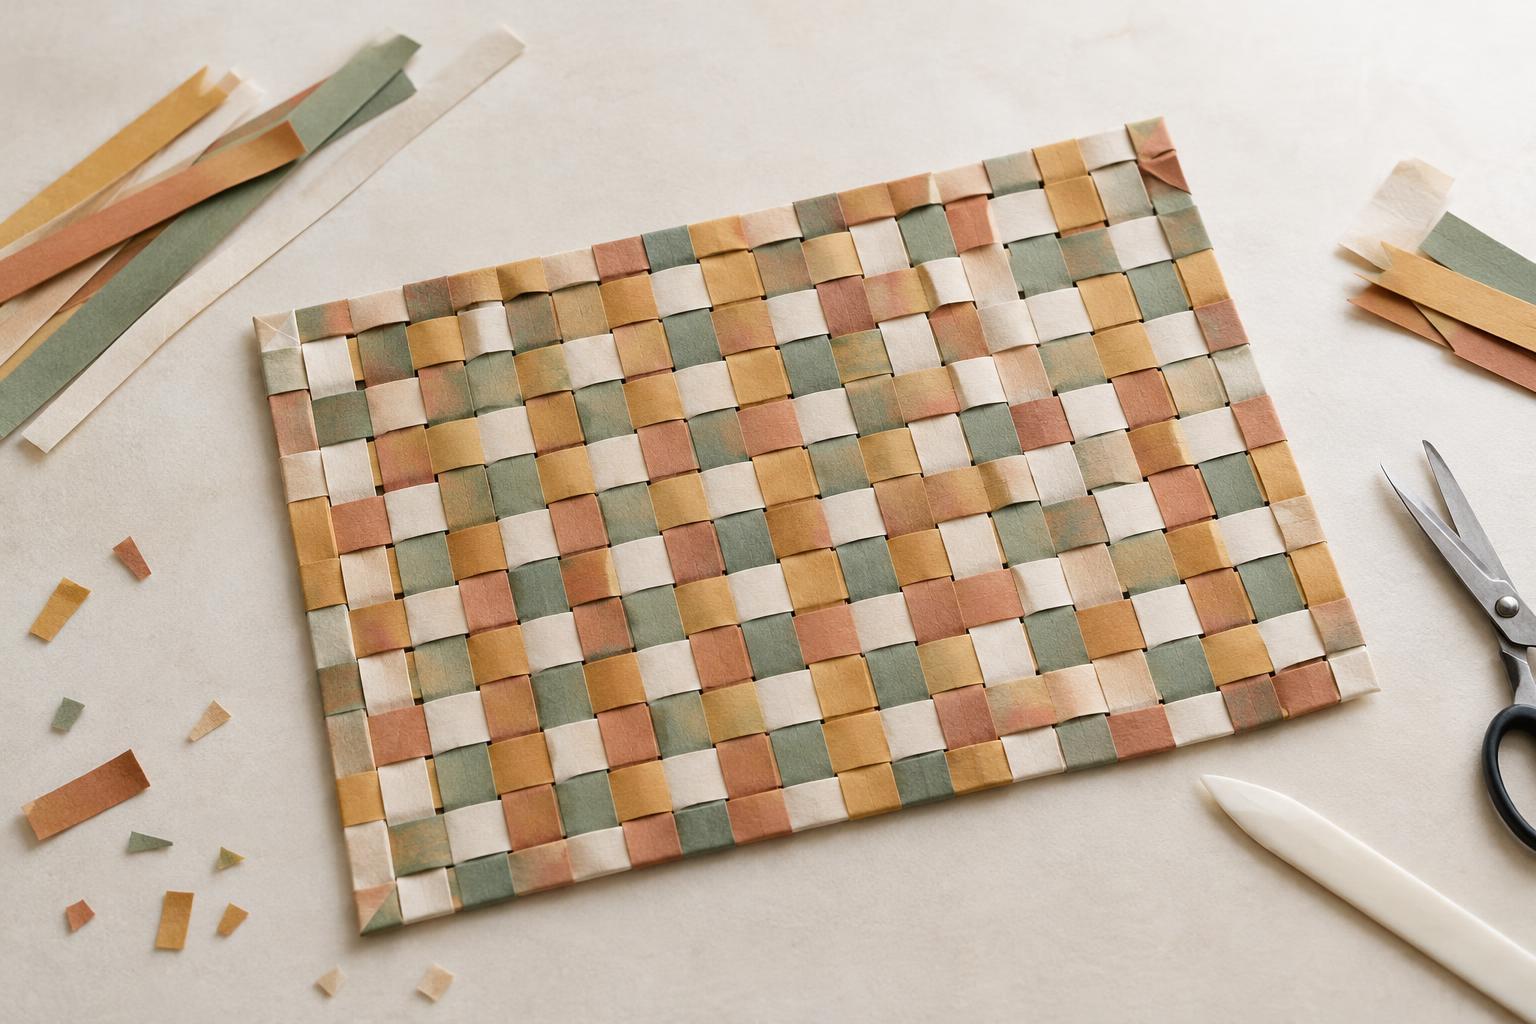
Start with paper that suits the job
A paper placemat is a satisfying way to use the backs of old prints, packaging inserts, gift wrap or pages left over from another project. Because paper absorbs spills and can tear when wet, treat the finished piece as a decorative setting rather than a washable table mat. It works well under a dry plate, a vase or a bowl of wrapped treats. For meals, keep food off the paper and set drinks on a separate coaster.
Gather a ruler, pencil, scissors, a few sheets of scrap paper and either a glue stick or small pieces of tape. Choose papers that bend without cracking. Two colors make the woven pattern easy to see, but a mix of prints can be just as effective. If one sheet is much thicker than the others, save it for the base: thin strips are easier to guide through a sturdy base than the other way around.
Cut a slotted base and weaving strips
Choose one rectangular sheet for the base and decide which side should face up. An A4 or letter-size sheet makes a compact placemat; a larger sheet gives you more room around a plate. Draw a light border about 2 cm from every edge. Within that border, mark parallel lines roughly 1.5 to 2 cm apart. Fold the sheet gently in half across the lines, then cut along each marked line from the fold toward the outer border. Stop at the border so the sheet stays in one piece. Unfold it to reveal a row of attached paper bands, sometimes called the warp.
Cut your remaining paper into long strips about the same width as the gaps between the cuts. These strips are the weft. They need to span the base and leave a little extra at both ends for securing. If your scraps are short, you can join two pieces with tape on their undersides before weaving, or make a smaller placemat. Slight variation in width gives a handmade look, but very uneven strips can make the edges difficult to finish.
Build the over-under pattern
Slide the first weft strip across the base, passing it over the first warp band, under the next, and so on. Ease it toward one end of the slotted area without pushing hard enough to crease the base. For the second strip, reverse the sequence: go under the first band, over the second, and continue alternating. That change is what locks the strips into a simple checkerboard weave.
Add strips one at a time, keeping them flat and nudging each new row close to the previous one. If a strip twists, pull it back rather than trying to straighten it inside the weave. Check both sides as you work; an accidentally skipped band is easier to fix before several more rows are in place. Leave a little breathing room if the paper feels stiff. Packing the rows too tightly may buckle the base.
Make the pattern your own
The most direct variation is a color repeat. Try two blue strips followed by one yellow strip, or alternate plain and printed scraps. You can also change the look by turning the finished placemat over: the same weave may show a different balance of colors on its reverse. For a calmer result, use similar tones and let the paper textures do the work.
To experiment with a wider stripe, weave two adjacent rows in the same color while still reversing the over-under sequence on each row. Keep the underlying weave consistent even when the colors change. That way, the pattern remains secure and the design is easy to follow.
Secure the edges and use it with care
When the slotted area is filled, straighten the rows and check that the base lies reasonably flat. Turn it over and fix each loose strip end to the uncut border with a small dab of glue or a piece of tape. Trim the ends flush once they are secure. If you prefer a framed edge, glue narrow paper strips over the border on the back, covering the ends without hiding much of the weave. Let any glue dry under a lightweight book with a clean sheet of paper between the book and placemat.
The finished piece is best kept away from heat and moisture. Wipe a table before laying it down, and lift the placemat rather than dragging it when you clear the setting. If an edge loosens, a small patch on the back is usually enough to hold it. When the paper becomes worn, the pattern can guide the next version: keep the strip width that felt comfortable to weave, and change just one color or material at a time.


