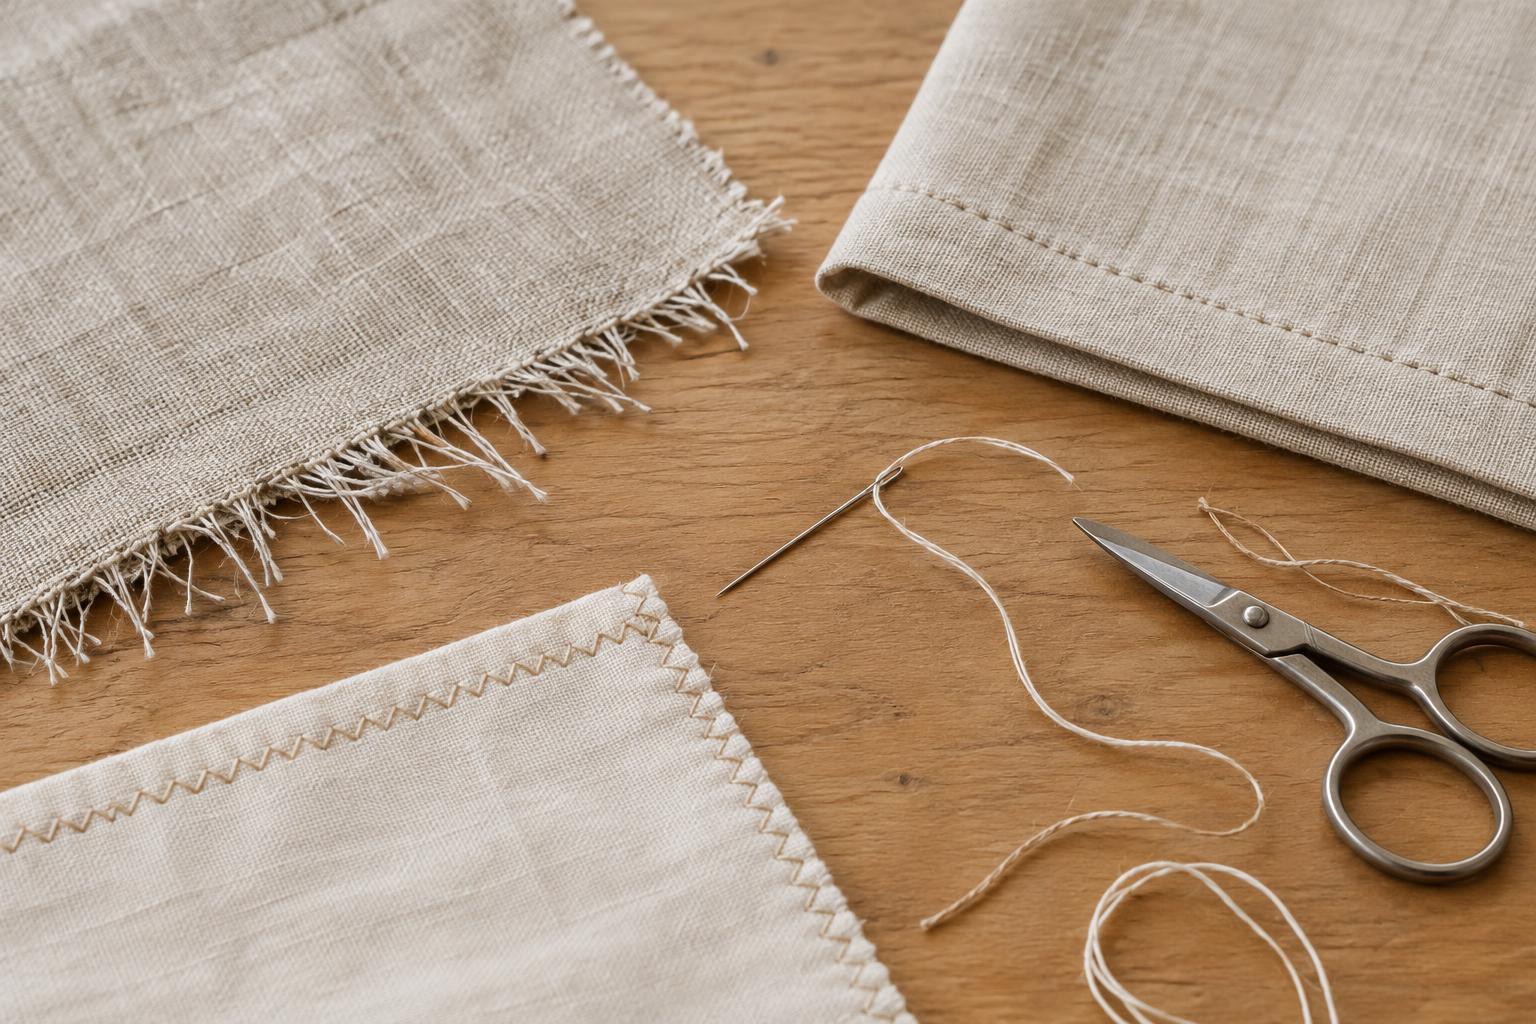
What happens at a cut edge
Most woven fabric is made from two sets of threads crossing at right angles. In the middle of the cloth, neighboring threads help hold each other in place. Cutting through the cloth removes that support at the edge. Handling, rubbing, and washing can then pull individual threads free. Fraying is the visible result: a fringe forms, and the solid fabric behind it may gradually shrink.
How quickly this happens depends on the fabric and the direction of the cut. A loosely woven cloth often sheds threads more readily than a tightly woven one. A cut made diagonally across the weave may behave differently from one made along the threads. Knits have a different looped structure: they may curl, stretch, or develop runs rather than forming the same kind of fringe. Before choosing a finish, look at what your particular fabric does when you handle a small offcut.
Choose a finish for the edge’s job
Start by asking whether the edge will show. An exposed edge on a napkin or fabric basket needs to look deliberate from the outside. A seam allowance inside a cushion cover mainly needs to survive use and laundering. Also consider thickness: folding several layers of heavy fabric into a narrow hem may create a bulky ridge, while a very lightweight fabric may need a finish that does not distort it.
It helps to decide before cutting. Some finishes, such as a double-fold hem or a French seam, need extra fabric beyond the finished dimensions. Mark where the finished edge or seam should be, and keep enough allowance to fold or enclose the raw edge. If the fabric is especially prone to shedding threads, handle cut pieces gently and finish their edges before repeated fitting or assembly wears them down.
Quick ways to secure a hidden edge
For an edge that will be hidden inside a project, a zigzag stitch is a useful starting point. Sew close enough to the cut edge that the stitches contain the loose threads without pulling the cloth into a tight ridge. Test the stitch width and length on a scrap first; thin fabric may pucker if the stitching is too dense. An overcasting stitch, if your machine has one, serves a similar purpose. A serger trims and wraps the edge in one pass, but it is not necessary for a sound finish.
Pinking shears cut a zigzag-shaped edge that can slow visible unraveling on some woven fabrics. They are quick, but they do not lock the threads in place, so they are less reassuring on loosely woven cloth or items that will be washed often. For a small repair or a spot that cannot be stitched easily, a fabric edge sealant may help. Test it on an offcut first: it can leave a firm or visible patch, and its suitability depends on the fabric and how the item will be cared for.
Neater finishes for edges you can see
A double-fold hem hides the cut edge inside two folds. Turn the edge under, turn it under again, press the folds, and stitch near the inner fold. This is a practical choice for many straight edges, such as cloth napkins or simple curtains. On curves, a wide fold can bunch up; a narrower fold or a different finish may lie flatter. Pressing as you work makes the shape easier to control.
Binding covers an edge with a separate strip of fabric or premade tape. It can add a visible border to a pouch, basket, or quilted mat while keeping the raw threads enclosed. For seams that should look tidy inside as well as outside, a French seam encloses the raw allowances between two lines of stitching. It works particularly well with lightweight woven fabric, though it takes more planning and can be bulky on thick materials. Each method does the same basic job in a different way: it keeps loose threads away from wear.
Test before finishing the whole project
Cut a small sample from the project fabric and try the finish you have in mind. Rub the edge lightly, fold it as it will sit in the finished object, and check both sides. If the item is intended to be washed, wash the sample in the way you expect to care for the finished piece. A finish that looks smooth on the worktable may pucker, stiffen, or shed threads after handling.
There is no single best treatment for every fabric edge. The useful choice is the one that suits the weave, the amount of wear, the desired appearance, and the tools you have. Once you understand that fraying starts when cut threads lose their support, the options become easier to compare: stitch around the threads, fold them out of sight, or enclose them within another seam or material.


