The structure explains the behavior
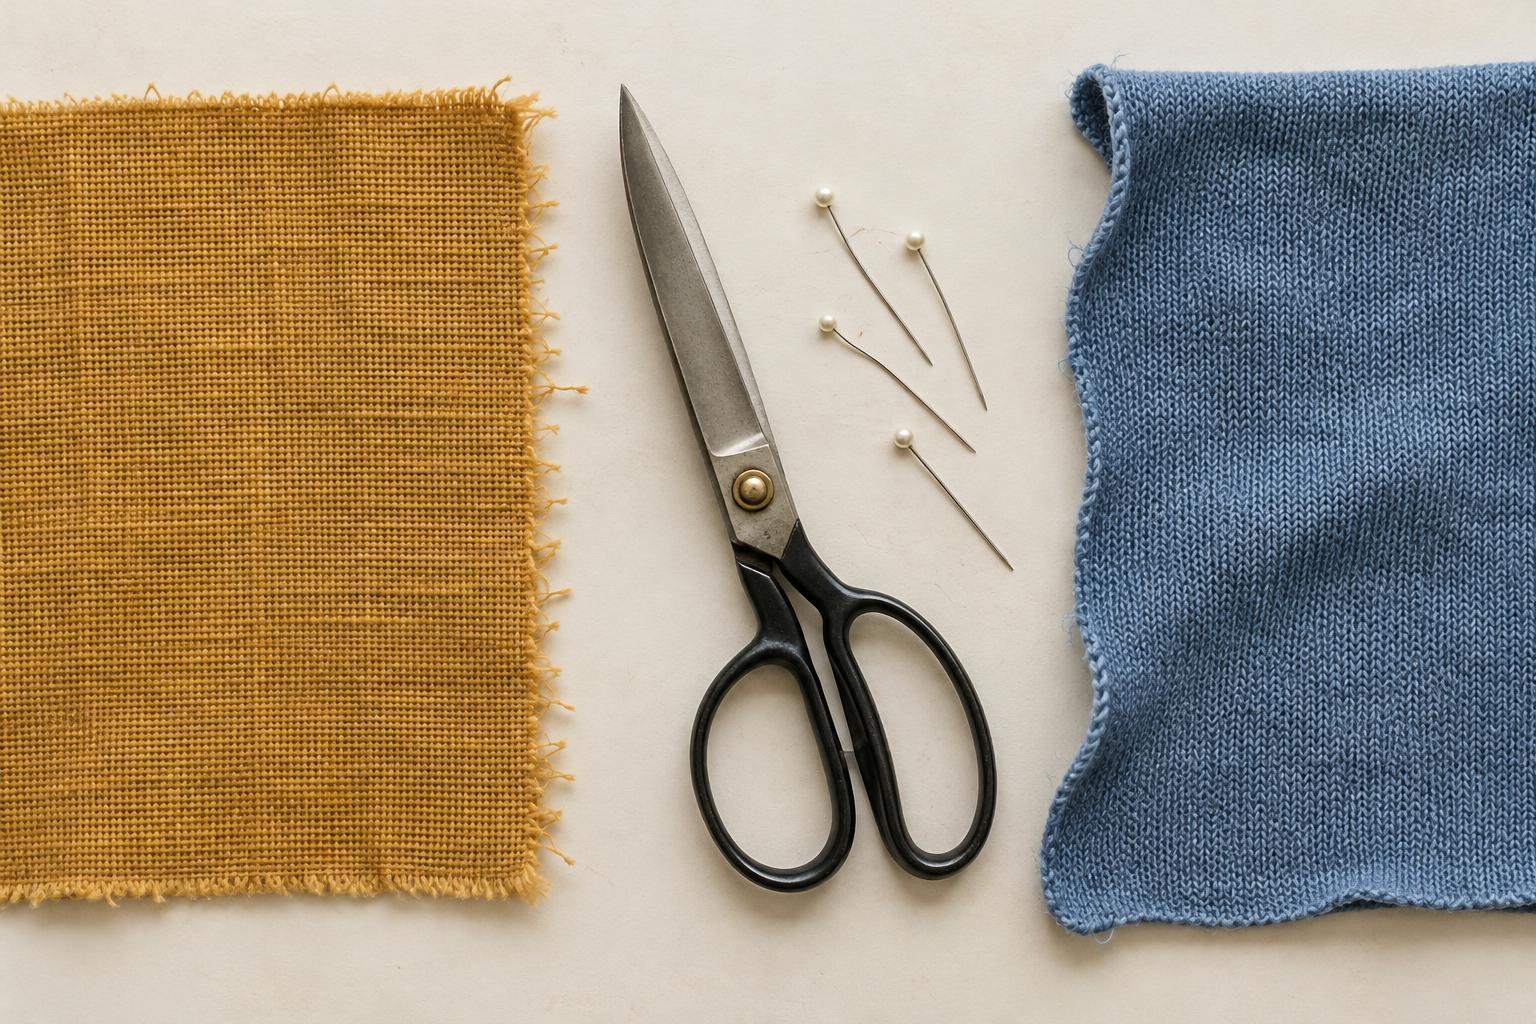
Woven fabric is made from sets of yarns crossing over and under one another. Knit fabric is made from interlocking loops. That difference matters as soon as you pick up a piece: most woven fabrics hold their shape relatively firmly along the yarns, while many knits stretch because their loops can open and close. Neither category behaves exactly the same in every material. A loose gauze, a firm canvas and a woven fabric with elastic fibers will all respond differently; so will a soft jersey and a dense rib knit.
Before cutting, give the fabric a small, gentle pull in both directions. Notice not only how far it stretches but whether it returns to its original shape. Check the surface, too. A knit may show rows of tiny V-shaped loops, while a woven often shows yarns crossing at right angles. These observations are more useful for planning than the label alone.
Cutting: grain, stretch and shifting edges
On a woven fabric, the yarns running parallel to the finished edge, or selvage, mark the lengthwise grain. Patterns commonly place major pieces along this direction so the finished object hangs or sits predictably. The diagonal, called the bias, usually has more give. A strip cut on the bias can curve around an edge, but a large piece cut accidentally off-grain may twist or distort.
Knits also have a direction to watch: many stretch more across the fabric than along its length. If a pattern relies on that stretch, placing a piece the wrong way can make it uncomfortable or difficult to use. Lay either type of fabric flat without pulling it into position. For a slippery woven or a soft knit, cut in a single layer if folding causes the layers to shift. Sharp scissors or a rotary cutter can help keep the edges clean, but a steady cutting surface matters just as much.
What happens to a raw edge
Cut woven edges often fray because the yarns at the edge are no longer held in place by their neighbors. How quickly this happens depends on the weave and yarn. Handle easily frayed pieces gently, and consider finishing exposed seam allowances with a zigzag stitch, an overlocker or a folded finish. Finishing is particularly useful for an object that will be washed or handled often.
Most common knits do not unravel at a cut edge in the same way, so they may need less edge finishing. They can present a different nuisance: a jersey edge may curl, making narrow hems awkward to measure and sew. Some knits also shed fibers when cut. Test a scrap rather than assuming the edge can be left unfinished. If it curls, use a wider hem, clips or temporary basting to help keep it flat while you work.
Sewing seams that suit the fabric
A straight stitch is a practical starting point for stable woven fabric. Pin or clip the pieces without stretching them, then sew a short test seam to check that the layers feed evenly. If the seam puckers, try adjusting the stitch length or reducing the pressure from the machine’s presser foot, if that setting is available. Press the test seam before judging it; pressing often makes a woven seam look neater.
A seam in a stretchy knit needs to give with the fabric. A narrow zigzag, a machine’s stretch stitch or an overlocker seam can provide that give. A regular straight stitch may break when a close-fitting item is pulled on. A ballpoint or stretch needle is often a good choice for knits because it may reduce skipped stitches or damage to the loops, though the best needle depends on the fabric. Sew a scrap, stretch the finished seam gently, and check for broken threads before sewing the project.
Choose the material for the job
For a structured storage pocket, a crisp woven fabric may make measuring, folding and topstitching easier. For a soft sleeve that must slip over an object, a knit’s stretch may be useful. Those are starting points, not rules: interfacing can add support to a woven, and some knits are surprisingly firm. Think about whether the finished object needs to keep a precise shape, bend around a curve or withstand repeated stretching.
If you are new to a fabric, make a small sample before cutting every piece. Mark its direction, cut an edge, sew and press a seam, then handle it as you would the finished item. A few minutes with a scrap can reveal fraying, curling, puckering or poor recovery while there is still room to change the plan.


